14
G
ETTING UP AND RUNNING
Battery condition indicator
This camera is equipped with an automatic battery-condition indicator. When the camera is on, the
battery-condition indicator appears on the monitor. If the monitor is blank, the batteries may be
exhausted or installed incorrectly.
Auto power save
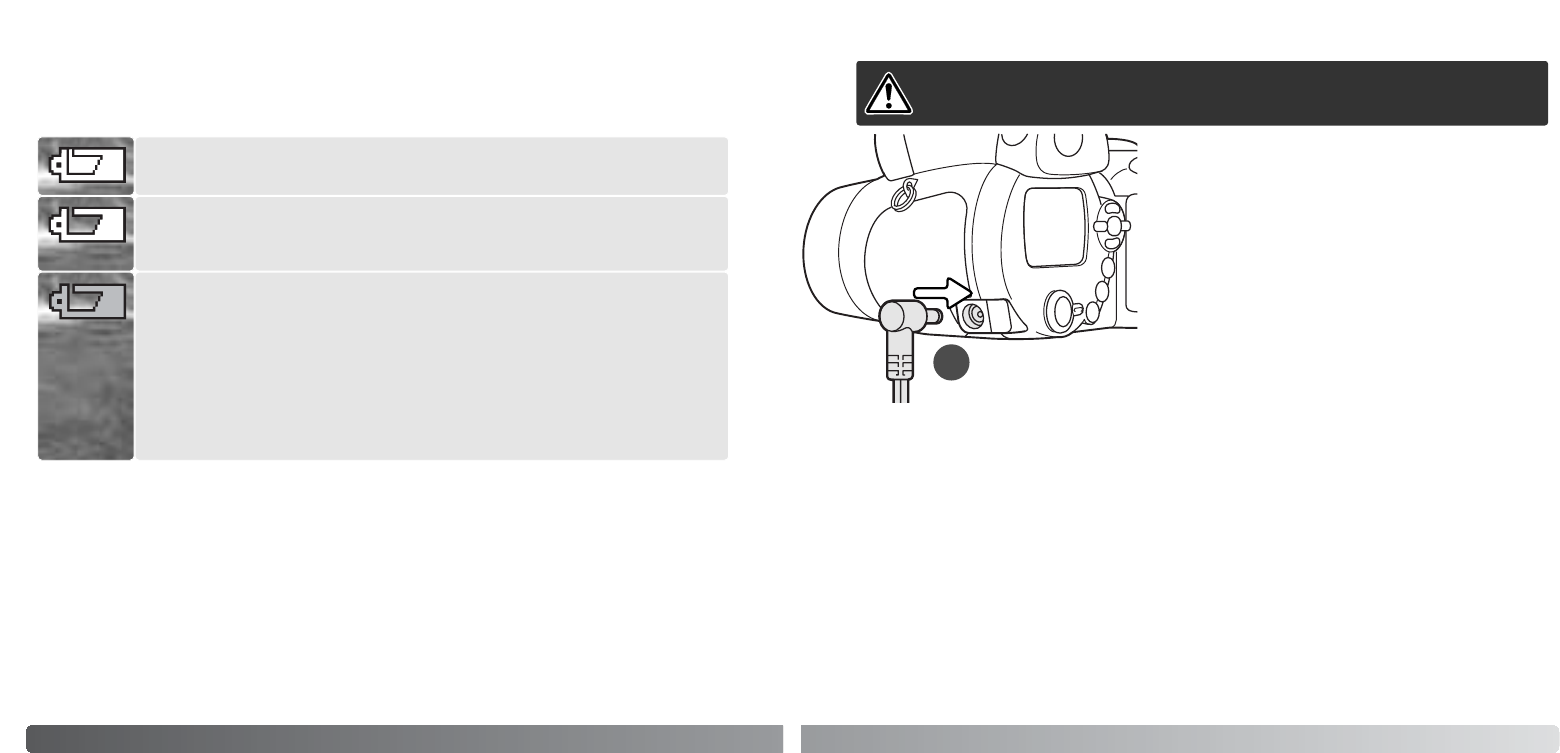
Full-battery indicator - the battery is fully charged. This indicator is displayed for three
seconds on the monitor when the camera is turned on.
Low-battery indicator - battery power is low. The monitor will turn off while the flash
is charging to save power.
Low-battery warning - battery power is very low. The monitor indicator is red. The
battery should be replaced as soon as possible. This warning automatically appears
and remains on the monitor until the battery is changed. The monitor will turn off
while the flash is charging to save power. If power falls below this level, the battery-
exhausted message will be displayed just before the camera shuts down. If the low-
battery warning is displayed, movie recording cannot be used.
To conserve battery power, the camera turns off displays and unnecessary functions if an operation
is not made within a minute. To restore power, press any button or key, or turn the exposure-mode
dial to another position. The length of the auto-power-save period can be changed in section 1 of
the setup menu (p. 88).
If an operation is not made within approximately 30 minutes, the camera turns off automatically.
Press the main switch to turn on the camera.
15
Connecting the optional AC adapter
The AC Adapter AC-11 allows the camera to be powered
from an electrical household outlet. The AC Adapter is
recommended when the camera is interfaced with a
computer or during periods of heavy use.
Insert the mini plug of the AC adapter into the DC termi-
nal (1).
Insert the AC adapter plug into an electrical outlet.
Always turn off the camera before changing between power supplies.
1


