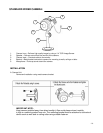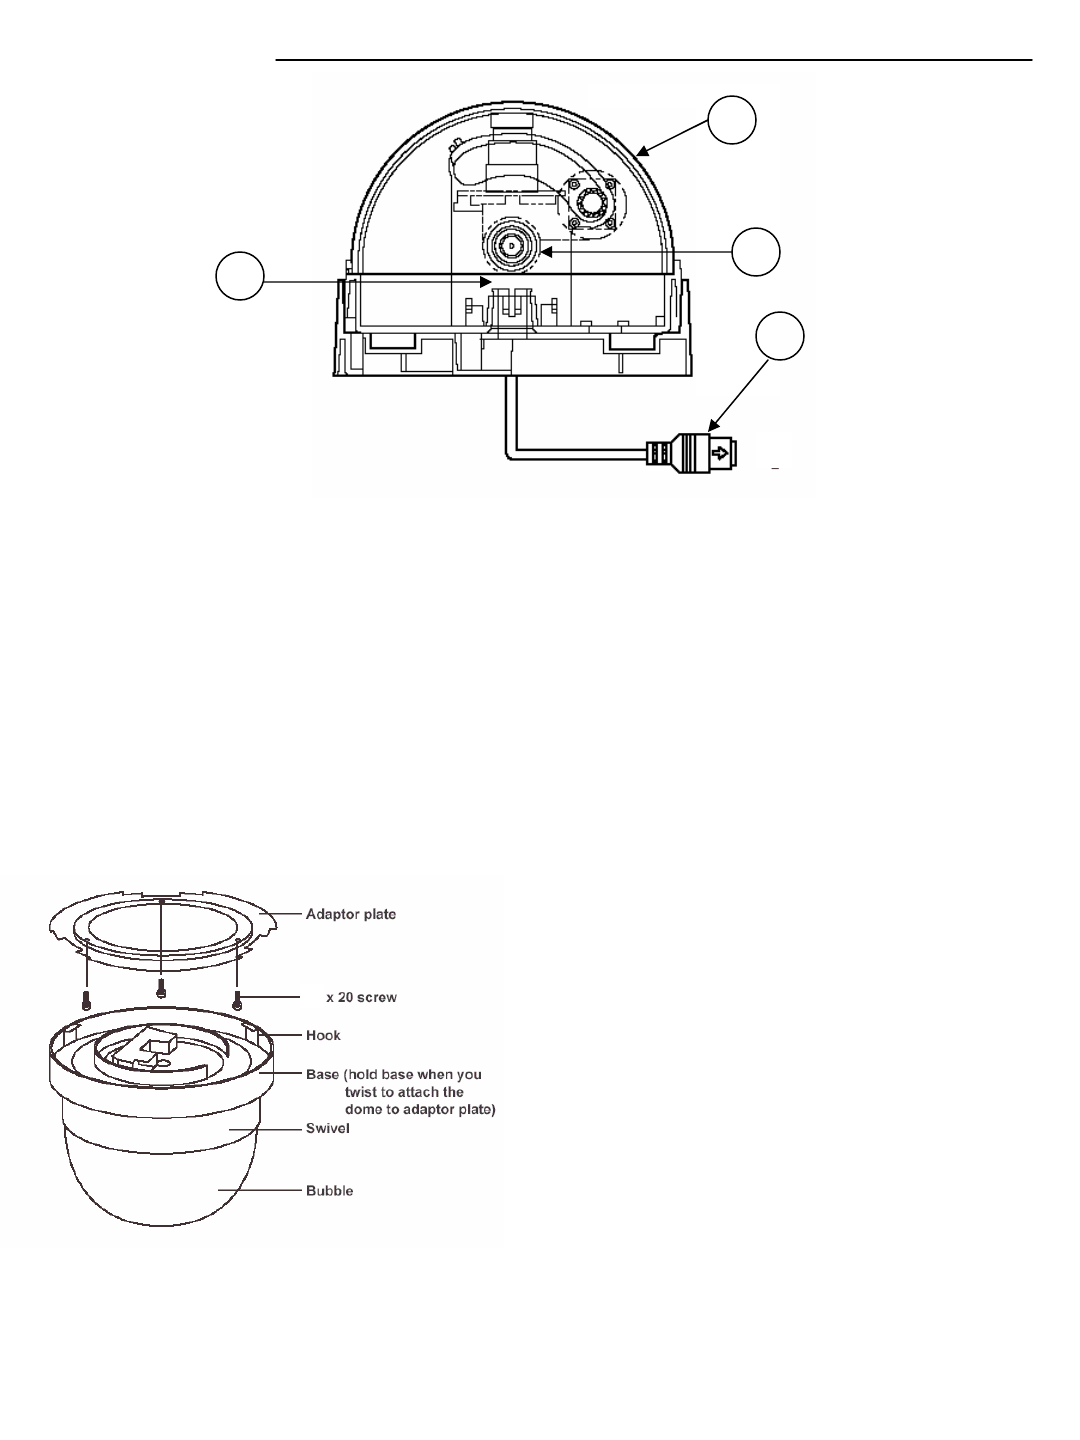
DOME CAMERA:
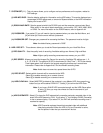
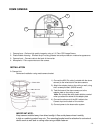
1. Camera Lens – Delivers high quality image by using a 1/4” Color CCD Image Sensor
2. Plastic Bubble Housing - Smoked acrylic housing protects lens and provides an unobtrusive appearance
3. Camera Input – Connect cable to the back of the monitor
4. Microphone – Picks up sound around the camera
INSTALLATION
A. Camera Unit
Permanent installation using metal camera bracket
IMPORTANT NOTE:
Keep camera installed away from direct sunlight. Also avoid places where humidity
is high or unable to protect from rain. The mounting bracket must be attached to a structural
device such as wall stud or ceiling rafter using suitable fastener.
4
1
2
3
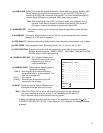
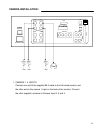
1.) Connect the 65 ft Din cable (included with the dome
camera) to the wired lead of the dome camera
2.) Attach the adaptor plate on the ceiling or wall, using
the 3 screws provided (M3X20 screw).
3.) Twist the base of the dome camera on to the
adaptor plate on the ceiling or wall.
Note: Do not hold the clear plastic bubble or swivel
when you attach the dome to the adapter plate
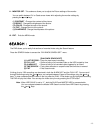
4.) Connect the other end of the 65 ft cable to the
Camera input on the back of the monitor
5.) Connect power to the observation system
-19-
M3


