


77
EN
6
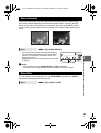
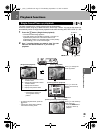
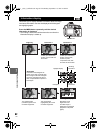
Flash shooting
4 Use the super control panel to set the flash mode and other settings for each
group.
5 Select a flash mode.
• Red-eye reduction flash is not possible in RC mode.
6 Press the #UP button to raise the built-in flash.
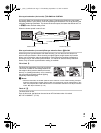
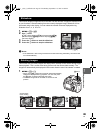
7 After shooting preparations are completed, take some test shots to check the
flash operation and images.
8 Begin shooting while checking the charging completed indications of the camera
and flash.
x Notes
• Although there is no limit to the number of wireless flashes you can use, it is recommended
that each group have no more than three flashes to prevent flash malfunction due to mutual
interference.
• In RC mode, the built-in flash is used to control the wireless flash. The built-in flash cannot be
used for flash shooting in this mode.
• For 2nd curtain synchronization, set the shutter speed and anti-shock settings to within 4
seconds. Wireless flash shooting may not operate properly when using a slower shutter
speed or anti-shock setting.
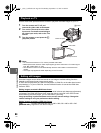
You cannot use the camera to adjust the amount of light emitted from a commercially
available flash except for a flash specified for use with this camera. To use a commercially
available flash, connect it to the hot shoe or connect the synchronization cord to the external
flash connector. Set the camera’s shooting mode to M. For details on non-specified
commercial flashes, see “Non-specified commercial flashes” (gP. 78).
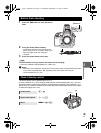
Using commercially available flashes
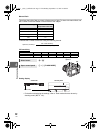
2
LOM
TTL
1 / 8
–
+1.0
OFF
2007. 12.16
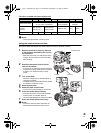
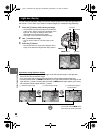
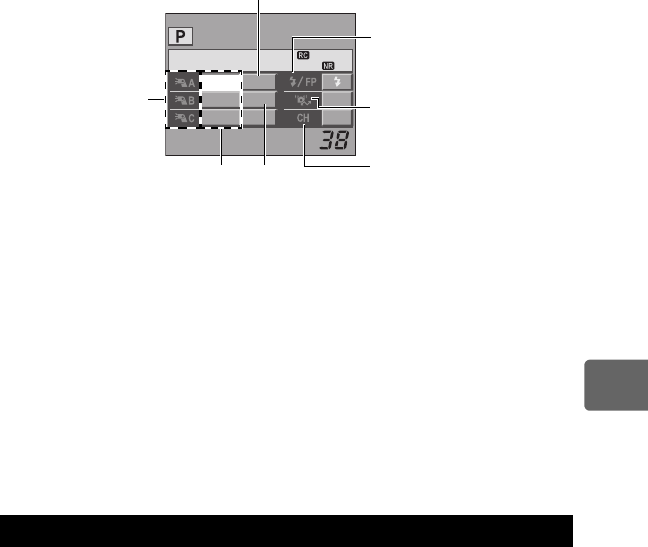
Flash control
mode
Group
• Select the flash
control mode and
adjust the flash
intensity individually
for groups A, B, and
C. For MANUAL,
select the flash
intensity.
Flash intensity value
Communication light level
• Set the communication light level
to [HI], [MID], or [LO].
Channel
• Set the communication channel to
the same channel used on the
flash.
Normal flash/Super FP flash
• Switch between normal flash and
Super FP flash.
Flash
intensity
s0011_e_00_0_unified.book Page 77 Wednesday, September 12, 2007 4:46 PM