


- 100 -
Recording
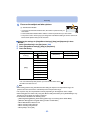
When selecting [ ]
You can set the focus position precisely by enlarging the screen.
•
The focus position cannot be set at the edge of the screen.
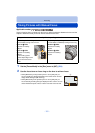
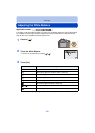
1 Touch the subject.
•
The assist screen for setting the focus position is enlarged to
approximately 5 times original size.
• The assist screen can also be displayed by pressing 2, pressing 4 to
display the enlarged position setting screen, and then selecting the
enlarged position using the cursor buttons and pressing [MENU/SET].
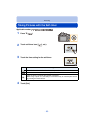
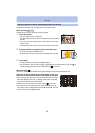
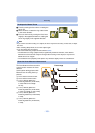
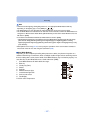
2 Drag the screen to align the subject on the cross point of the crosshair in the center
of the screen.
•
It is also possible to move the focus position with the cursor button.
• Touching [Reset] will bring the focus position back to the center position.
• On the assist screen, it is also possible to record a picture by touching [ ].
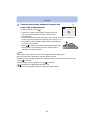
∫ Move the AF area easily with [Direct Focus Area] function
When the [Direct Focus Area] in the [Custom] menu is set to [ON] while [š], [ ] or [Ø] is
selected, it is possible to move the AF area directly with the cursor button.
With [ ], you can move the enlarged position.
•
To set the items that use the cursor buttons like [Drive Mode], [White Balance], or [Sensitivity], use
the Quick Menu (P68) instead.
Note
•
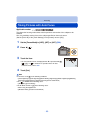
The spot metering target can also be moved to match the AF area when the [Metering Mode] (P151)
is set to [ ]. At the edge of the screen, the metering may be affected by the brightness around the
AF area.
• [Direct Focus Area] is fixed to [OFF] in Creative Control Mode.
• When using digital zoom, the position and size of the AF area cannot be changed.
5HVHW