219
6
Shooting Settings
1
Select [Lens Correction] in the [A Rec. Mode 1] menu and
press the four-way controller (5).
The [Lens Correction] screen appears.
2
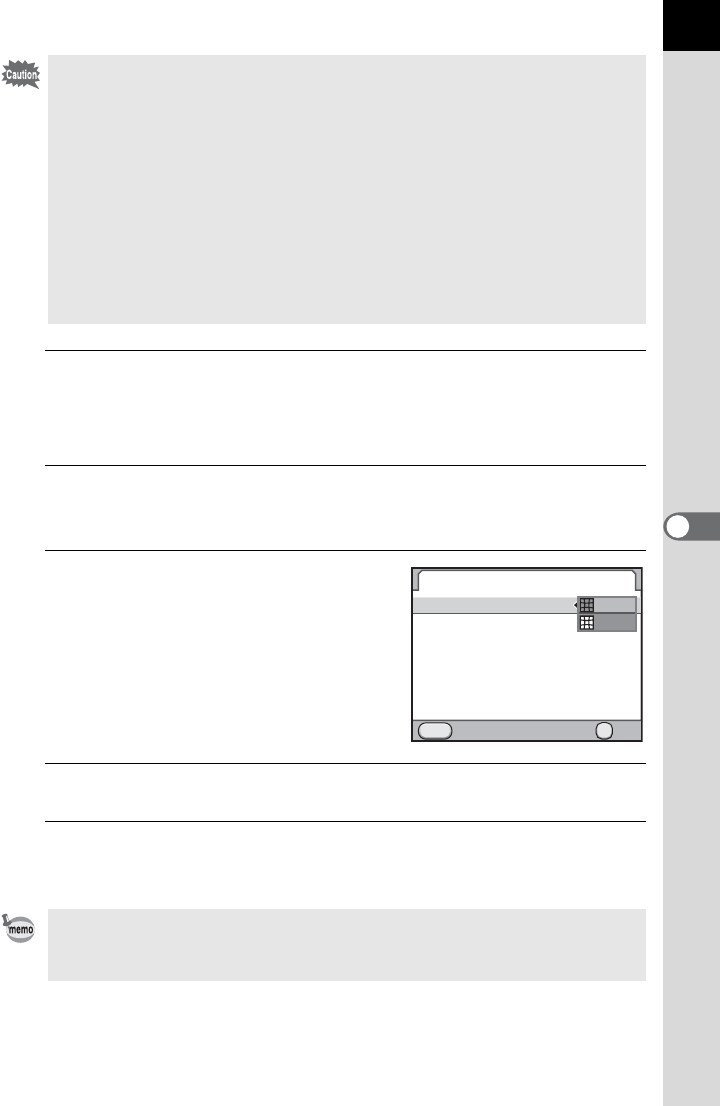
Use the four-way controller (23) to select [Distortion
Correction] or [Lat-Chromatic-Ab Adj].
3
Press the four-way controller (5)
and use the four-way controller
(23) to select [OFF] or [ON].
4
Press the 4 button.
5
Press the 3 button twice.
The camera is ready to take a picture.
• Corrections can only be made when using DA, DA L, D FA or some FA lenses
(p.337). [Lens Correction] cannot be selected when an incompatible lens is
attached.
• [Distortion Correction] is disabled when using a DA FISH-EYE 10-17mm.
• The Lens Correction function is disabled when using an accessory such as a
close-up ring or rear converter that is attached between the camera and the
lens.
• When the Lens Correction function is activated, it may take longer to display
Instant Review and the shooting speed for continuous shooting may be
slower.
• The effect of the Lens Correction function may be barely noticeable in some
cases due to the shooting conditions or other factors.
When a compatible lens is attached and the file format is set to [RAW] or
[RAW+], the correction information is saved as a RAW file parameter and you
can select [On] or [Off] when developing the RAW images. (p.274)
Lens Correction
Distortion Correction
Lat-Chromatic-Ab Adj
Cancel OK
OK
MENU
OFF
OFF
ON
ON


