EN-36
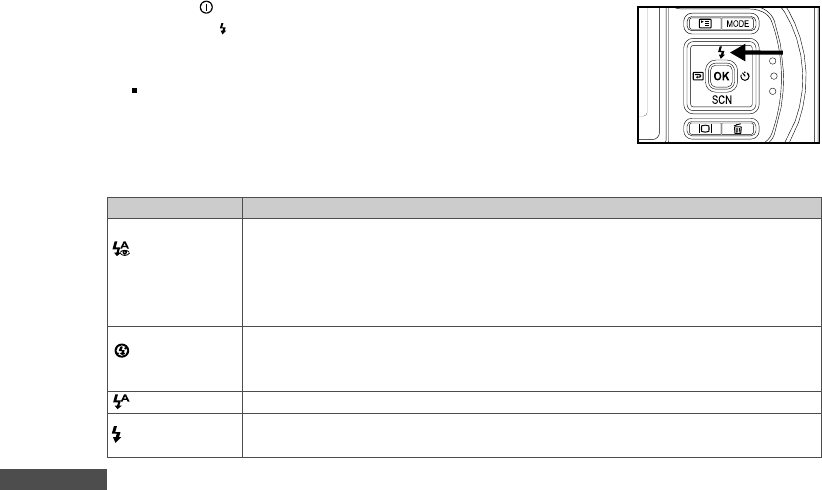
The camera has four flash modes: Red Eye, No Flash(default), Auto Flash and Forced Flash. The table
below will help you to choose the appropriate flash mode:
Flash mode Description
Use this mode to reduce the red-eye phenomenon when you want to take natural-
looking photographs of people and animals in low-light conditions.
When taking photographs, the red-eye phenomenon can be reduced by asking
the subject (person) to look at the digital still camera or get as close to the digital
still camera as possible.
Use this mode in the environment that the flash use is prohibited or under the
situation that the distance to the subject is too far away for the flash to have any
effect.
The flash fires automatically according to suit the photographic conditions.
The flash will always fire regardless of the surrounding brightness. Select this
mode for recording images with high contrast (backlighting) and deep shadows.
Using the Flash
The flash is designed to function automatically when lighting conditions warrant the use of flash. You can
take an image using a desired flash mode to suit your circumstances.
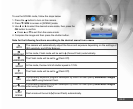
1. Press the
button to turn on the camera.
2. Press the ▲/
button to access in [FLASH] mode.
3. Use ▲,▼,t ,or u to select the desired flash mode, then press the
OK button.
The flash mode you set will be displayed on the LCD monitor.
4. Compose your scene and press the shutter button.
RED EYE
NO FLASH
AUTO FLASH
FORCED
FLASH


