


EN-60
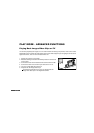
Connecting to a PictBridge Compliant Printer
Even if you do not have a computer, you can connect the camera directly to a printer that supports PictBridge to
perform image selection and printing using the camera monitor screen and controls. DPOF support also lets you
specify which images you want to print and how many copies of each should be printed.
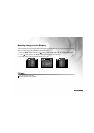
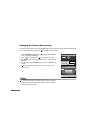
Connecting the camera to the printer
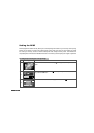
1. Connect the USB port on the cradle and the USB jack on the
printer with the supplied USB cable, then turn on your camera
and the printer.
The camera turns on automatically and the screen for
selecting the USB mode is displayed.
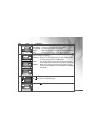
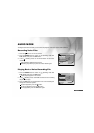
2. Use ▲ or ▼ to select [PRINTER], then press the OK button.
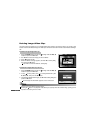
Printing images
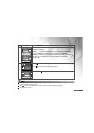
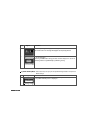
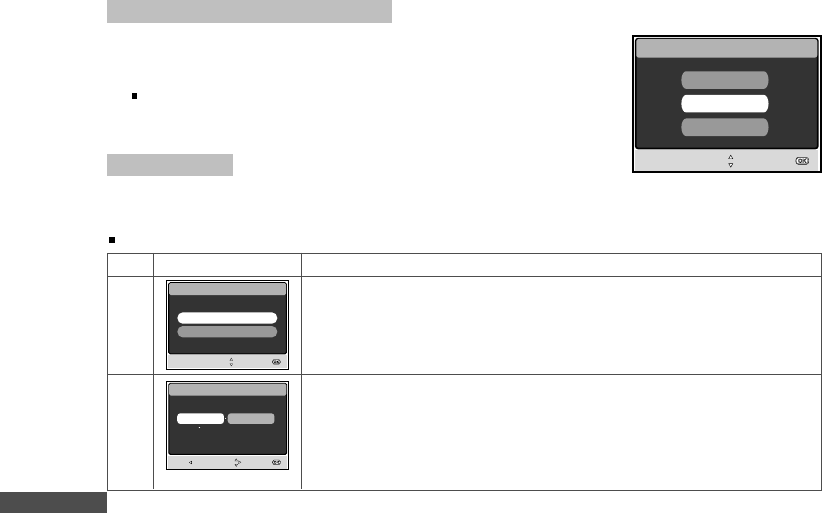
When the camera is properly connected to a PictBridge compliant printer, the [PRINT MODE SELECT] screen
is displayed on the monitor. Use ▲ or ▼ to select the print mode.
In [PRINT] Mode: Lets you print the specified image with PictBridge.
Step Procedure
PRINT MODE SELECT
SELECT ITEM :
ENTRY:
PRINT
PRINT ORDER
Figure
PRINT PAPER
GO:
SIZE BORDERLESS
STANDARD STANDARD
EXIT : SELECT:
USB
SELECT ITEM :
ENTRY:
PC
PRINTER
PC CAM
1
2
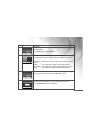
Use ▲ or ▼ to select the [PRINT] mode, then press the OK button.
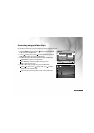
* The [PRINT PAPER] screen is displayed.
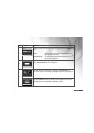
Use u to access in the selection of paper setting, then press the OK button
to confirm.
[SIZE]: You may select the desired item depending on the
type of printer being used.
[BORDERLESS]: You may select the desired item depending on
the type of printer being used.