


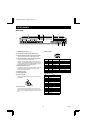
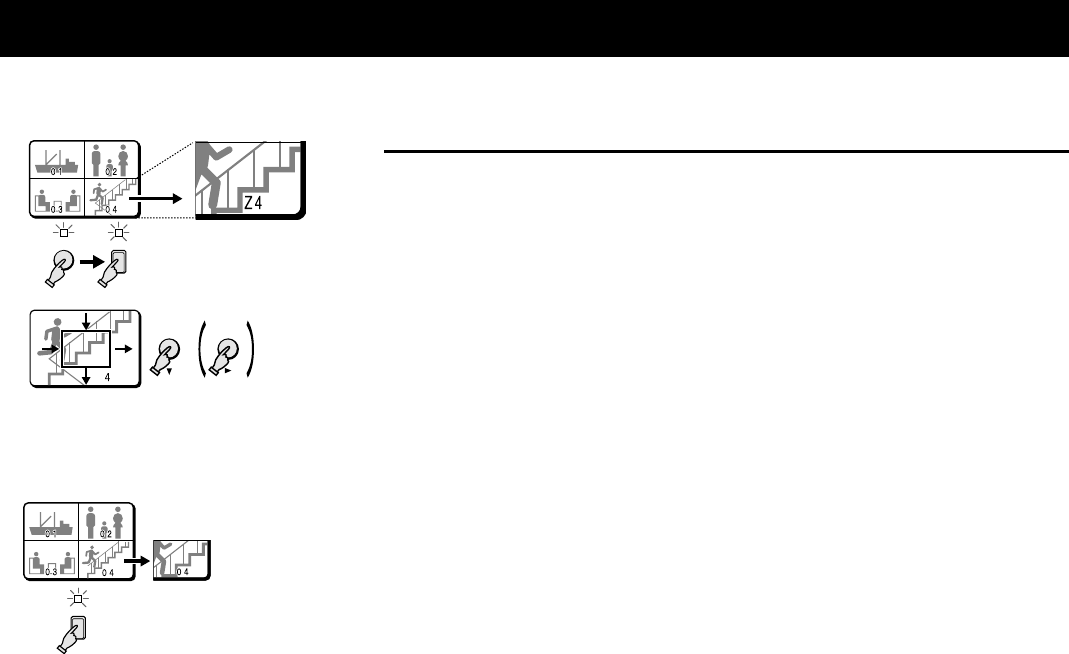
QUAD SCREEN OPERATIONS (Live picture)
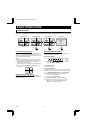
(The zoomed in area is set
by the frame position.)
•
c button:
will move the frame to the right
•
l button:
will move the frame down
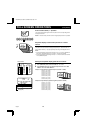
Example: To zoom in the image from camera 4 and set the
zoom range
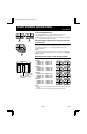
You can select the portion of the image to zoom in. The default zoomed in area is the
centre of the image, but if a different zoom range is selected it will be memorized until
changed or cancelled.
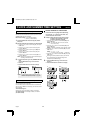
1 Press the ZOOM button.
The ZOOM indicator flashes and the zoomed in image display mode is selected.
2 Press the camera select 4 button for about 3 seconds.
In full screen mode, “Z” (flashing) and the zoom range frame are displayed.
NOTE: If during the zoom range setting, the displayed frame is not moved for
about 10 seconds, the display mode will automatically return to quad
screen display mode. To return to the setting mode, press the camera
select 4 button again for about 3 seconds.
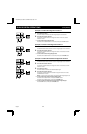
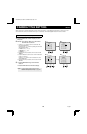
3 Press the c (or l) button to move the zoom range frame to the desired
area of the image.
4 Press the camera select 4 button.
The area selected by the zoom range frame is now zoomed in.
If necessary, follow the same procedure to set the zoom range for the other
cameras.
NOTE: You can switch from zoomed in mode to normal (no zoom) mode by
pressing the camera select 4 button repeatedly.
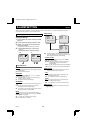
☞ To cancel the zoomed in image display mode.
Press the ZOOM button.
4
ZOOM
1
2
VCRLIVE
3
Z
4
4
L8QR5/XE (VQC-801P, VQM-801P GB) 1999. 12. 2
12 English