


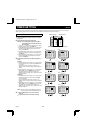

VIDEO LOSS SETTING AND COMPUTER
CONTROL SETTING Menu 8
(VIDEO LOSS SET)
When the live picture signal feed is interrupted, you can set the
action taken, and if the video loss is recorded as alarm data.
This function will only operate in quad screen display, to select it,
set “VIDEO LOSS” to “ON”.
Setting the Video Loss Mode
1 Press the l button to highlight the setting to modify.
2 Using the + (or –) button, select the desired setting,
then press the l button.
Following this procedure, select the settings for DATA and
DISPLAY.
3
☞
Press the l button to go to the next menu, or
☞
Press the MENU button to go to the next menu
screen, or
☞
Press the EXIT button to exit the menu display.
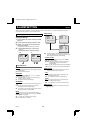
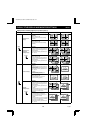
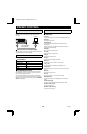
VIDEO LOSS SET menu
VIDEO LOSS
You can set the action to take when there is an interruption in
the video signal feed.
ON: When there is video loss, the image just previous to the
interruption is frozen on-screen or colour bars are displayed
(see “DISPLAY” right) and “VIDEO LOSS” is displayed
on-screen. (Default setting)
OFF: When there is video loss, “NO VIDEO” is displayed
on-screen.
NOTE: If no camera is connected to one of the terminals, then
“NO VIDEO” will be displayed on a grey screen. This will
not trigger a video loss alarm.
DATA
You can set the data (date, time, etc) of the video losses to be
recorded as alarm data. (To view the recorded data, refer to
“ALARM DATA DISPLAY” on page 26.)
ON: The video losses data is recorded as alarm data. (Default
setting)
OFF: The video losses data is not recorded.
DISPLAY
You can set the display mode when there is an interruption in
the video signal feed.
FREEZE: When there is video loss, the image just previous to
the interruption is frozen on-screen. (Default setting)
TEST: When there is video loss, colour bars are displayed
on-screen.
NOTE: If the (VIDEO LOSS SET) menu, “DISPLAY” is set to
“FREEZE”, when there is a loss of the video signal,
“VIDEO LOSS” and the image just previous to the
interruption will be shown frozen on screen. To switch to
a colour bars display, press the camera select button or
QUAD button.
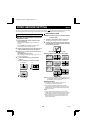
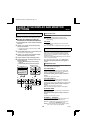
(RS232C SET)
Connect this unit to a computer, using a 9-pin D-SUB cable (sold
separately), then set the maximum communication speed with
the computer.
For detailed information, refer to “RS232C CONTROL” on page
28.
Changing the Setting
1 Press the l button to highlight the setting to modify.
2 Using the + (or –) button, select the desired setting.
The available speeds are:
2400, 4800, 9600, 19200 (Default setting) bps
3
☞
Press the MENU button to go to the next menu
screen, or
☞
Press the EXIT button to exit the menu display.
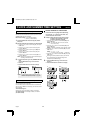
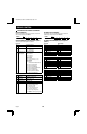
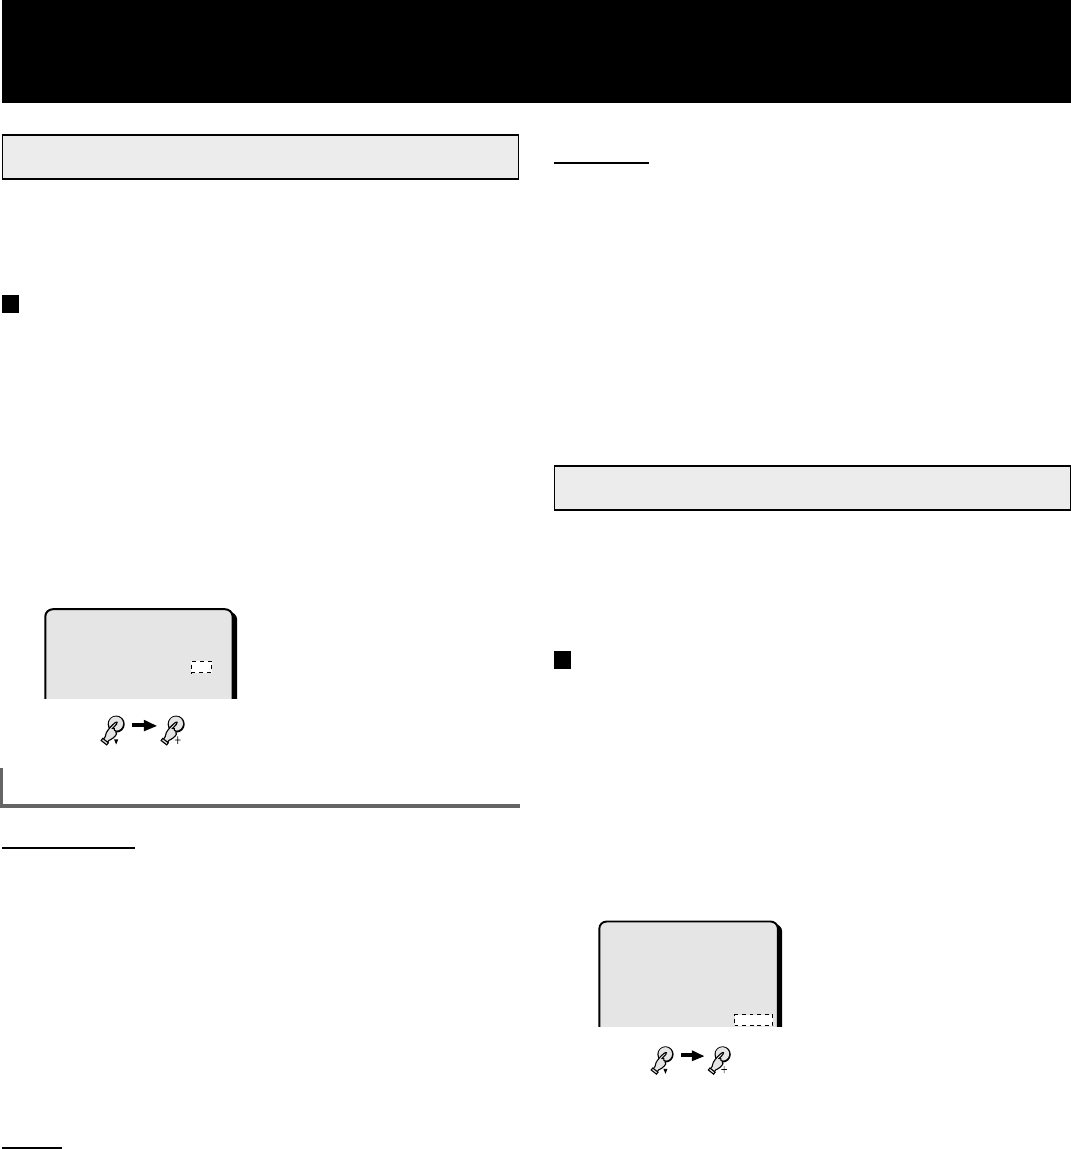
(VIDEO LOSS SET)
VIDEO LOSS ON
DATA ON
DISPLAY FREEZE
1, 2
LIVE QUAD
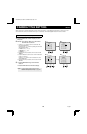
(VIDEO LOSS SET)
VIDEO LOSS ON
DATA ON
DISPLAY FREEZE
(RS232C SET)
DATA SPEED 19200
1, 2
LIVE QUAD
L8QR5/XE (VQC-801P, VQM-801P GB) 1999. 12. 2
English 25