11
GB
Making various printing
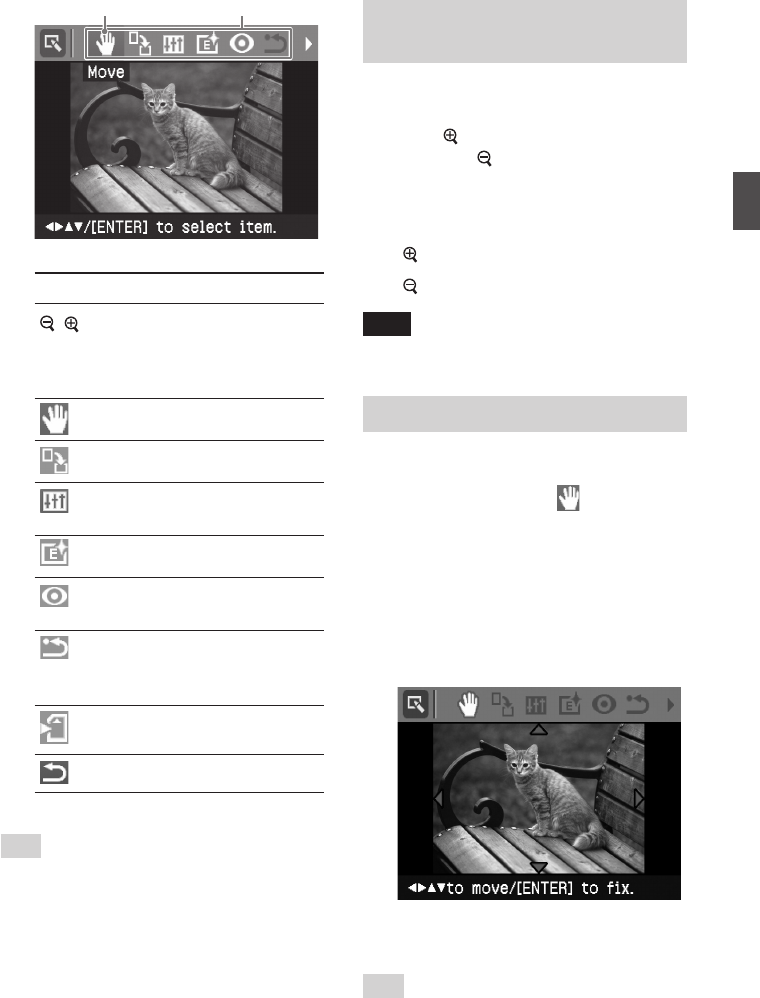
Cursor Edit menu
Items Procedures
/ Increases or reduces the
size of an image by
pressing the buttons on the
printer.
Moves an image.
Rotates an image.
Adjusts the picture quality
of an image.
Adds an filter to an image.
Corrects the red-eye
phenomenon.
Undoes the editing just
done and resets the image
to the status before editing.
Saves the edited image.
Exits the Edit menu.
Tip
You can set part of the Print setup menu items
from MENU while editing an image.
Enlarging and reducing an
image size
1
Display the Edit menu.
2
Press (zoom in) to enlarge an
image or
(zoom out) to reduce
the size of it.
Each time you press the button, the
image becomes larger or smaller:
: up to 200%
: up to 60%
Note
The picture quality of an enlarged image may be
deteriorated depending on its size.
Moving an image
1
Display the Edit menu.
2
Press g/G to select (Move) and
then press ENTER.
The g/G/f/F appears on the right/
left/above/down the image and you
can move the image.
3
Move the image with g/G/f/F.
The image moves to the selected
direction.
4
Press ENTER.
The image is fixed to the position.
Tip
To print the image previewed, press PRINT
(page 14).
