34
GB
The setup starts.
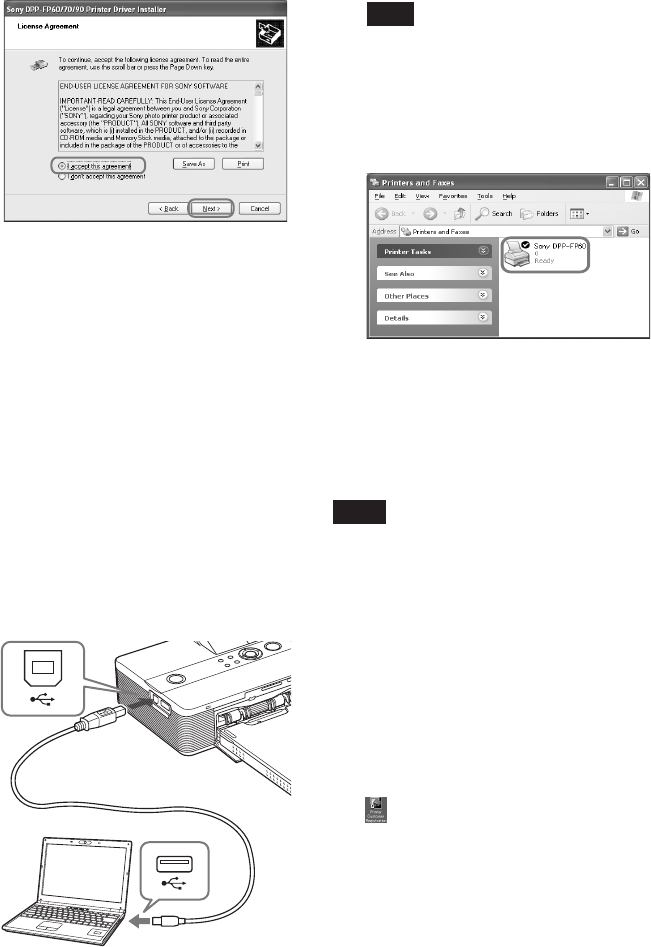
5 When “Sony DPP-FP60/70/90
printer driver has been
successfully installed.” dialog is
displayed, click “Finish”.
6
Connect the printer to the AC
power source (. Read This
First).
7
Press 1 (on/standby) switch to
turn on the printer.
8
Connect the USB connectors of
the printer and your PC with a
USB cable (not supplied).
Printer driver installation starts
automatically.
To USB
connector
Windows PC
To USB
connector
Note
Use a B-type USB cable shorter than 3m in
length.
9
Wait for a while, then check to
see that “Sony DPP-FP60” is
added to the “Printers and
Faxes”.
10
When the installation is complete,
remove the CD-ROM from your PC
and keep it for future use.
To continue to install the Picture
Motion Browser software, follow the
procedures from step 2 on page 35.
Notes
• If the installation fails, remove the printer
from your PC, restart your PC, and then do
the installation procedures from the step 2.
• After installation, the “Sony DPP-FP60” is not
set as the default printer. Set the printer you
use for each application.
• The supplied CD-ROM will be required when
you uninstall or re-install the printer driver.
Keep it in good order for possible future use.
• Before you use the printer, read the Readme
file (the Readme folder of the CD-
ROMcEnglish foldercReadme.txt).
When the software is installed
The
is displayed on the Windows
desktop, as well as a shortcut to the web
site for printer customer registration. If
you finish registration, you can find
support information at:
http://www.sony.net/registration/di/


