


13
GB
Making various printing
Continued
Adding a special filter to an
image
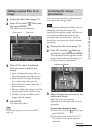
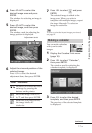
1
Display the Edit menu (page 11).
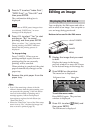
2
Press g/G to select (Filter) and
then press ENTER.
The Filter menu is displayed.
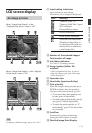
Filter menu Filter icon
3
Press f/F to select the desired
filter you want to add to the
image.
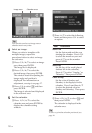
• Sepia: Changes the image like an
old photograph with faded colors.
• Monochrome: Changes the image
into a black and white picture.
• Paint: Makes the image look like a
painted picture.
• Fish-eye: Makes the image look like
a photo taken with a fish-eye lens.
• No Filter: No special filter on the
image (default setting).
4
Press ENTER.
The filter takes effect.
Tip
To print the image previewed, press PRINT
(page 14).
Correcting the red-eye
phenomenon
You can correct the red-eye phenomenon
of a subject shot using a flash.
Note
If you perform additional editing, such as
enlarging, reducing the image size,
rotating or moving an image, after the red-
eye correction adjustment, the red-eye
correction may not take effect. Perform
the red-eye correction after these editorial
operations.
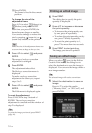
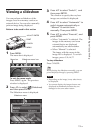
1
Display the Edit menu (page 11).
2
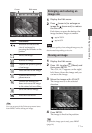
Press g/G to select (Red-eye
correction) and then press ENTER.
The adjustment frame appears on the
image, which indicates the range for
red-eye correction adjustment.
Adjustment frame
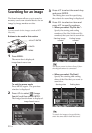
3
Adjust the position and size of the
adjustment frame.
Make the red-eye correction
adjustment for the right and left eyes
separately.
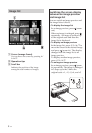
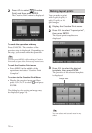
To move the adjustment frame
1 Press g/G to select (Move) and
press ENTER.
2 Move the frame with g/G/f/F.
The frame moves in the selected
direction.