


23
GB
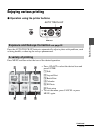
Direct printing
Editing an image
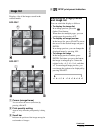
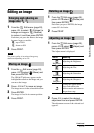
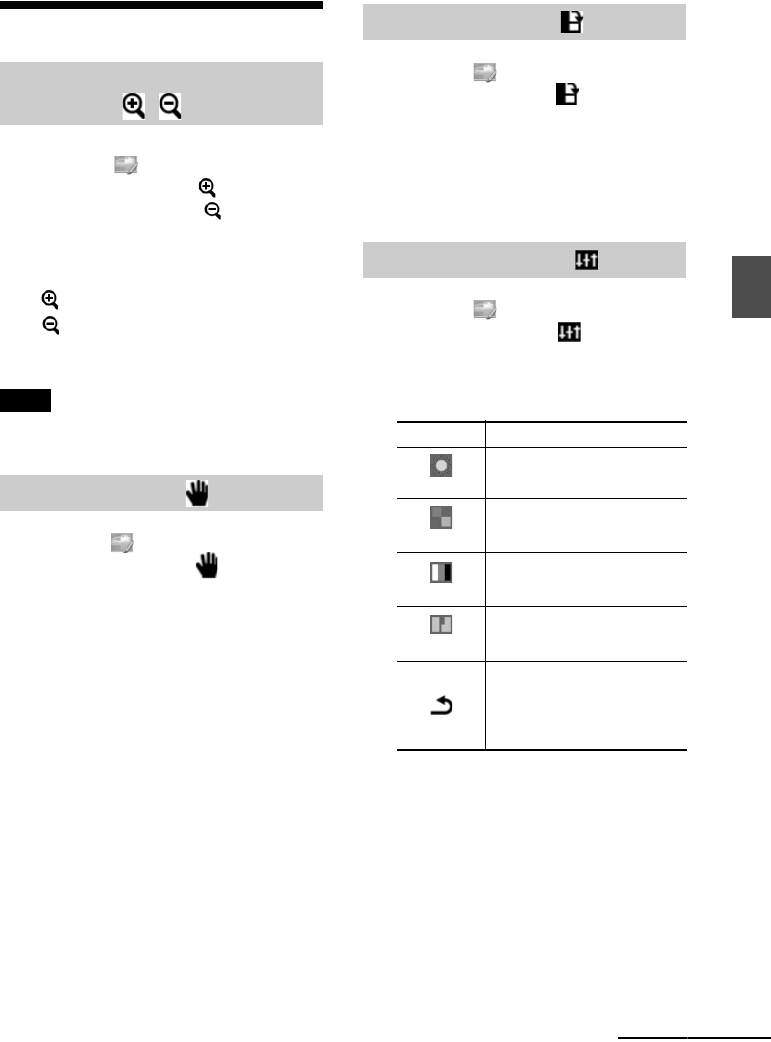
1 From the Edit menu (page 20),
press g/G to select (Enlarge) to
enlarge an image or (Reduce)
to reduce it, and then press ENTER.
Each time you press the button, the image
becomes larger or smaller:
: up to 200%
: down to 60%
2 Press PRINT.
Note
The picture quality of an enlarged image may
deteriorate depending on its size.
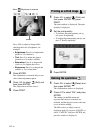
1 From the Edit menu (page 20),
press g/G to select (Move) and
then press ENTER.
The g/G/f/F indicators appear on the
left/right/above/below the image and you
can move the image.
2 Press g/G/f/F to move an image.
The image moves in the selected direction.
3 Press ENTER.
The image is fixed in its current position.
4 Press PRINT.
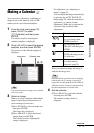
1 From the Edit menu (page 20),
press g/G to select (Rotate) and
then press ENTER.
Each time you press ENTER, the image
rotates 90° clockwise.
2 Press PRINT.
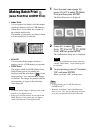
1 From the Edit menu (page 20),
press g/G to select (Adjust) and
then press ENTER.
The Adjust menu is displayed.
2 Press g/G to select the desired
adjustment tool and press ENTER.
The adjustment screen of the selected tool
appears.
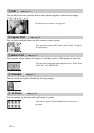
Enlarging and reducing an
image size
Moving an image
Rotating an image
Adjusting an image
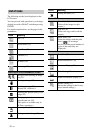
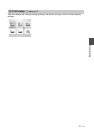
Icons Meaning
Brightness
Adjusting the Brightness
Tint
Adjusting the Tint
Saturation
Adjusting the Saturation
Sharpness
Adjusting the Sharpness
Exiting the Adjust menu.
Saves and reflects the
editions made and returns to
the previous step.
Continued