73
Customizing the settings
Manage Memory For details on the operation 1 page 70
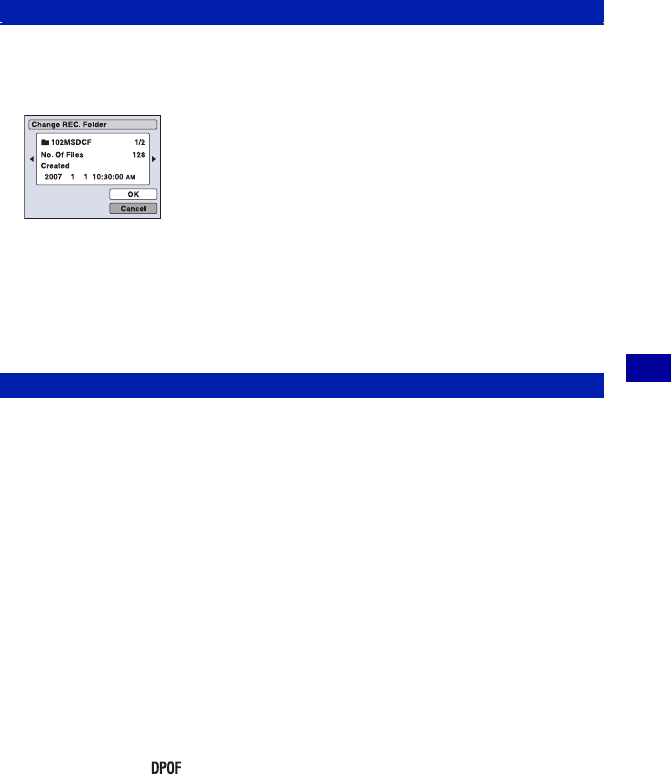
Changes the folder currently used for recording images.
1 Select [Change REC. Folder] with v/V/b/B on the control button, then press z.
The folder selection screen appears.
2 Select the desired folder with b/B, and [OK] with v, then press z.
To cancel changing the recording folder
Select [Cancel] in step 2, then press z.
• You cannot select the “100MSDCF” folder as a recording folder.
• You cannot move recorded images to a different folder.
Copies all images in the internal memory to a “Memory Stick Duo”.
1 Insert a “Memory Stick Duo” having 32 MB or larger capacity.
2 Select [Copy] with v/V/b/B on the control button, then press z.
The message “All data in internal memory will be copied” appears.
3 Select [OK] with v, then press z.
Copying starts.
To cancel the copying
Select [Cancel] in step 3, then press z.
• Use a fully charged battery pack. If you attempt to copy image files using a battery pack with little
remaining charge, the battery pack may run out, causing copying to fail or possibly corrupting the data.
• You cannot copy individual images.
• The original images in the internal memory are retained even after copying. To delete the contents of the
internal memory, remove the “Memory Stick Duo” after copying, then execute the [Format] command in
[Internal Memory Tool] (page 74).
• When you copy the data in the internal memory to the “Memory Stick Duo”, a new folder is created. You
cannot choose a specific folder on the “Memory Stick Duo” as the destination for the data to be copied.
• Even if you copy data, a (Print order) mark is not copied.
Change REC. Folder
Copy


