


Editing Videomontage
95
Geselecteerde bandopnamen
kopiëren – Digitale programma-
montage (op videoband)
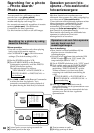
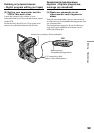
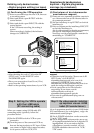
Stap 1: Aansluiten van de
videorecorder
Voor het aansluiten kunt u zowel een gewoon
audio/video-aansluitsnoer als een i.LINK kabel
(DV-aansluitsnoer) gebruiken.
Gebruikt u een gewoon audio/video-
aansluitsnoer, dan maakt u de aansluitingen
zoals aangegeven op blz. 91. Gebruikt u een
i.LINK kabel (DV-aansluitsnoer), dan maakt u de
aansluitingen zoals aangegeven op blz. 93.
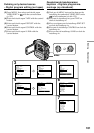
Bij aansluiting met een i.LINK kabel (DV-
aansluitsnoer)
Met deze volledig digitale aansluiting worden de
beeld- en geluidssignalen in digitale vorm
verzonden, hetgeen de beste kwaliteit oplevert.
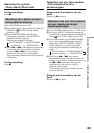
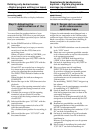
Stap 2: De videorecorder instellen
op kopiëren via een audio/
video-aansluitsnoer
Voor het monteren met de videorecorder zendt u
het bedieningssignaal via infrarode stralen naar
de afstandsbedieningssensor van de
videorecorder.
Als u de apparaten aansluit via een audio/video-
aansluitsnoer dient u de onderstaande
instelprocedures van (1) t/m (4) te volgen om te
zorgen dat het infrarode bedieningssignaal juist
wordt doorgegeven.
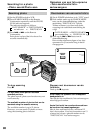
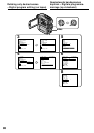
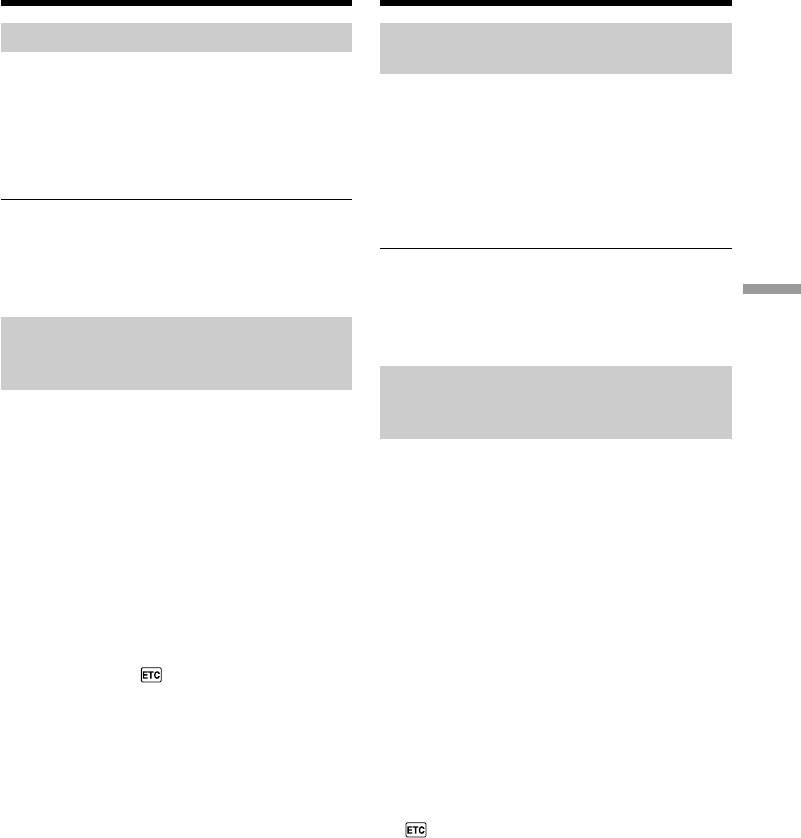
(1) Instellen van de IR SETUP code
1 Zet de POWER schakelaar van de camcorder
in de “VCR” stand.
2 Zet de aangesloten videorecorder aan en zet
de ingangskeuzeschakelaar op “LINE”.
Als u een andere videocamera/recorder
aansluit, zet u de functiekeuze-schakelaar
daavan in de “VCR/VTR” stand.
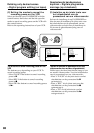
3 Druk op de MENU toets en kies dan met de
instelknop het onderdeel VIDEO EDIT onder
in het menu (zie blz. 132).
4 Kies met de instelknop het punt TAPE en
druk de instelknop in.
5 Kies vervolgens met de instelknop EDIT SET
en druk de instelknop in.
6 Kies met de instelknop CONTROL en druk de
instelknop in.
7 Kies nu met de instelknop IR en druk de
instelknop in.
8 Kies met de instelknop de juiste IR SETUP
afstandsbedieningscode voor uw merk
videorecorder en druk de instelknop in.
De juiste IR SETUP code vindt u onder
“Keuze van de IR SETUP code” (op blz. 97).
Dubbing only desired scenes
– Digital program editing (on tapes)
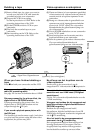
Step 1: Connecting the VCR
You can connect both an A/V connecting cable
and an i.LINK cable (DV connecting cable).
When you use the A/V connecting cable, connect
the devices as illustrated on page 91. When you
use an i.LINK cable (DV connecting cable),
connect the devices as illustrated on page 93.
If you connect using an i.LINK cable (DV
connecting cable)
With digital-to-digital connection, video and
audio signals are transmitted in digital form for
high-quality editing.
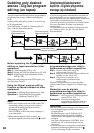
Step 2: Setting the VCR to
operate with the A/V
connecting cable
To edit using the VCR, send the control signal by
infrared rays to the remote sensor on the VCR.
When you connect using an A/V connecting
cable, follow the procedure below, (1) to (4), to
send the control signal correctly.
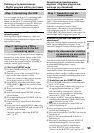
(1) Set the IR SETUP code
1 Set the POWER switch to VCR on your
camcorder.
2 Turn the power of the connected VCR on,
then set the input selector to LINE.
When you connect a video camera recorder,
set its power switch to VCR/VTR.
3 Press MENU, then select and decide upon
VIDEO EDIT in with the control button
(p. 132).
4 Select and decide upon TAPE with the control
button.
5 Select and decide upon EDIT SET with the
control button.
6 Select and decide upon CONTROL with the
control button.
7 Select and decide upon IR with the control
button.
8 Select and decide upon IR SETUP, then select
and decide upon IR SETUP code of your VCR
with the control button.
Check the code in “About the IR SETUP
code.” (p. 97)