Page 59 of 69
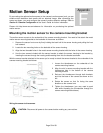
Motion Sensor Setup
By connecting the optional motion sensor to the camera’s motion sensor jack, you can
enable motion detection alert emails with an attached image. After connecting the
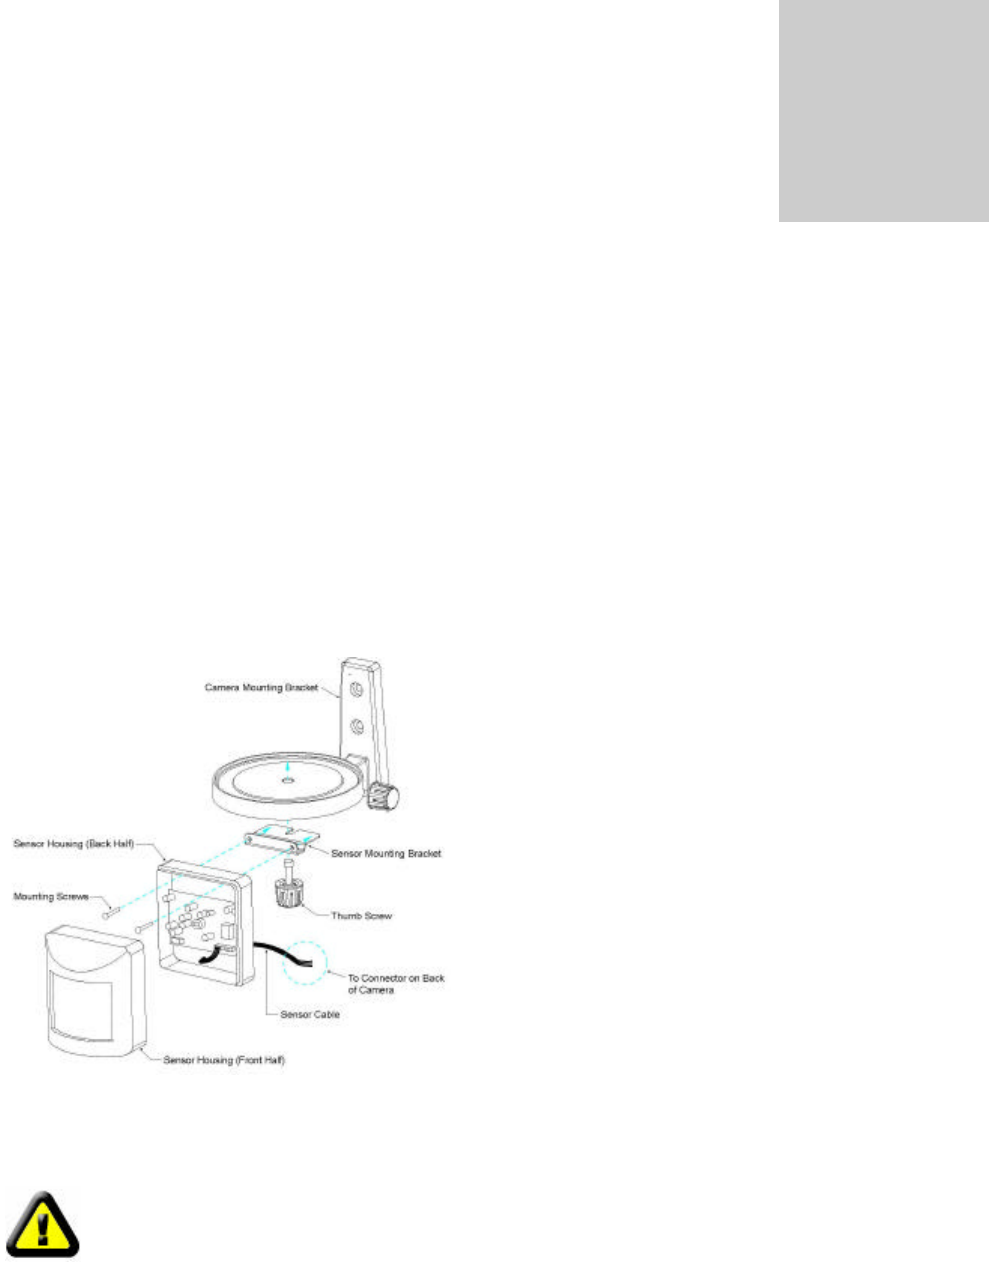
sensor as shown, you must configure the camera’s motion detection settings. Refer to
Section 3.3 Camera Configuration of the User’s Guide for further information.
Please visit http://www.veo.com/observer for information on purchasing the optional
motion sensor.
Mounting the motion sensor to the camera mounting bracket
The motion sensor mounts to the underside of the camera mounting bracket. You need to first attach the metal
motion sensor mounting bracket to the backside of the sensor as follows:
1. Remove the sensor front cover by firmly holding the back half of the sensor housing and pulling the front
half outward.
2. Locate the two mounting holes on the backside of the sensor housing.
3. Align the two threaded holes in the metal sensor mounting bracket with the holes in the sensor housing.
4. Use the two screws included with the sensor bracket to attach the sensor housing to the bracket by
inserting the screws through the housing and threading them into the bracket as shown.
With the sensor-bracket attached to the sensor you’re ready to attach the sensor-bracket to the underside of the
camera-mounting bracket as follows:
1. Loosen the thumbscrew on the underside of the
camera-mounting bracket.
2. Align the slot in sensor-mounting bracket with the
thumbscrew hole in the bottom of the camera
mounting bracket.
3. Re-insert the thumbscrew through both brackets
and into the base of the camera as shown on the
left.
4. Rotate the sensor so that it’s facing the same
direction as the camera lens.
5. Tighten the thumbscrew (you may need to push
hard while threading the thumbscrew through the
camera mounting bracket base).
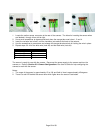
Wiring the sensor to the camera
Appendix
F
CAUTION: Disconnect all power to the camera before making any connections.


