


29
AXIS Camera Station - How to...
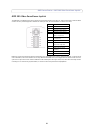
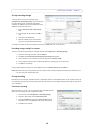
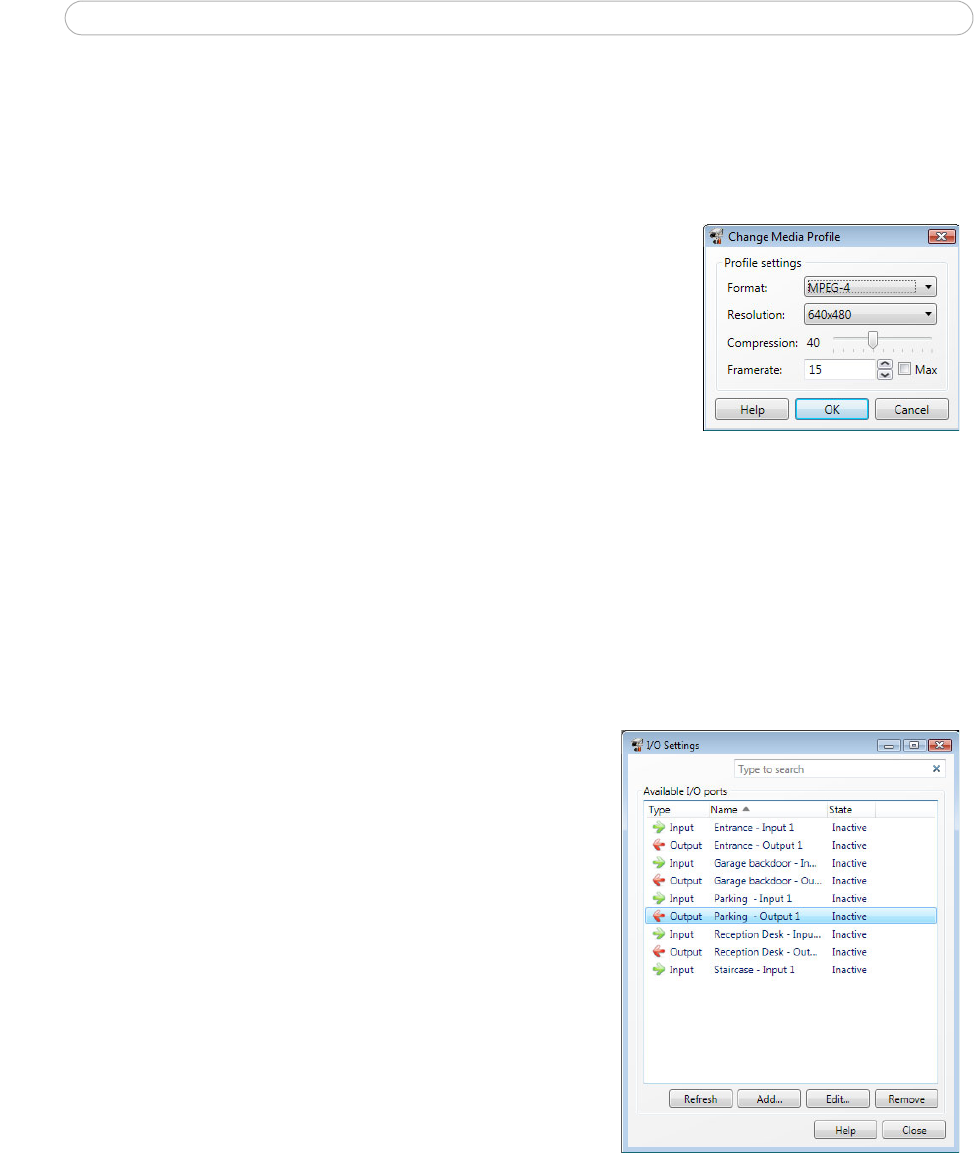
Configure media profile settings
Media profiles are entered to be used in Live View and Recording Settings. The available formats are automatically loaded in
the drop-down list.
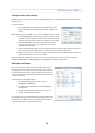
Enter Profile settings
1. Choose a Format for your media profile f
rom the drop-down list. The
options that appear in the list depend on the formats supported in the
camera.
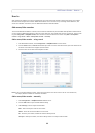
Note: Cameras configured for MPEG-4 can only have one MPEG-4 profile at one time.
2. Select the Resolution to use. Depending on the camera, resolution can fall
into different ranges. Resolution is a measure of how much detail a digital
image can hold; the greater the resolution, the greater the level of detail.
3. Changing the Compression level affects the amount of bandwidth
required. Lower compression improves image quality, but uses more
bandwidth and storage space.
4. Specify the desired Frame rate. The actual frame rate depends on the model of camera, network conditions and
your PC configuration. Check Max if you like to always use the maximum frame rate possible.
5. Audio is only visible if the selected camera supports audio and is only available for MPEG-4 and H.264. Select this
option to enable audio in live view or in recordings.
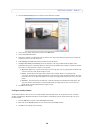
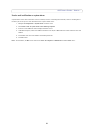
When using split views with more than 6 cameras in Live
View, media profiles ar
e overridden to improve performance.
Navigate to Configuration > Live View Settings and click Advanced to change the default settings.
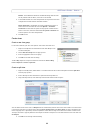
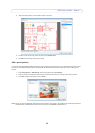
Add Inputs and Outputs
External devices such as window sensors, glass break detectors or PIRs
(Passive Infrared Detector) can be connected to camera inputs and used
for triggering alarms, recordings or messages. An output’s main function is
to trigger external devices such as a door relay that controls door locks, or
an alarm siren. For more information about input/output ports, refer to the
camera's User's Manual.
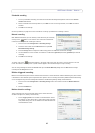
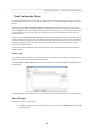
To add an I/O port to AXIS Camera Station:
1. To open the I/O Settings dialog, choose menu item
Conf
iguration
> I/O Settings.
2. Click Add to open a dialog with list of available I/O ports in
existing devices.
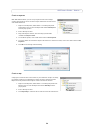
3. Highlight the desired input or output port by clicking on it.
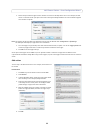
4. Click OK. The Add I/O port dialog opens.
Here you give your input or output por
t descriptive names to
appear under
Logs, I/O Monitoring dialog and Event Configuration Wizard. Refer to your
camera and its User's Manual about how the I/O ports were defined for
setting descriptive names to the active/inactive states.