


] Correcting Red-Eye Effect
106
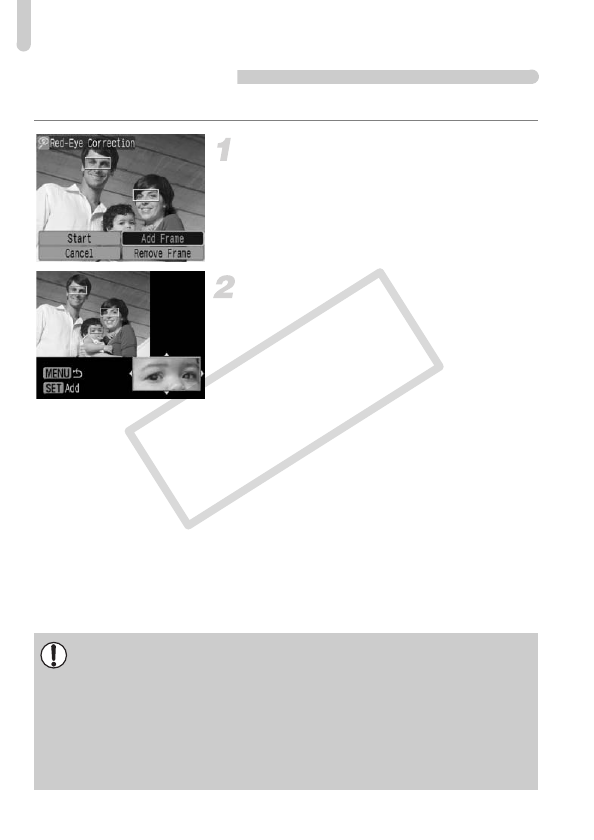
Manual Correction
When the camera cannot automatically detect and correct red-eye, correct it manually.
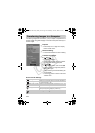
Add a correction frame.
● In Step 3 on the previous page, select
[Add Frame] and then press the m
button.
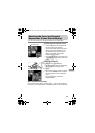
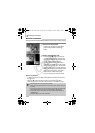
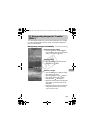
Set the position and size.
● Press the opqr buttons to move the
correction frame (green) to the red-eyes,
then use the zoom lever to adjust its size
so only the red-eyes are framed.
XThe area inside the frame will appear
enlarged in the bottom right of the screen.
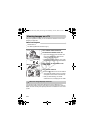
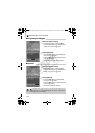
●
When you press the
m
button, the first frame
will be set (white) and a new frame will appear.
●
When you have set the frame positions and
sizes, press the
·
button, then follow
Steps 3 and 4 on the previous page.
●
You can add up to 35 correction frames.
Removing Frames
• In Step 3 on the previous page, select [Remove Frame] and then press
the m button.
• Press the qr buttons to select a frame, then press the m button.
• Press the · button, then follow Steps 3 and 4 on the previous page.
• Some images may not be properly corrected.
• If there is not enough free space on the memory card, red-eye cannot be
corrected.
•
If you repeat corrections on the same image, image quality may deteriorate.
• When [Overwrite] in Step 4 on the previous page is selected, the
uncorrected image is overwritten with the corrected data, erasing the
original image.
• Protected images cannot be overwritten.
(EC248) CDI-E386_Guide_E.book Page 106 Thursday, June 19, 2008 4:52 PM
COPY