Correcting the Brightness and Shooting (i-Contrast)
89
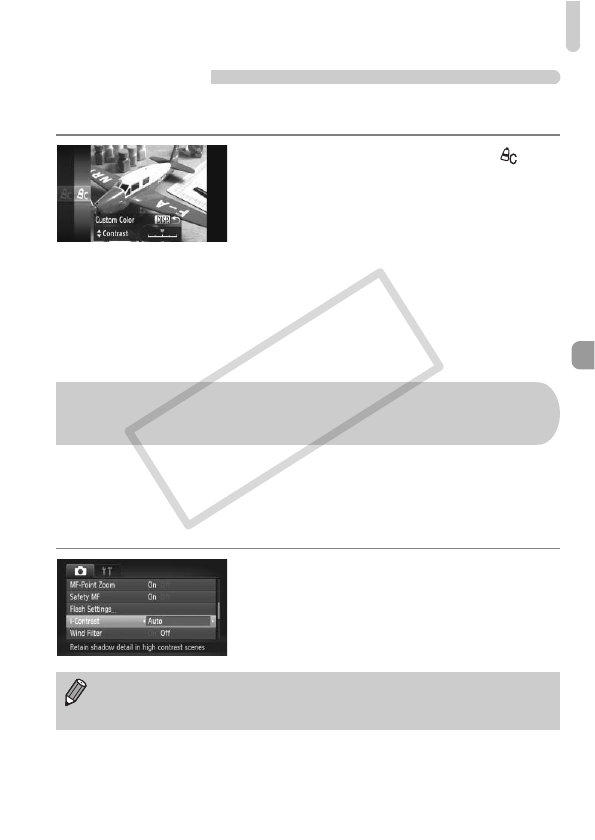
Custom Color
The contrast, sharpness, color saturation, red, green, blue, and skin tones in
an image can be chosen and set at 5 different levels.
z Follow Step 2 on p. 88 to choose , then
press the l button.
z Press the op buttons to choose an
option, then press the qr buttons or turn
the  dial to choose a value.
z The more to the right, the stronger/darker
(skin tone) the effect gets, the more to the
left, the weaker/lighter (skin tone) the
effect gets.
z Press the l button to complete the
setting.
The camera can detect areas in the scene, such as faces or backgrounds,
that are too bright or dark and automatically adjust them to the optimum
brightness when shooting. Also, when the overall image is lacking in contrast,
the camera will automatically correct the image for a sharper impression
when shooting.
Choose [i-Contrast].
z Press the n button to choose
[i-Contrast] from the 4 tab, then press the
qr buttons to choose [Auto].
XOnce set, @ will appear on the screen.
Correcting the Brightness and Shooting
(i-Contrast)
• Under some conditions, the image may appear coarse or may not be
corrected properly.
• You can correct recorded images (p. 149).
