177
EDITING IMAGES
7. Use [W] and [X] to select the snapshot for the
layout and then press [SET].
8. Repeat steps 6 and 7 for all of the other frames
in the layout.
The final layout image will be saved after you insert the final
snapshot into it.
• Pressing [MENU] returns to the PLAY mode screen
without saving the layout image.
• You will not be able to save the new image unless there is
a snapshot in all of the layout frames.
IMPORTANT!
• Layout Print is not supported when the image size is “3:2
(3264 × 2176 pixels)” or “16:9 (3264 × 1840 pixels)”.
• When you display a layout image on the camera’s monitor
screen, the date and time indicates when the last image
added to the layout was originally recorded, not when the
image was laid out.
• The size of the multi-snapshot image for this operation is
fixed automatically at 7M (3072 × 2304 pixels).
You can use the white balance setting to select a light source
type for a recorded image, which will affect the colors of the
image.
1. In the PLAY mode, use [W] and [X] to display
the image whose white balance setting you
want to change.
2. Press [MENU].
3. Select the “PLAY” tab, select “White Balance”,
and then press [X].
• Note that the above step is possible only when there is a
snapshot displayed on the monitor screen.
4. Use [S] and [T] to select a white balance
setting, and then press [SET] to apply it.
Adjusting White Balance of a
Recorded Image
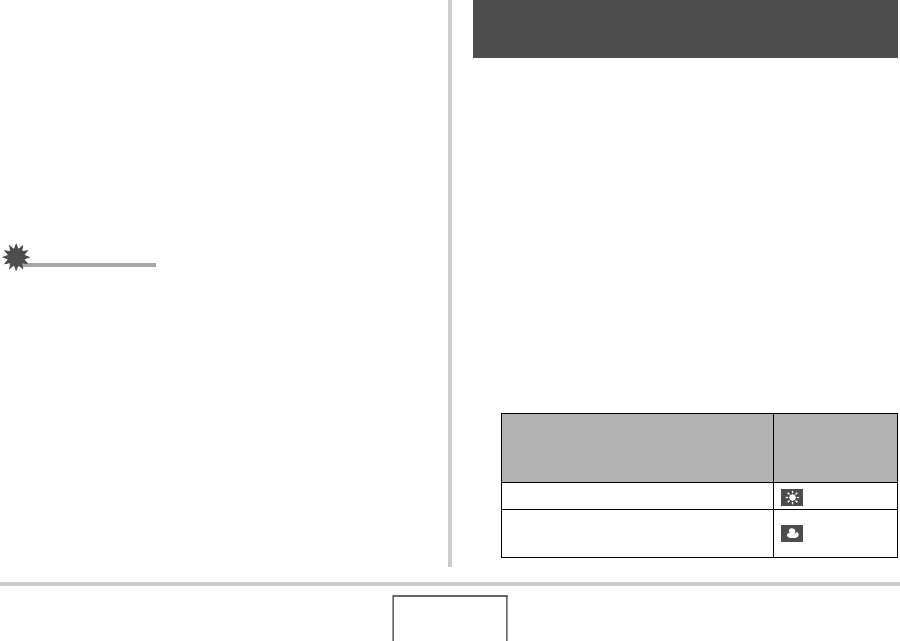
When you want the image to appear
like it was recorded under these
conditions:
Select this
setting:
Outdoors, fair weather (Daylight)
Outdoors, cloudy to rain, in tree shade,
etc.
(Overcast)
C


