


5
En
GETTING STARTED
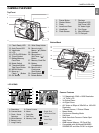
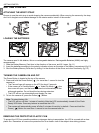
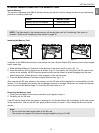
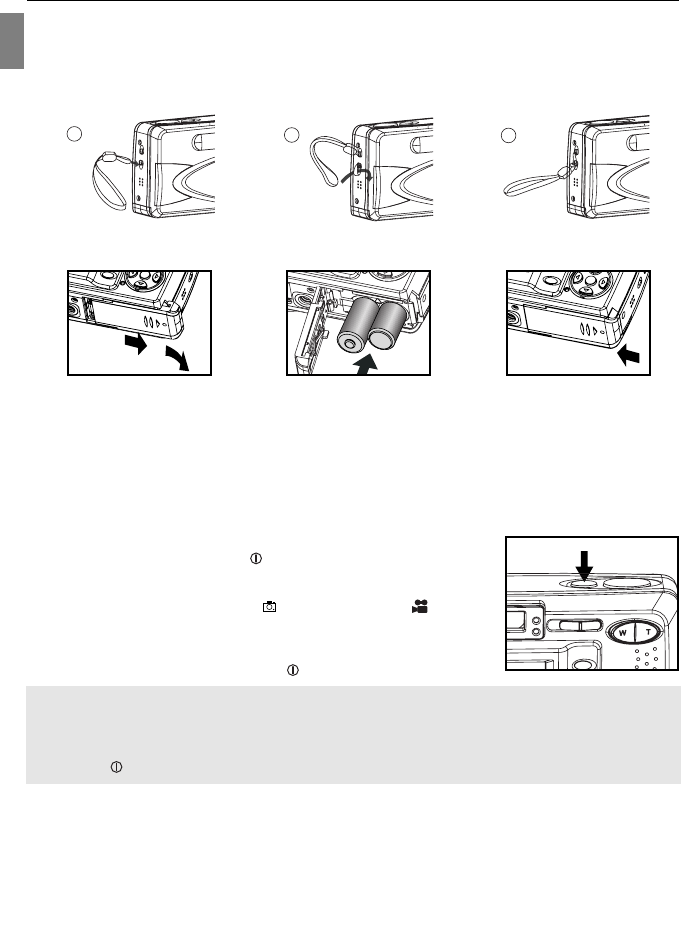
ATTACHING THE WRIST STRAP
Be sure to use the wrist strap to avoid dropping the camera accidentally. When carrying the camera by the strap,
don’t let it dangle to avoid shocks/damage to the exterior and/or interior of the camera.
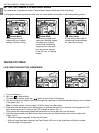
LOADING THE BATTERIES
The camera uses 2x AA alkaline, lithium or rechargeable batteries. Rechargeable Batteries (NiMH) are highly
recommended.
1. Slide the Battery/Memory Card door in the direction of the arrow, and lift it open. (fig.1.1)
2. Insert the batteries according to the polarity indication shown on the edge of the battery compartment.(fig.1.2)
3. Shut the Battery/Memory Card door by sliding it in the direction of the arrow, and close it securely. (fig.1.3)
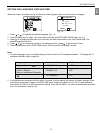
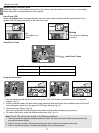
TURNING THE CAMERA ON AND OFF
The Power Button is located at the top of the camera.
1. Press and hold the Power Button ( ) for more than 1 second to turn the
camera on.
• The Concord logo will appear on the LCD for about 2 seconds.
• If the camera is in Camera Mode ( ) or Video Clip Mode ( ), the
lens cover will open, and the lens will extend out automatically to the
wide-angle position. Do not block the lens during extension.
• The LCD will turn on automatically and display live view.
2. To turn the camera off, press the Power ( ) Button.
Note: To extend battery life,
• The LCD will turn off after 1 minute of inactivity. After the LCD is automatically turned off, the Flash
Ready LED blinks. Press any buttons to reactivate the LCD.
• The camera will automatically power off after 2 minutes of inactivity by default.. Press and hold the
Power ( ) Button for more than 1 second to turn the camera back on.
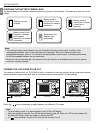
REMOVING THE PROTECTIVE PLASTIC FILM
To prevent the LCD from possible scratches or damages during transportation, the LCD is covered with a clear
plastic film. Remember to remove the protective film for a clearer view of the subject when taking pictures.
1
A
AWB
A
AWB
A
AWB
Ú Ú
A
AWB
Ú Ú
A
AWB
A
AWB
2
A
AWB
A
AWB
A
AWB
Ú Ú
A
AWB
Ú Ú
A
AWB
A
AWB
3
A
AWB
A
AWB
A
AWB
Ú Ú
A
AWB
Ú Ú
A
AWB
A
AWB
GETTING STARTED
fig.1.1 fig.1.2 fig.1.3
A
AWB
A
AWB
A
AWB
Ú Ú
A
AWB
Ú Ú
A
AWB
A
AWB