E60
USING ARCSOFT PHOTOIMPRESSION
Windows only
Step 1 Do not connect the camera to the computer before successful in
stallation of the camera’s drivers. (page 51 ).
1. Connect the camera to the computer. (page 54)
2. Set the Mode Dial to the SET position.
3. Power on the camera.
Note: Do not rotate the Mode Dial to the other mode positions.
Step 2 Launch ArcSoft PhotoImpression software
by double clicking the PhotoImpression icon
on the desktop, or via Start > Programs >
ArcSoft PhotoImpression > PhotoImpression
from the application list on your screen.
The application screen would show.
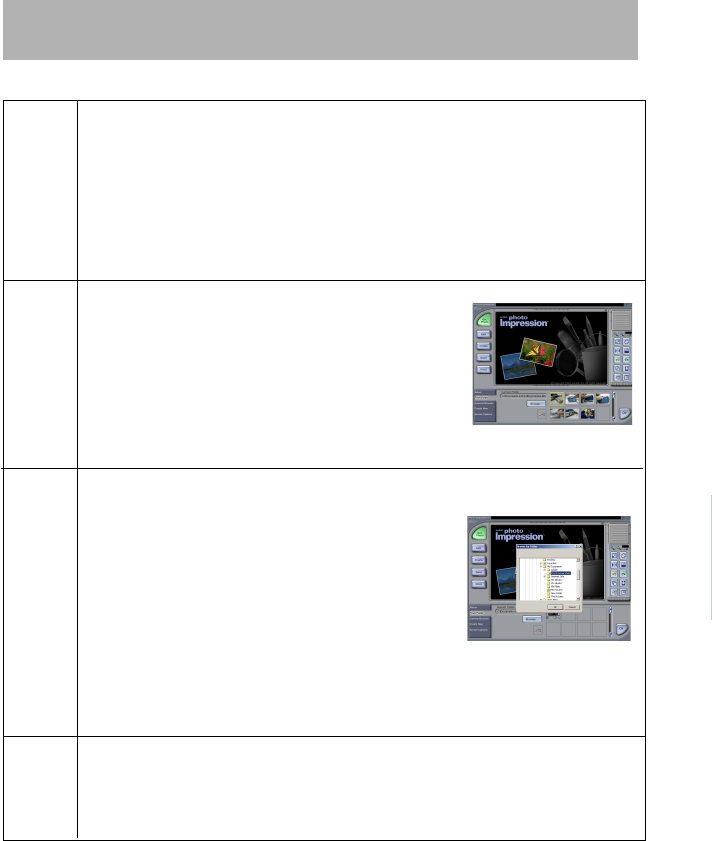
Step 3 Click on [From Folder] at the lower left hand corner,
and click [Browse…], then browse will open,
then locate and select the Removable Disk
and DCIM and 100DCIM folder, then click OK,
the pictures will then be added to your album at
the bottom of the application.
Double click the desired thumbnail to open.
Note:
Only still pictures can be trnsferred to PhotoImpression.
Step 4 You are now ready to print, store or further enhance your pictures. Please
refer to ArcSoft’s Software help section for a tutorial on all the features
PhotoImpression offers.


