


❏ Maximum data size: 10 MB
❏ Maximum image size: 720 x 480 pixels
❏ Not including animated files
To register text, follow the procedure below.
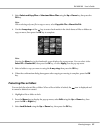
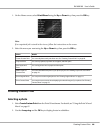
1. On the Home screen, select Settings, using the Up or Down key, then press the OK key.
2. Select Watermark Settings, using the Up or Down key, then press the OK key.
3. Select Create New Watermark using the Up or Down key, then press the OK key.
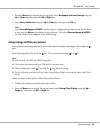
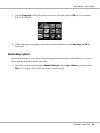
4. Enter the text you want to use as a watermark. When you have finished entering the text, select
Done, then press the OK key.
5. Select the text color, then press the OK key.
6. When the confirmation message appears, press the OK key.
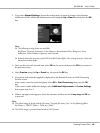
To register images, follow the procedure below.
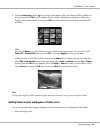
1. Create your image file (PNG format) on a computer.
2. Copy the image file to the viewer's My photos folder. To copy from the computer, see
"Transferring to the Computer" on page 39.
3. Select an image file on the viewer, then press the OK key.
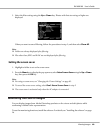
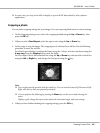
To remove registered watermarks, repeat steps 1 and 2 of the above procedure for registering text,
and then select Remove this Watermark in step 3.
Using the Print Wizard Menu
Print Wizard has six menus to suit different purposes. See the table in step 2 for details on each menu.
R41A0K180 User’s Guide
Creating Custom Print 65