R4CG230
BasicOperationGuide Rev.D
BASIC.FM A4 size
7/8/05
R
Proof Sign-off:
K.Yoda CRE Takehira
M. Otsuka
editor name
Printing Photos 13
English
1. Press the l or r button to highlight Print Index
Sheet on the first screen, then press the OK button.
2. Press the Print Settings button.
3. Make the Paper Type setting.
4. Make the Paper Size setting.
The layout printed in this print mode is fixed by
the paper size as follows.
Note:
You can confirm the print settings by pressing the OK button.
5. Press the x Start button to print.
Printing a Photo With a Frame
Specified by Camera
If you want to print a photo with a frame you
previously specified by EPSON camera, follow the
steps below. When the photo data includes P.I.F. data,
this icon appears on the LCD panel.
1. On the main menu, or after selecting photos, press
the Print Setting button.
Note:
Select the photos from the View and Print Photos, Print All
Photos, Print Range of Photos, or Print by Date menu.
2. Press the u or d button to select Keep P.I.F. Frame
with Photo, then press the r button.
3. Press the u or d to select On, then press the OK
button.
4. Press the OK button to confirm the setting, and
press the OK again to close the menu.
5. Print.
Note:
When Keep P.I.F. Frame with Photo is set to On and frames are
specified for the photos, the Layout setting is ignored.
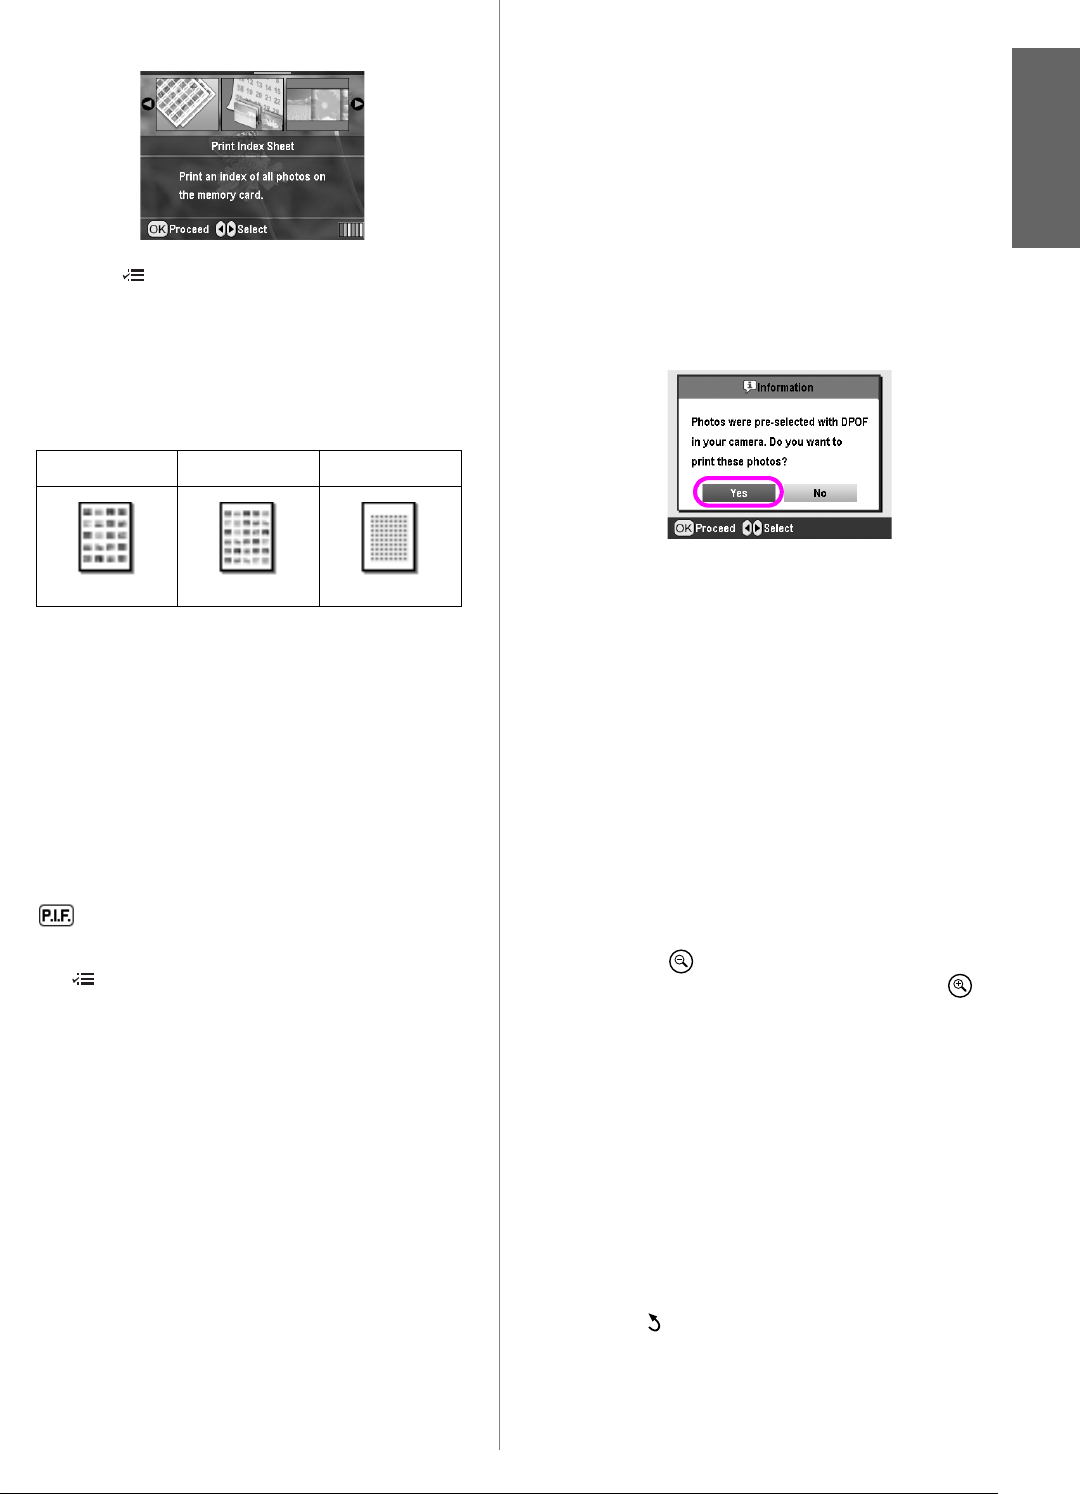
Printing with DPOF Settings
If your camera supports DPOF (Digital Print Order
Format), you can use it to pre-select which photos and
how many copies you want to print. See your digital
camera’s manual to choose photos for printing with
DPOF, then insert your memory card in this printer.
This printer automatically reads your pre-selected
photos.
1. Load a memory card which contains DPOF data,
and then press the OK button.
2. When this message appears, select Yes, and then
press the OK button.
3. Make Paper Type, Paper Size, and Layout settings.
For details, see “Making the Paper and Layout
Settings” on page 18. The Total copies menu
shows the number of sheets of paper required for
the selected layout.
Note:
The Layout setting is not available when the DPOF settings are
for an Index print.
4. Press the x Start button to start printing.
Changing the View of Photos
on the LCD Panel
You can change the view to 9 photos on the LCD panel
by pressing the Zoom out button when selecting
photos. To change back to one photo, press the
Zoom in button.
Note:
It is useful to view 9 photos when you choose photos to print in the
Print Range of Photos or View and Print Photos settings.
Viewing a slide show
1. Press the u or d button to highlight Play Slide
Show at the first screen, then press the OK button.
Your printer shows the photos in the memory card
in sequence.
2. Press the Back button to finish or the OK button
to pause the slide show. Press the OK button again
to resume.
10x15cm 13x18cm A4
20-up 30-up 80-up


