R4CG230
BasicOperationGuide Rev.D
MORE.fm A4 size
7/8/05
R
Proof Sign-off:
K.Yoda CRE Takehira
M. Otsuka
editor name
Photo Printing Options 21
English
3. Press the u or d button to choose a setting:
4. Press the OK button.
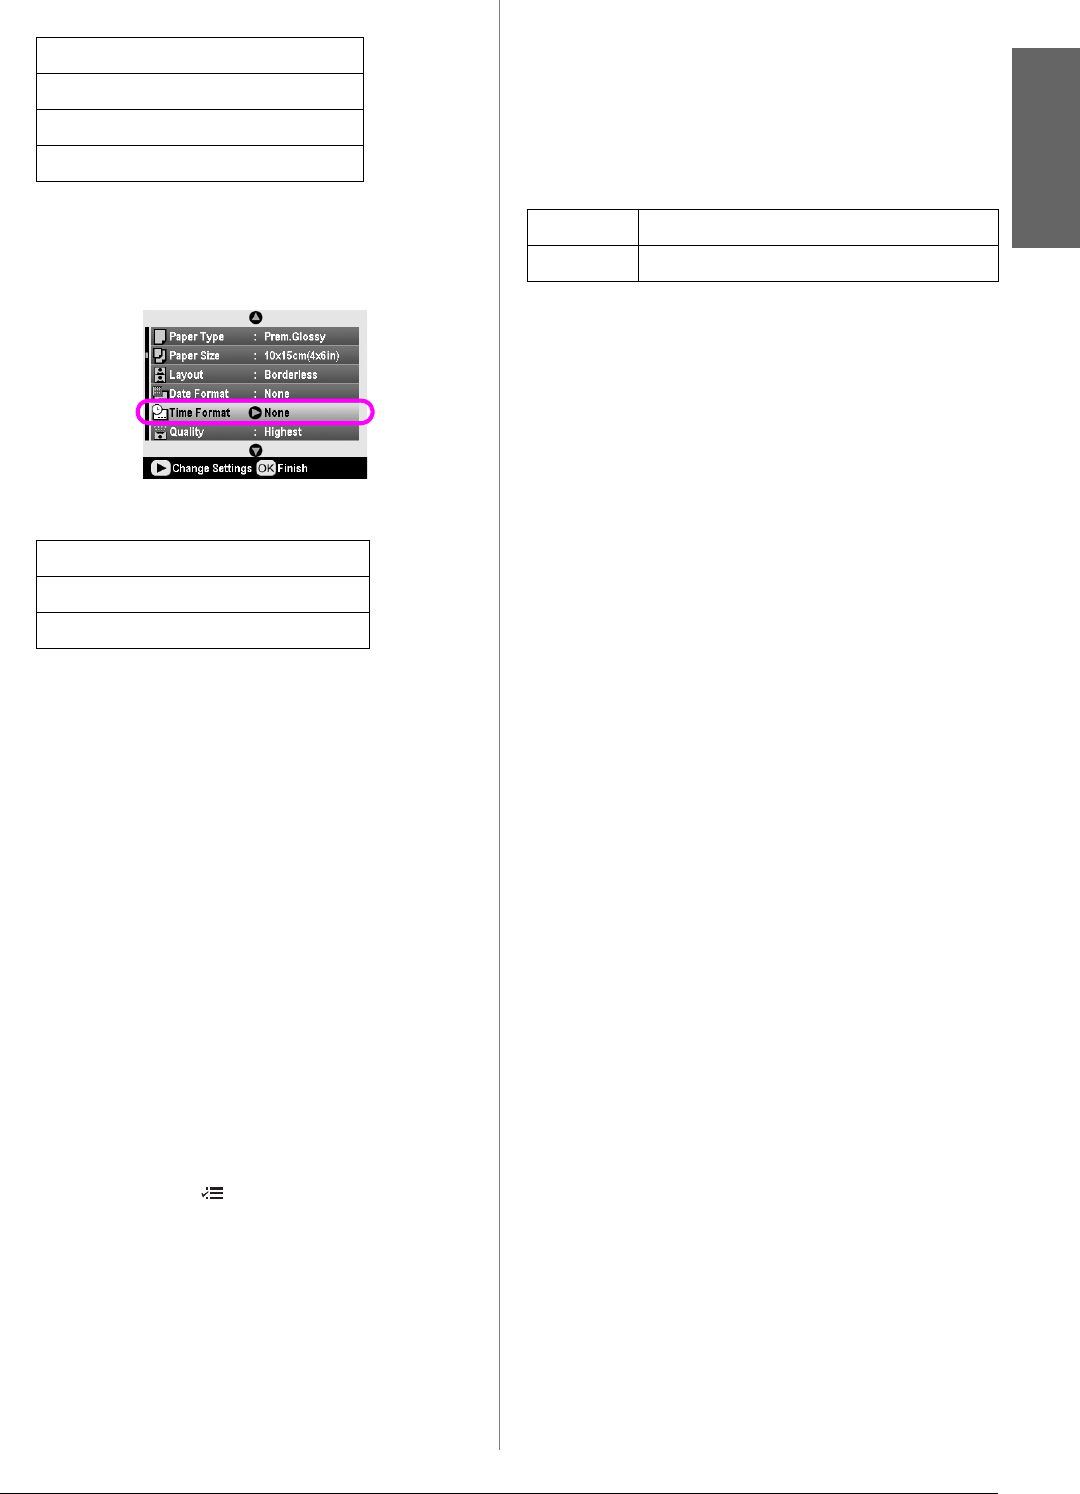
5. To print the time, select Time Format, then press
the r button to open the menu.
6. Press the d or u button to choose a setting:
7. Press the OK button.
When Date Format or Time Format is turned on, the
information is printed on all photos in any layout for
which the information is allowed.
Note:
These settings are saved when you turn off the printer or choose a
different set of photos, so remember to change the settings back to
Off when you are done.
Printing Photos in Black and
White or Sepia
You can print your photo in black and white or in a
sepia tone without changing the original photo.
Note:
A sepia print has a brownish tone, for an old-fashioned photo look.
1. After selecting the photos, number of copies,
paper type, paper size, and layout as described on
page 18, press the Print Setting button.
2. Select Filter, then press the r button to open the
menu.
3. Press the u or d button to choose the B&W or
Sepia, then press the OK button.
4. Press the OK button.
Fit to Frame
This setting automatically trims the parts of an image
that extend beyond the margins of the selected print
size. Either the top and bottom areas or the left and
right areas of the image will be trimmed, depending
on the aspect ratio of the original photo and the
selected print size. The default setting is On.
Resize each photo (without trimming it) so that it fits
inside the print area specified on the Layout menu.
Margins may appear at the left and right of the photo,
depending on the print size and aspect ratio.
None (default, turns off the date stamp)
yyyy.mm.dd (2005.09.01)
mmm.dd.yyyy (Sep.01.2005)
dd.mm.yyyy (01.Sep.2005)
None (default, turns off the time stamp)
12-hour system (03:00 for 3:00 pm)
24-hour system (15:00 for 3:00 pm)
On Trims the image.
Off Does not trim the image
