R4CG230
BasicOperationGuide Rev.D
MORE.fm A4 size
7/8/05
L
Proof Sign-off:
K.Yoda CRE Takehira
M. Otsuka
editor name
20 Photo Printing Options
Automatically adjusting your
photos
When you use the printer’s automatic image
adjustments, the adjustments are applied to all your
photos.
1. Press the Print Setting button.
2. Press the d or u button to highlight Auto Correct,
then press the r button.
3. Select from these options, then press the OK
button twice.
To make manual adjustments in addition to the
automatic ones, follow the steps in the next section.
Manually adjusting your photos
1. Press the Print Setting button.
2. Press the d or u button to highlight, Brightness,
Contrast, Saturation, or Sharpness, then press
the r button.
3. Adjust any settings as necessary, then press the
OK button twice.
Cropping and Sizing Your
Photos
You can print just part of a photo, cropping out the
area that you do not want. You can choose only one
photo to crop at a time.
1. Choose the photo you want to crop with the View
and Print Photos option. See “Printing several
photos (View and Print Photos)” on page 11.
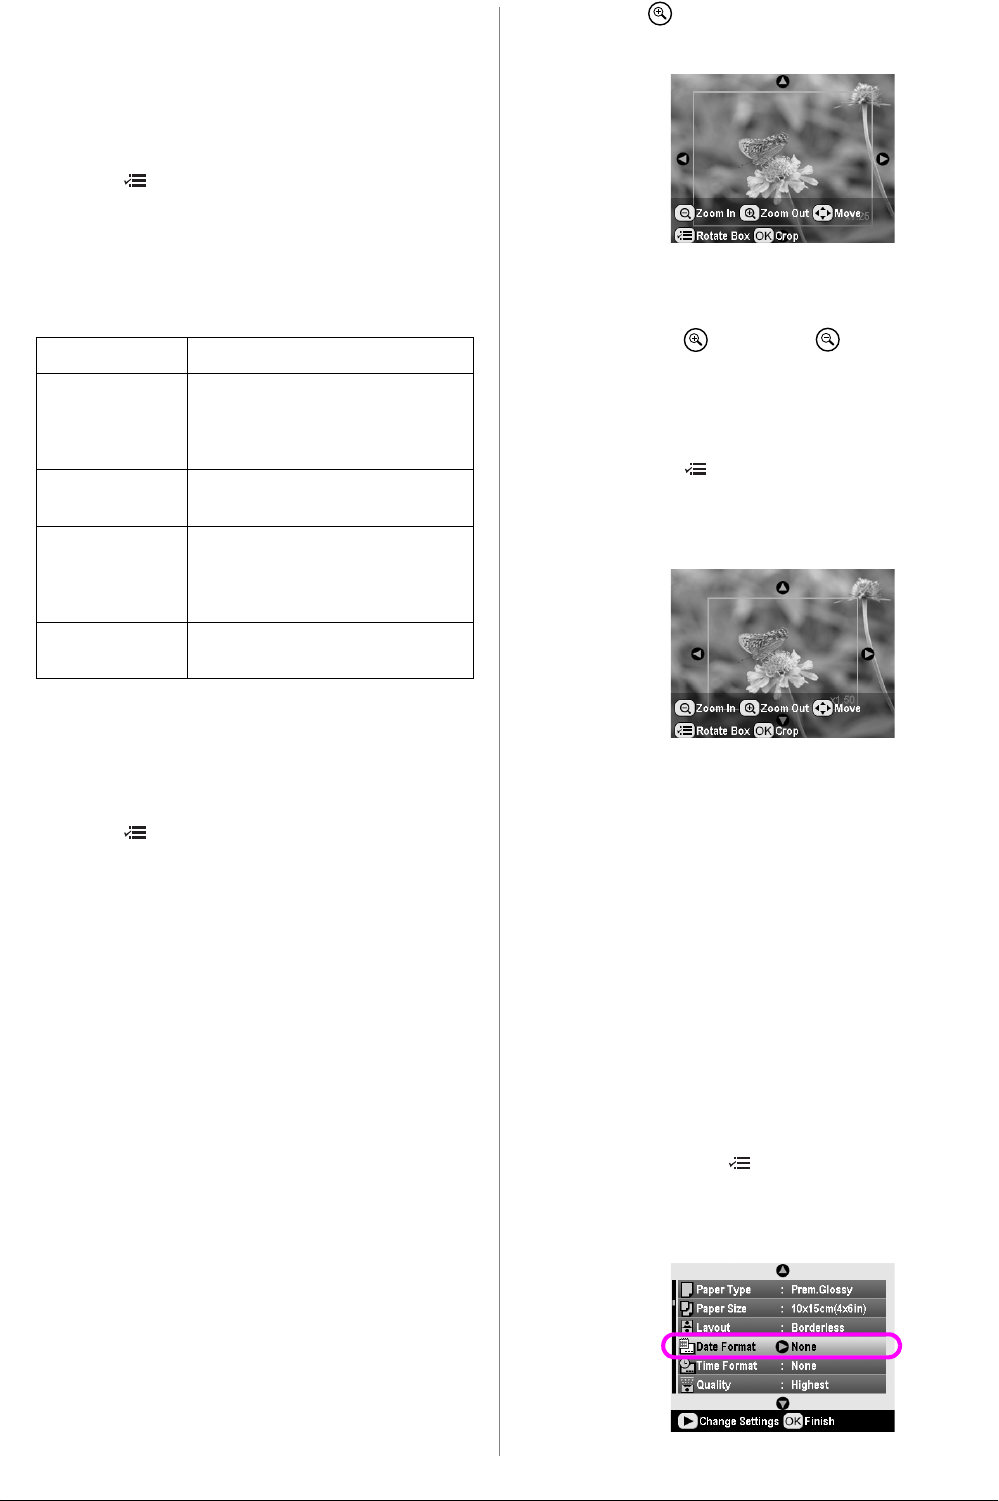
2. Press the Zoom in button to crop a photo. You
will see an orange frame around the cropped area.
3. Use the following button to set the area you want
to crop.
■ Press the Zoom in or Zoom out button
to change the frame size.
■ Press the r, l, u or d button to move the
frame.
■ Press the Print Setting button to rotate the
frame.
4. Press the OK button to confirm the cropped image.
Note:
This setting remains in effect until you print or press the
y Stop/Clear button.
5. After checking the cropped image, press the OK
button.
6. If you do not need to change any other settings,
press the OK button or close the menu.
Adding the Date or Time
You can print the date and/or time the photo was
originally taken on the bottom right of your print.
1. After selecting the photos, number of copies,
paper type, paper size, and layout as described on
page 18, press the Print Setting button.
2. To print the date, select Date Format, then press
the r button to open the menu.
Setting item Function
P.I.M. Uses your camera’s PRINT Image
Matching settings (this option is
automatically selected when your
pictures contain P.I.M. data).
PhotoEnhance Adjusts the brightness, contrast, and
saturation of your photos.
Exif Uses your camera’s Exif Print
settings (this option is automatically
selected when your pictures contain
Exif Print data).
None Select this if you don’t want to use
P.I.M., Exif, or PhotoEnhance.


