Genie Monochrome Series-GigE Vision Camera Installing the Genie Camera • 23
Typical LED States on Power Up
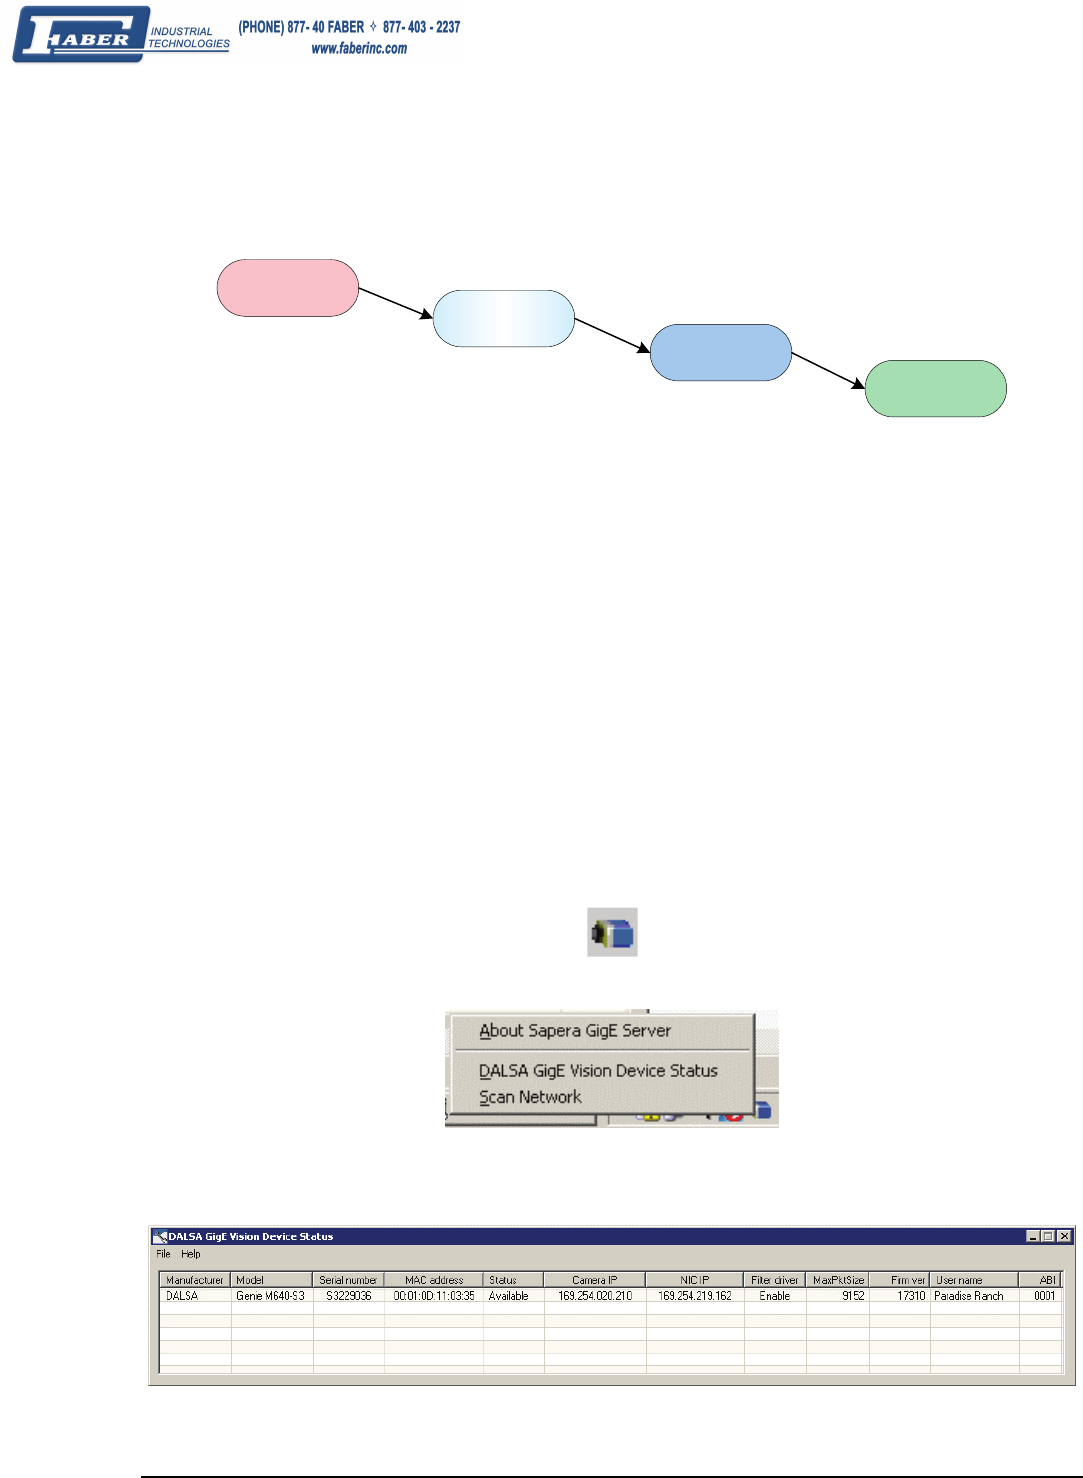
The following LED sequence occurs when the Genie is powered up connected to a network with installed Genie
Framework software.
Red
power connected
Flashing Blue
waiting for IP
Blue
IP assigned
Green
application
connected
Genie IP Configuration Sequence
The Genie IP (Internet Protocol) Configuration sequence to assign an IP address is executed automatically on
camera power-up or when connected to a network. As a GigE Vision compliant device, Genie attempts to assign an
IP address as follows.
For any GigE Vision device, the IP configuration protocol sequence is:
• Persistent IP (if enabled)
• DHCP (if a DHCP server is present)
• Link-Local Address (always enabled)
The factory defaults for Genie is Persistent IP disabled and DHCP enabled with LLA always enabled as per the
GigE Vision specification. For additional information see "
IP Configuration Mode Details" on page 77.
GigE Server Status
Once the Genie is assigned an IP address (its Status LED is steady blue) the GigE server tray icon will not have a
red X through it, indicating that the Genie device was found. It might take a few seconds for the GigE Server to
refresh its state after the Genie has obtained an IP address.
Right-click the GigE Server tray icon to open the following menu.
Click on Status to open a window listing all devices connected to the host system. Each GigE device is listed by
name along with important information such as the assigned IP address and device MAC address. The screen shot
below shows a connected Genie with no networking problems.


