19 Using FotoFUN! for Macintosh
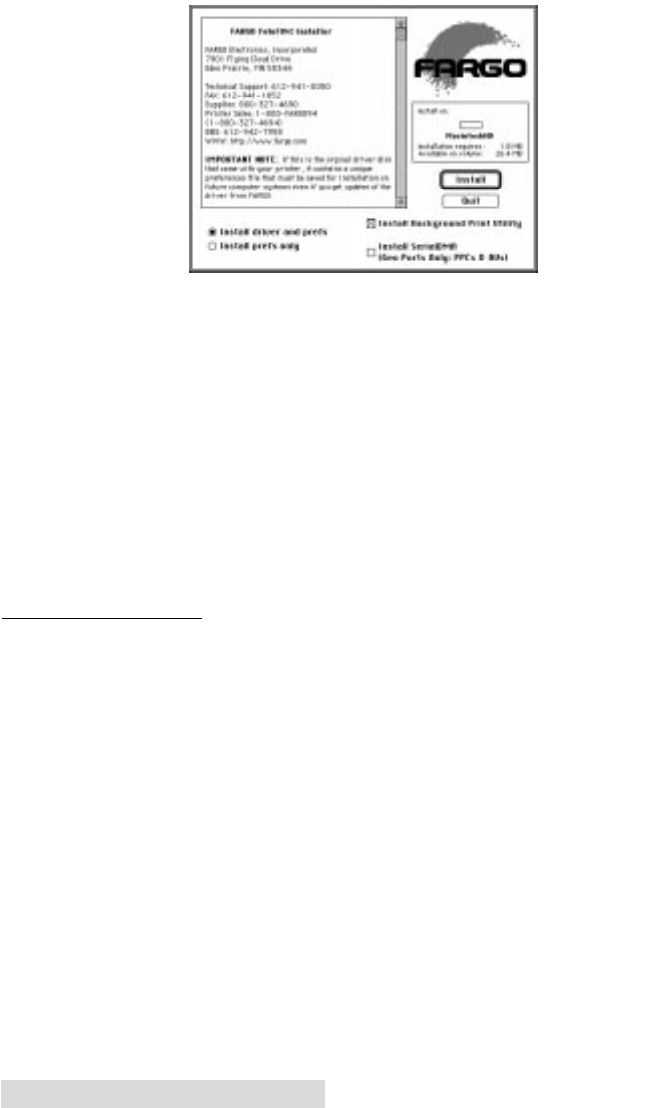
5. When the Installer window appears, select the options you
would like the installer program to install. In most
instances, the default selections will suffice. For a
description of each of these options, refer to the notes
found in the box directly above these options (use the up
and down arrows to scroll through the notes). Once the
desired options are selected, click on Install. The
appropriate files will automatically install onto your
computer. An alert box will then display indicating that
installation is complete.
6. Click on OK to exit the installer. Driver installation is now
complete.
C. THE CHOOSER
The Chooser is a Desk Accessory in the Apple menu. Before
you can use FotoFUN!, you need to select the FotoFUN! printer
driver using the Chooser. This instructs your Macintosh to
send print jobs to FotoFUN! instead of to some other printer
you may already have connected to your system. Refer to the
following steps to select the FotoFUN! printer driver:
1. Select Chooser from the Apple Menu.
2. The Chooser displays an icon for all the printer drivers
installed in the System Folder. Among these, you should
see the icon for the FotoFUN! printer driver you just
installed. If you do not see the icon, go through the
installation procedure again making sure the Install driver
and prefs option is selected. Once you locate the FotoFUN!
icon, click on the icon to select it.
510489 FotoFUN! 7/29/98 3:26 PM Page 20
