2
3736
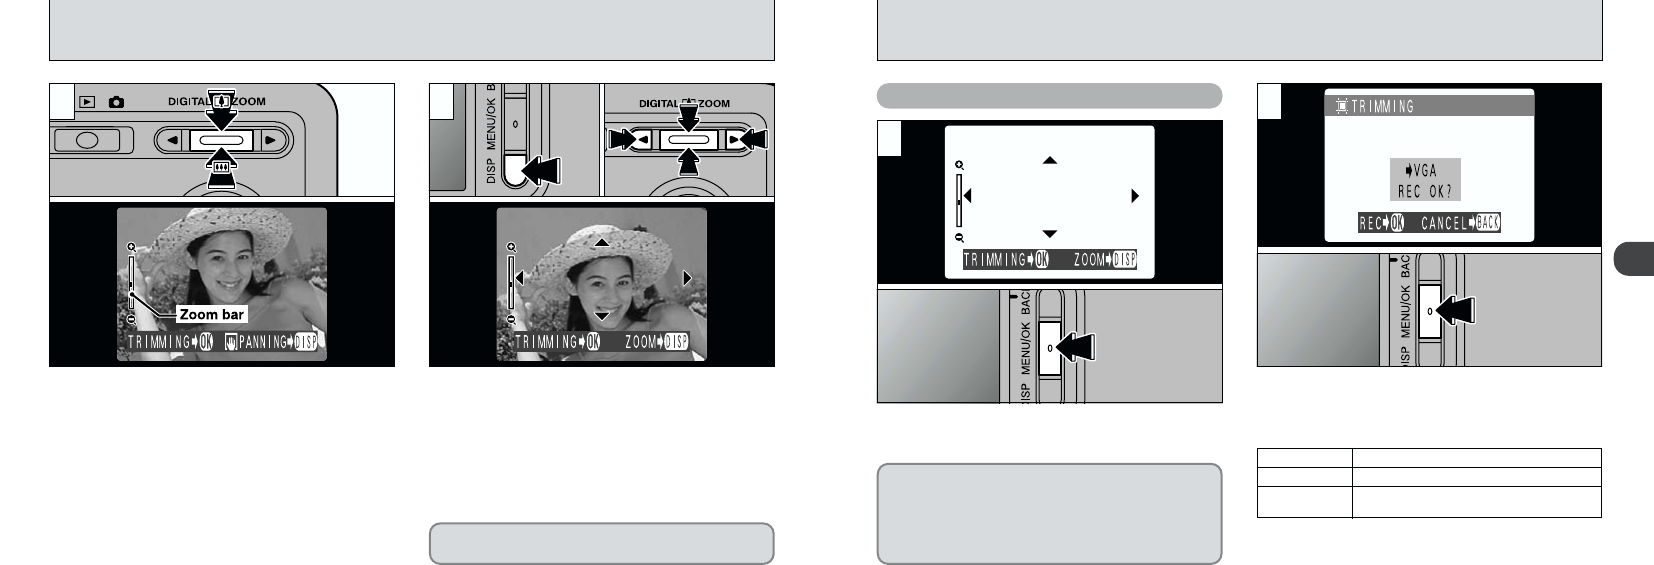
After using playback zoom, press the
“MENU/OK” button to trim the image.
Check the size of the image being saved and
then press the “MENU/OK” button. The trimmed
image is saved as a separate file.
Saving Trimmed Images
■ Image Sizes
H Suitable for A5 printing
J Suitable for A6 printing
K
“
TRIMMING
” is displayed in yellow since
the quality is too low for printing.
✽ Because images with resolutions of less than K are
not suitable for printing, “
TRIMMING
L:
” is no longer
displayed and trimmed images cannot be saved.
The size of the saved image varies
depending on the zoom scale. In VGA
mode, “
TRIMMING
L:
” is displayed in
yellow. At resolutions below VGA,
“
TRIMMING
L:
” is no longer displayed.
1
2
PLAYBACK ZOOM
Pressing “a(
8
)” or “b(
9
)” during single-frame
playback zooms in (enlarges) or out on a still
image. When you use this function, a zoom bar is
displayed.
hZoom scales:
G 2400 × 1800 pixel images: Max 15×
H 1600 × 1200 pixel images: Max 10×
J 1280 × 960 pixel images: Max 8×
K 640 × 480 pixel images: Max 4×
After you have zoomed in on your image,
1Press the “DISP” button.
2Use “a(
8
)”, “b(
9
)”, “d” and “c” to zoom in
on different parts of the image.
3Press the “DISP” button again to revert to
zoomed display.
●
!
Pressing “d” or “c” during zooming cancels
zooming and moves to the next image.
●
!
Press the “BACK” button to return to normal
unscaled display.
1 2
020301
This is useful for such things as checking the
focus after you take a shot.


