3
5554
T
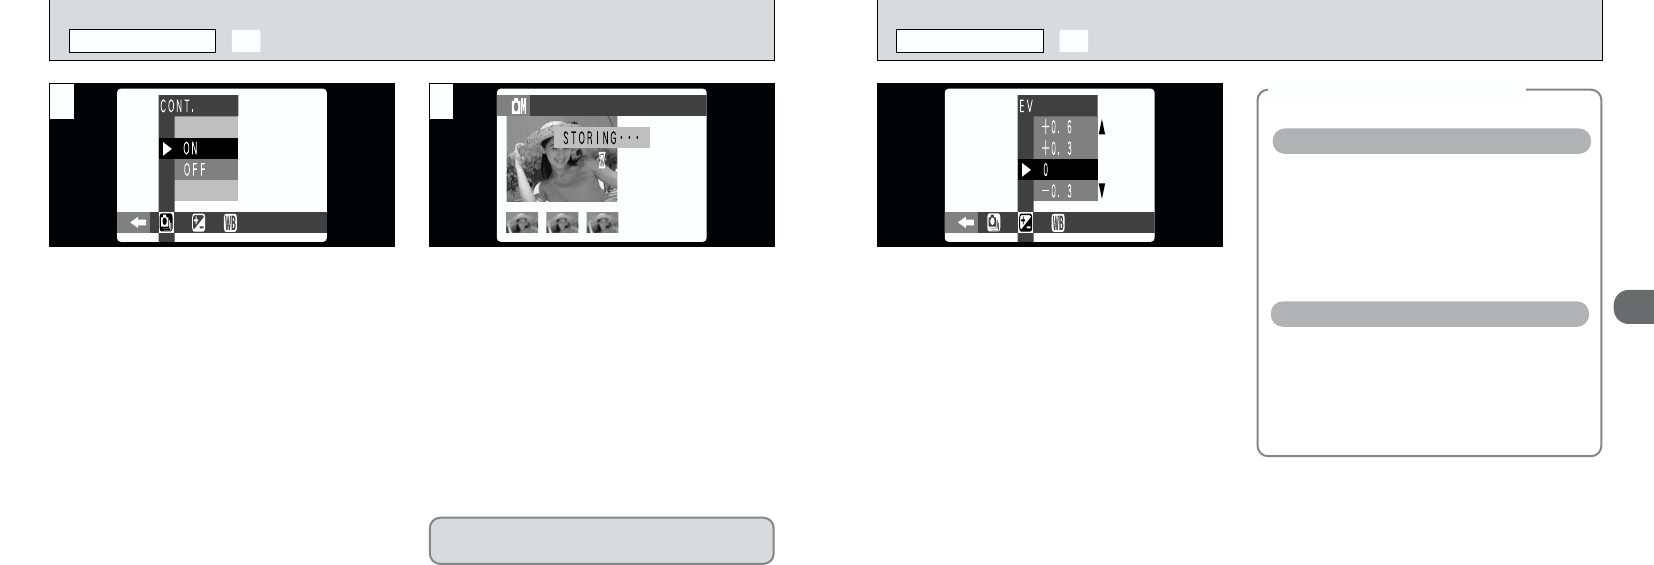
EV (EXPOSURE COMPENSATION)
PHOTOGRAPHY MENU
This mode can be selected in the “w” still
image mode.
Use the Brightness setting to obtain the optimum
image brightness (exposure) when the subject is
much brighter or darker than the background.
hCorrection range: 11 steps
(–1.5 EV to +1.5 EV in 0.3 EV increments)
See P.125 for information on EV.
●
!
The Brightness setting is disabled in the following
situations:
• When the flash is used in Auto or Red-Eye Reduction
mode.
• When dark scenes are shot in Forced Flash mode.
h Copying of printed text (black characters
on white paper) (+1.5 EV)
h Backlit portraits (+0.6 EV to +1.5 EV)
h Very bright scenes (such as snowfields)
and highly reflective subjects (+0.9 EV)
h Shots made up predominantly of sky
(+0.9 EV)
h Spotlit subjects, particularly against dark
backgrounds (–0.6 EV)
h Copying of printed text (white characters
on black paper) (–0.6 EV)
h Scenes with low reflectivity, such as shots
of pine trees or dark foliage (–0.6 EV)
Guide to using + (positive) compensation
Guide to using – (negative) compensation
◆
Subjects for Which Exposure
Adjustment is Particularly Effective
◆
Y
CONTINUOUS SHOOTING
PHOTOGRAPHY MENU
●
!
The focus and exposure are determined for the first
frame and cannot be changed during shooting.
●
!
The results of the shot are displayed even when the
photographed image display is set to OFF (
➡P.104).
●
!
The time required to record a file is approximately 7
seconds in “
G• NORMAL” mode (for 3-frame
continuous shooting).
When you take a series of shots, the resulting
shots are displayed (shown in order from left to
right) and automatically saved.
●
!
You cannot select continuous shooting when voice
captioning or sound sync. mode is set to “ON”.
●
!
You cannot use the flash in this mode.
●
!
The continuous photography speed is the same
regardless of the quality and file size settings.
This mode can be selected in the “w” still
image mode.
This function allows you to shoot up to 3 frames
continuously at intervals as short as 0.2 seconds.
If you want to select the shots to be recorded,
see P.105.
1 2


