English
132
CHANGING TITLE OF PLAY LIST (TITLE)
The play lists have serial numbers in the order you have created them, along with the created dates/
times: You can change this title at any time.
1 Press the DISC NAVIGATION button.
2 Press the MENU button.
3 Choose “Title” on the “PlayList” menu screen,
and then press the A button.
4 Use the “Playlist Title” screen to select the play
list whose title you wish to change, and then
press the A button.
See “Changing Title of
Program (Title)” on
page 124 for how to enter
a title.
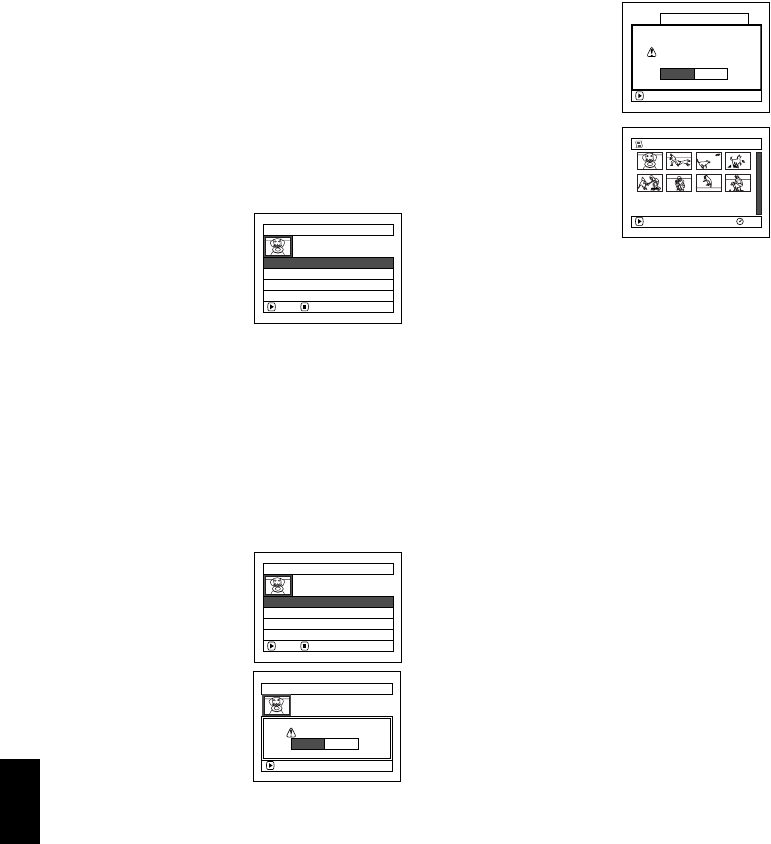
5 The screen for verifying
exit will appear: Choose
“YES” and then press the
A button.
6 Press the C button to
quit.
After changing the title,
the Disc Navigation
screen on the play list
whose title has been
changed will appear.
Note:
The registered title can be changed at any time using the
same procedure.
DELETING PLAY LIST (DELETE)
1 Press the DISC NAVIGATION button.
2 Press the MENU button.
3 Choose “Delete” on the “PlayList” menu
screen, and then press the A button.
4 Use the “Delete Playlist”
screen to select the play
list you wish to delete,
and then press the A
button.
5 The screen for verifying deletion will appear:
Choose “YES”, and then press the A button.
Choose “NO” to cancel deletion.
After Yes or No setting, the Disc Navigation
screen of all programs will be restored.
Note:
Even if you delete a play list, the original scenes stored on
disc will not be deleted.
PlayList Title
01 8/30/2004 12:30PM
02 9/10/2004 8:00AM
ENTER RETURN
03 9/12/2004 9:30AM
04 9/20/2004 3:15PM
ENTER
Finish title setting?
TITLE at a Park
YES NO
001/008
PLAY
RAM
01 at a Park
Delete PlayList
01 8/30/2004 12:30PM
02 9/10/2004 8:00AM
ENTER RETURN
03 9/12/2004 9:30AM
04 9/20/2004 3:15PM
Delete PlayList
Delete PlayList?
PlayList No.01
8/30/2004 12:30P
M
ENTER
YES NO


