16
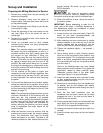
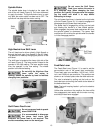
Draw Bar Operation - Changing Tooling
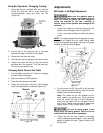
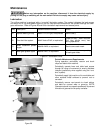
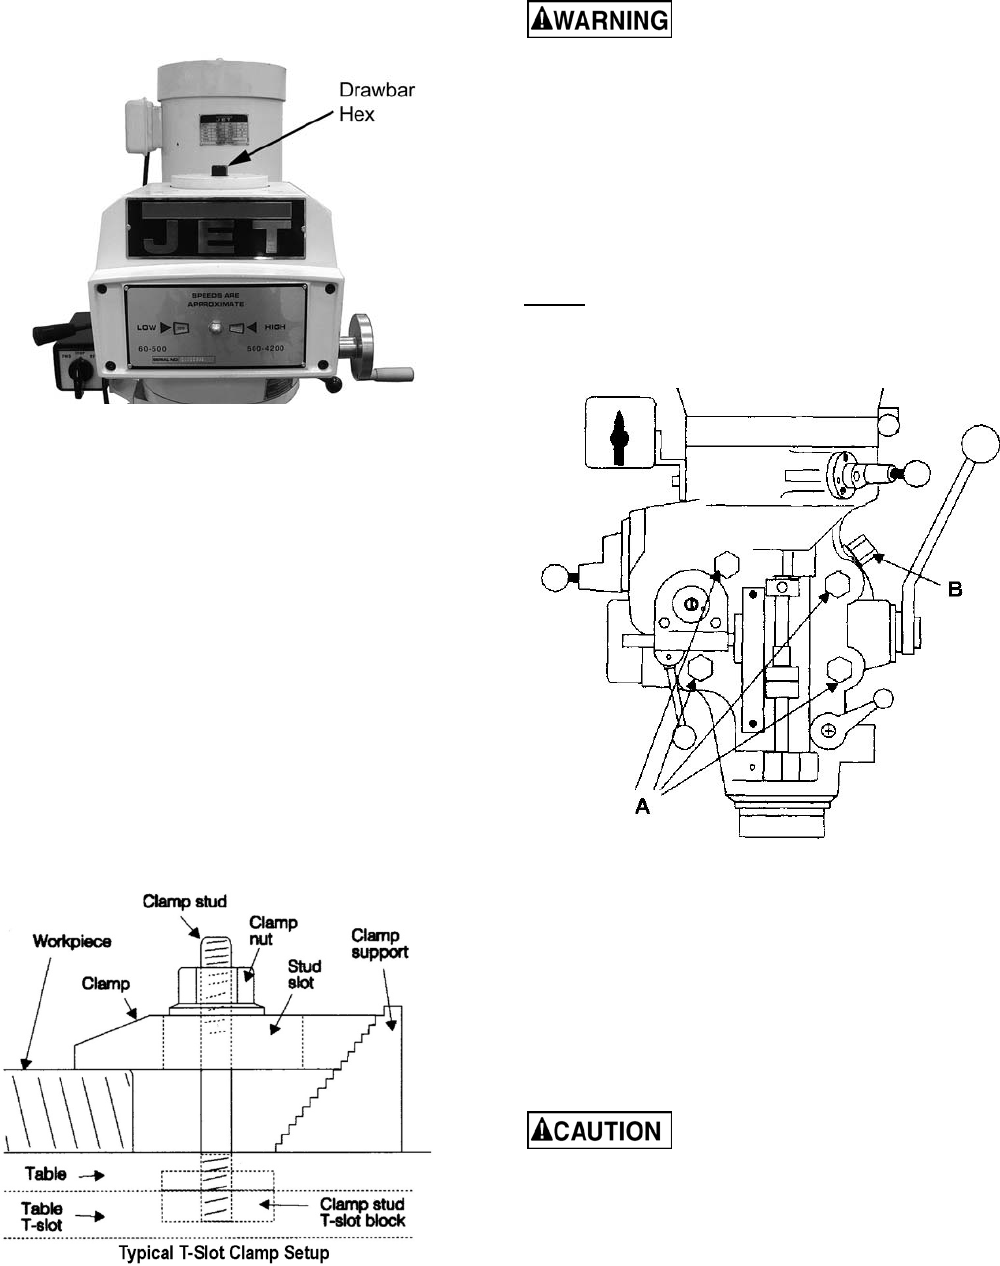
1. Using the wrench provided with the machine,
loosen the draw bar two or three turns (turn
counterclockwise) using the draw bar hex
(Figure 18).
Figure 18
2. Tap the top of the draw bar with a soft-faced
hammer to loosen the collet from the taper.
3. Remove the tool from the collet.
4. Insert the tool you are going to use into the collet.
5. Tighten the draw bar firmly using the wrench
provided with the machine. Turn the draw bar.
The tool is now ready for use.
Clamping Work Piece to the Table
1. The worktable has 5/8-inch T-slots for clamping
the work piece to the table.
2. Set motor switch to STOP position.
3. Place the work piece on the table.
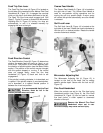
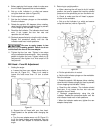
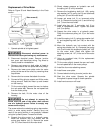
4. Clamp the work piece using the T-slot clamps,
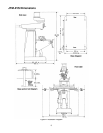
studs, and step blocks as required (Figure 19).
Figure 19
Adjustments
Mill Head – Left/Right Adjustment
Make sure the machine base is
secured to the floor before repositioning the mill
head. The center of gravity can shift enough to
cause the machine to tip over, resulting in
serious injury to the operator and damage to the
machine.
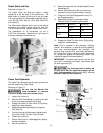
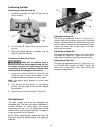
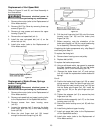
1. Loosen four large hex nuts that secure the mill
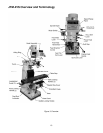
head to the ram adapter (refer to Figure 20).
1/4 turn should be sufficient to allow the head to
move.
NOTE: For angles greater than 10 degrees, use your
free hand to support the mill head, taking some
weight off the brass worm gears. Doing so will greatly
lengthen the life of the worm gears.
Figure 20
2. Turn the worm nut (B, Figure 20) to tilt the head
left or right as required. Use the scale on the ram
adapter to set the desired angle.
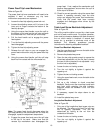
Note: The scales on the ram adapter and for
head rotation are guides only. Close tolerance
work will require the use of a dial indicator to
make sure the head is 90° to the table in the X
and Y axis. Please note the table is fitted to be
slightly higher in front, usually about 0.0005”.
Be sure to apply torque in two
steps using a crossing pattern. Failure to do so
could distort the face of the ram adapter.
3. Tighten the four hex nuts. Tighten in two steps
using a calibrated torque wrench. Use a crossing
pattern to tighten the nuts. Tighten initially to 25
foot-pounds.


