24
Replacement of Quill Feed Clock Spring
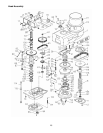
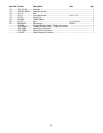
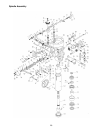
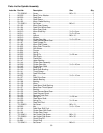
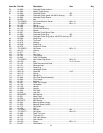
Refer to the Spindle Assembly in the Parts section.
Disconnect electrical power to
the machine before performing any maintenance.
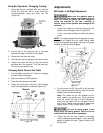
1. Remove the coarse feed handle.
2. Remove the screw, hub, and key from the coarse
feed shaft (ref. 172, 175, and 171).
3. Remove six screws (Ref. 1) and allow the clock
spring (ref. 178) to slowly unwind.
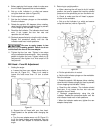
4. Remove feed handle hub sleeve (ref. 176).
5. Lift the end of the spring (ref. 178) from the pin
(ref. 168) on the pinion shaft (ref. 166).
6. Remove the spring (ref. 178) from the spring
cover (ref. 177).
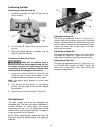
7. Install the replacement spring (ref. 178) in the
spring cover (ref 177).
8. Install end of spring (ref. 178) over the pin
(ref. 168) on pinion shaft (ref. 166).
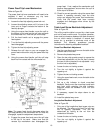
9. Install pin (ref. 168) in feed handle hub sleeve
(ref. 176) on other end of spring (ref. 178).
10. Turn the spring cover (ref. 177) to wind the spring
(ref. 178). Turn the spring cover (ref. 177) until
the desired tension is achieved. Hold the spring
cover (ref. 177) in position and secure with six
screws (ref. 1).
11. Install the key, hub, and screw (ref. 171, 175, and
172) onto the feed shaft (ref. 166).
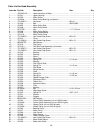
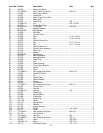
Replacement Parts
Replacement parts are listed on the following pages. To order parts or reach our service department, call 1-800-
274-6848, Monday through Friday (see our website for business hours, www.jettools.com). Having the Model
Number and Serial Number of your machine available when you call will allow us to serve you quickly and
accurately.


