


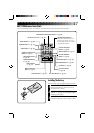

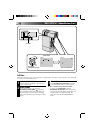
23
OFF
5S
REC
PLAY
PAUSE
REC
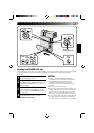
OFF
5S
REC
PLAY
FOCUS
EXP.
WB
PRO
AUTO
SET
Basic Recording
You should already have performed the necessary preparations (੬ pgs. 10 – 22). Set the Select Dial to
“AUTO” and try recording that way before attempting to use more advanced features.
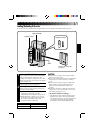
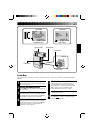
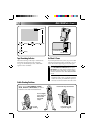
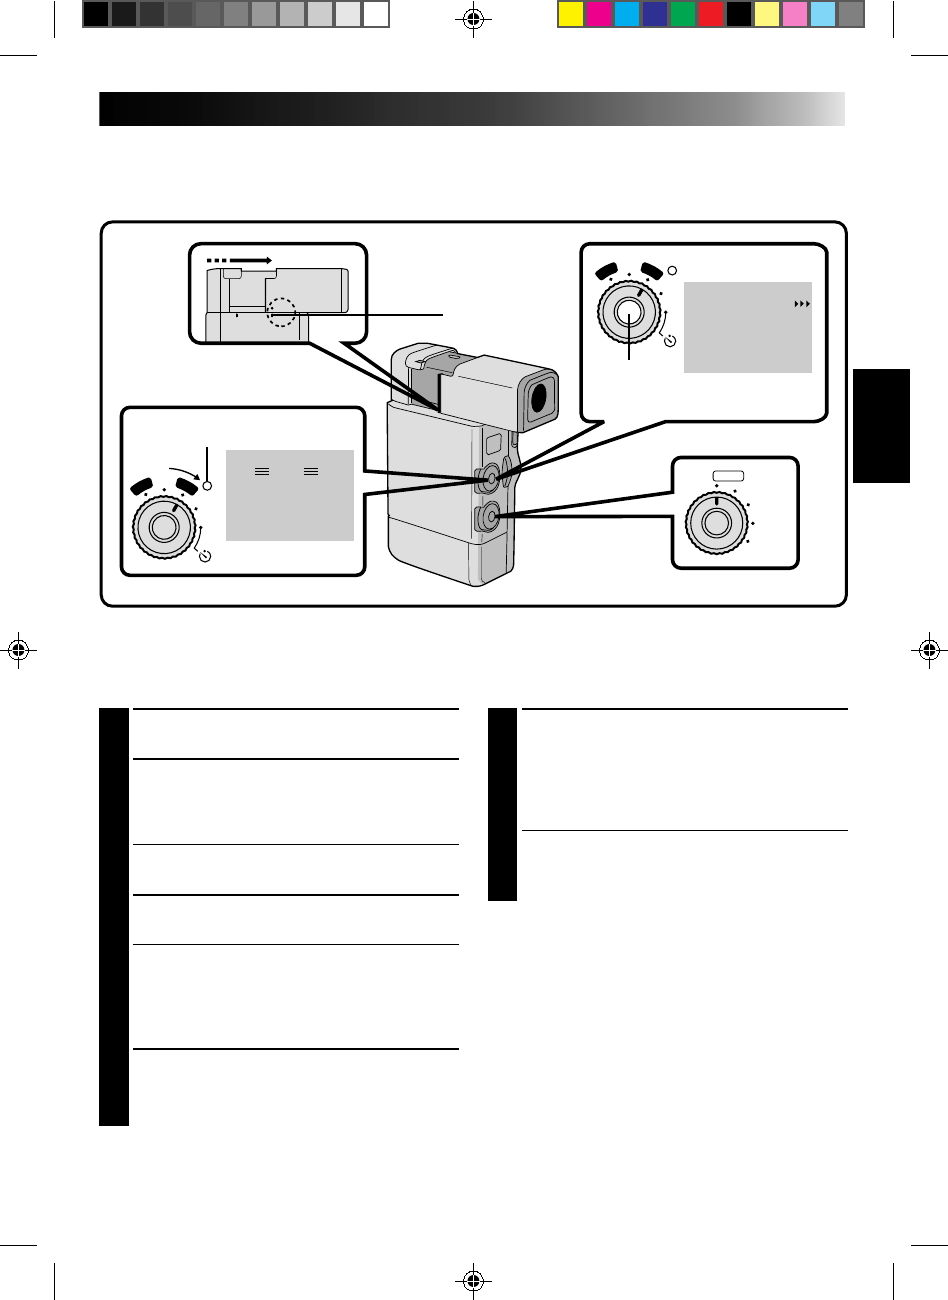
1
PULL OUT VIEWFINDER
Align its mark with “STANDBY”.
2
TURN ON POWER
Set the Power Dial to “REC”. The power lamp
comes on and RECORD/STANDBY mode is
engaged.
•If you don’t pull out the viewfinder, the
power cannot be turned on.
3
SELECT OPERATION MODE
Set the Select Dial to “AUTO”.
•In the “AUTO” mode, only Zoom (20x),
Snapshot, 5S (if you change the setting in the
System Menu, either 5SD or ANIMATION
becomes available – see pgs. 21–22) and
Self-Timer are available.
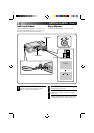
4
START RECORDING
When “PAUSE” appears in the viewfinder,
press RECORDING START/STOP. A beep
signals the start of recording.
NOTE:
Before starting recording, make sure you set the date and time (
੬
pg. 14). Even if they don’t appear during
recording, you can display them during playback (
੬
pg. 49).
VIEWFINDER
VIEWFINDER
RECORD/STANDBY
STANDBY
RECORDING
START/STOP
BUTTON
DURING
RECORDING
POWER LAMP
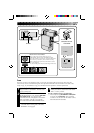
5
END RECORDING
When you’re finished recording, press
RECORDING START/STOP. Align the
viewfinder’s mark with “CAMERA OFF”; the
power lamp goes out and the lens cover closes
automatically.
•When transporting, make sure the viewfinder is in
this position.
•Before turning the power on again, you must pull
out the viewfinder.
NOTES:
●
If 5 minutes elapse in the RECORD/STANDBY mode, the
power shuts off automatically to conserve energy. To turn
the camcorder on again, set the Power Dial to “OFF”,
then to “REC”. As long as you don’t take out the tape you
were using or play it back, you can continue recording
from where you left off with no noticeable break.
●
RECORD/STANDBY means that a tape is loaded and the
camcorder is ready to record.
●
If you start a recording on a blank portion of the tape, or
onto a brand new tape, recording starts approximately
3-4 seconds after you press RECORDING START/STOP.
In order to record the entire scene or sequence, make
sure to start recording slightly in advance
.
●
When you record, make sure you set the date and time
beforehand (
੬
pg. 14). Even if they don't appear in the
viewfinder, they are recorded onto the tape and can be
displayed during playback.