


TIME-LAPSE RECORDING
This function enables the changes of a scene that occur slowly over a
long period to be shown within a short time by taking frames of it at a cer-
tain interval.
This is useful for making observations such as the opening of a flower
bud.
Operating Details
"Recording at Intervals (TIME-LAPSE RECORDING)" (A P.31)
AUTO REC
Records automatically by sensing the changes in brightness.
Operating Details
"Recording Automatically by Sensing Movements (AUTO REC)" (A
P.33)
SEAMLESS RECORDING
This function enables an ongoing video recording that has reached its
media's maximum capacity to be recorded continuously without frame
loss by automatically switching the recording to another media. It is also
possible for the scenes to be merged into one of the media once the re-
cording is complete.
Setting Details
OFF Does not switch recording media automatically.
ON Switches recording media automatically.
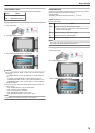
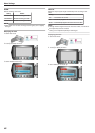
Displaying the Item
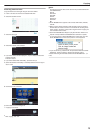
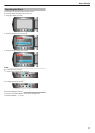
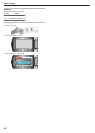
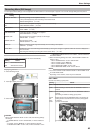
1
Select video mode.
.
2
Touch D to display the menu.
.
3
Select “SEAMLESS RECORDING” and touch C.
.
4
Select “ON” and touch C.
.
Warning
●
Auto switching of media cannot be performed when a write protected
memory card, an unformatted media, or an incompatible media is
used.
●
The function does not work when there is less than 1 minute of re-
cording time left in the other media.
NOTE:
●
Seamless recording allows the unit to automatically switch to another
media if the targeted media for recording is unavailable or has less
than 1 second of recording time left.
●
Once a seamless recording is complete, the function is automatically
disabled. Combine the recorded scenes or delete the scene combina-
tion information to reactivate it.
●
Seamless videos that are recorded on two separate media can be
combined into a single video.
"Combining Videos Recorded by Seamless Recording" (A P.64)
x.v.Color
Records with "x.v.Color".
Setting Details
OFF Deactivates the function.
ON Activates the function.
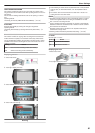
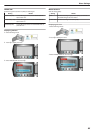
Displaying the Item
1
Select video mode.
.
2
Touch D to display the menu.
.
3
Select “x.v.Color” and touch C.
.
Menu Settings
81