


22
Setup
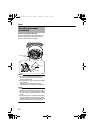
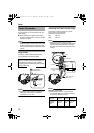
Use a piping hole to mount the camera.
Use the piping hole at the bottom of the
base to mount the camera
1.Remove the camera unit from the base
(A Pg. 17)
2.Mount the fall-prevention wire to the base
(A Pg. 18)
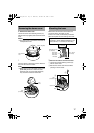
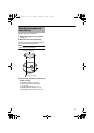
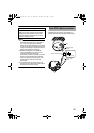
3.Wind the seal tape
Wind the joint (where the threaded portion of the
piping hole and the tapped hole of the piping
meets) of the piping with seal tape for more than
2 rounds.
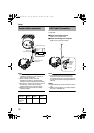
4.Mount the base to the piping
Turn the base in a clockwise direction and screw
into the piping. (Piping hole: G3/4-14 UNC)
Note:
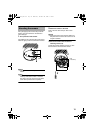
● Do not screw in the piping for more than 12
mm deep. Otherwise, it may damage the
internal parts of the camera.
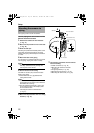
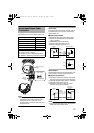
5.Secure the base to the ceiling
Use RM4 mm screws (x2) to secure the base
tightly to the ceiling.
● Check that there is no gap between the
ceiling and the base.
Note:
● RM4 screws are not supplied. Use the
appropriate type according to the material of
the location for mounting.
● The two attached screws (M4 ן8 mm) are
for mounting the base to the adapter plate.
Do not use them here.
A
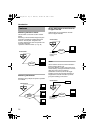
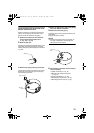
Mounting the camera via electrical box
B
(
A
Pg. 21)
6.Mount the fall-prevention wire to a strong
location (A Pg. 18)
7.The following procedures are the same as
normal mounting
● Cable connection (A Pg. 18)
● Mounting the camera to the base
(A Pg. 19)
● Image adjustment (A Pg. 28)
●
Mounting the inner dome (
A
Pg. 30)
● Mounting the dome cover (A Pg. 30)
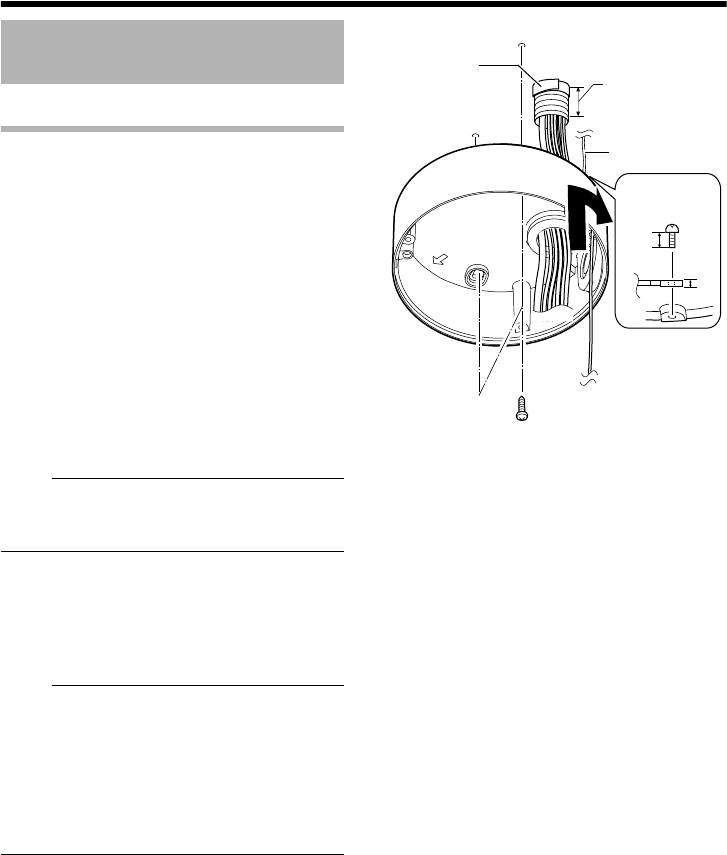
Mounting the camera via
piping
4
5
6
7
3
Fall-prevention wire
Seal tape
12 mm and below
RM4 mm screw
8 mm
2 mm
VN-C215VP_EN.book Page 22 Wednesday, December 20, 2006 4:26 PM