


[8]
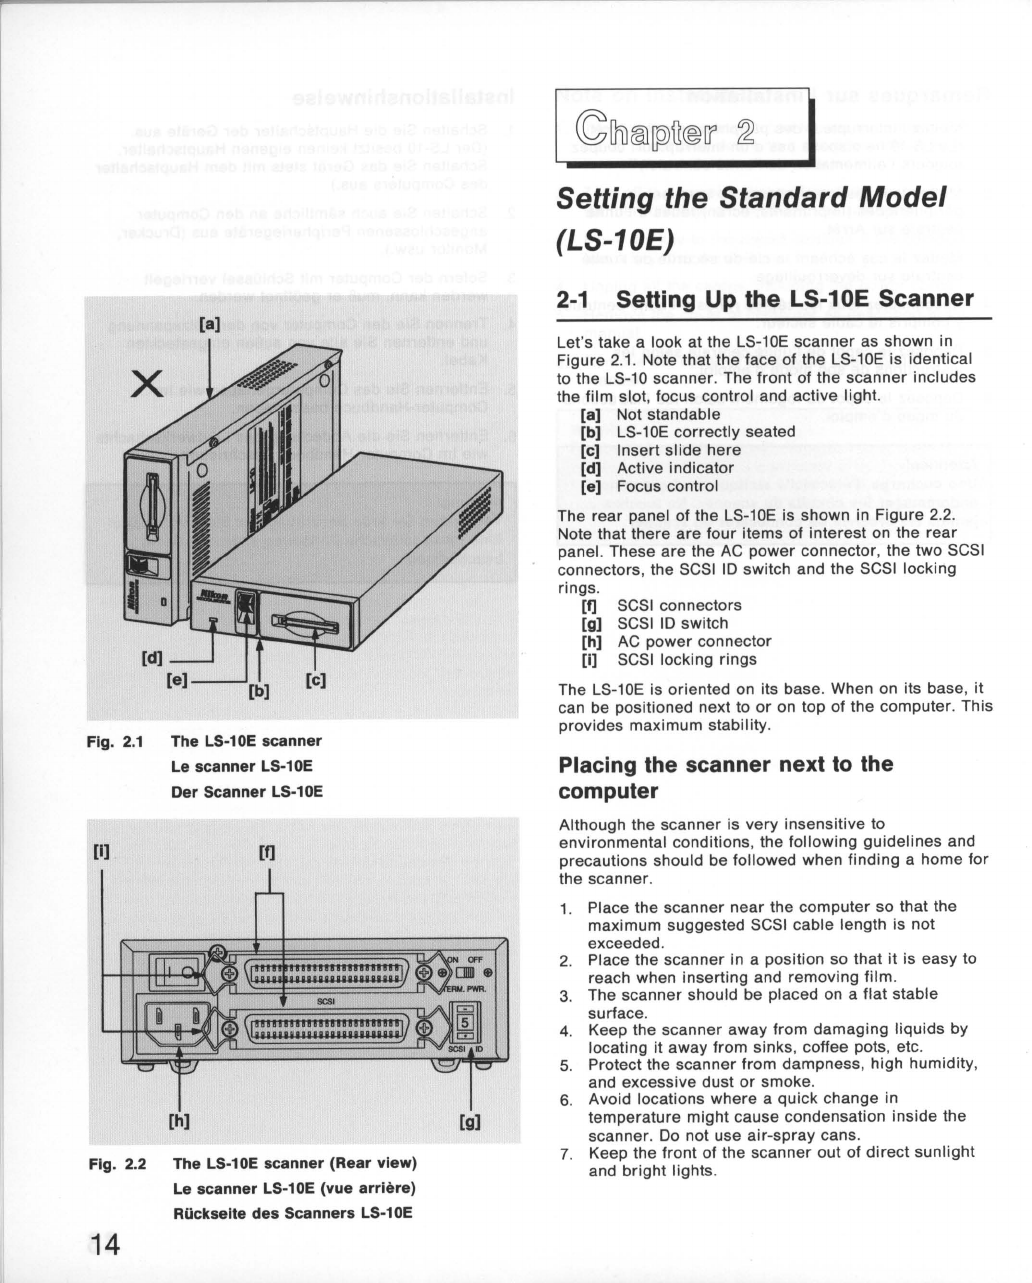
Fig.
2.1
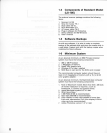
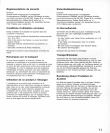
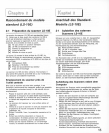
The LS·10E scanner
Le scanner LS·10E
Der Scanner LS·10E
[I]
[f]
[h)
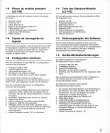
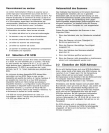
Fig. 2.2 The LS·10E scanner (Rear view)
Le scanner LS·10E (vue arriere)
Riickselte des Scanners LS·10E
14
[g)
~1li®[pJfi®1l'
~
I
Setting the Standard
Model
(LS-10E)
2-1
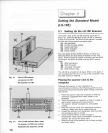
Setting Up the LS-10E Scanner
Let's take a look
at
the LS-10E scanner as shown in
Figure
2.1
. Note that the face of the LS-10E is identical
to the LS-10 scanner. The front of the
scanner
includes
the film
slot
, focus control and active light.
[a] Not stand able
[b]
LS
-
10E
correctly seated
[c] Insert
slide
here
[d] Active indicator
[e] Focus control
The rear panel of the LS-10E is shown in Figure 2.2.
Note that there
are
four items of
interest
on the
rear
panel. These are the
AC
power
connector, the
two
SCSI
connectors, the SCSI
10
switch and the SCSI locking
rings.
[f]
[g]
[h]
[I]
SCSI connectors
SCSI
10
switch
AC
power
connector
SCSI
locking rings
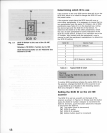
The LS-10E is oriented on its base. When on its base,
it
can be positioned next to
or
on top of the
computer
. This
provides maximum stability.
Placing the scanner next
to
the
computer
Although the scanner is very insensitive to
environmental conditions, the
following
guidelines
and
precautions should be followed when finding a home
for
the scanner.
1. Place the scanner
near
the
computer
so that the
maximum suggested SCSI cable length is not
exceeded.
2. Place the
scanner
in a position so that it is easy to
reach when inserting and removing
film
.
3. The scanner should be placed on a flat stable
surface.
4. Keep the scanner
away
from
damaging
liquids
by
locating it away from sinks, coffee pots, etc.
5. Protect the
scanner
from dampness,
high
humidity,
and excessive dust
or
smoke.
6. Avoid locations
where
a quick change in
temperature might cause condensation inside the
scanner.
Do
not use
air
-
spray
cans.
7. Keep the
front
of the scanner out of
direct
sunlight
and
bright
lights.