


81 (E)
This section describes the basic steps for shooting
and recording.
Before actually departing to shoot scenes, carry out
inspections to ensure that the system is functioning
properly.
OFor details on how to perform these inspections,
refer to “Inspections prior to shooting” (pages 128
to 131).
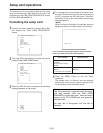
From providing the power supply to
loading the cassette
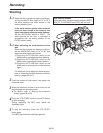
Recording
1
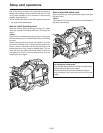
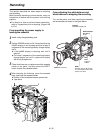
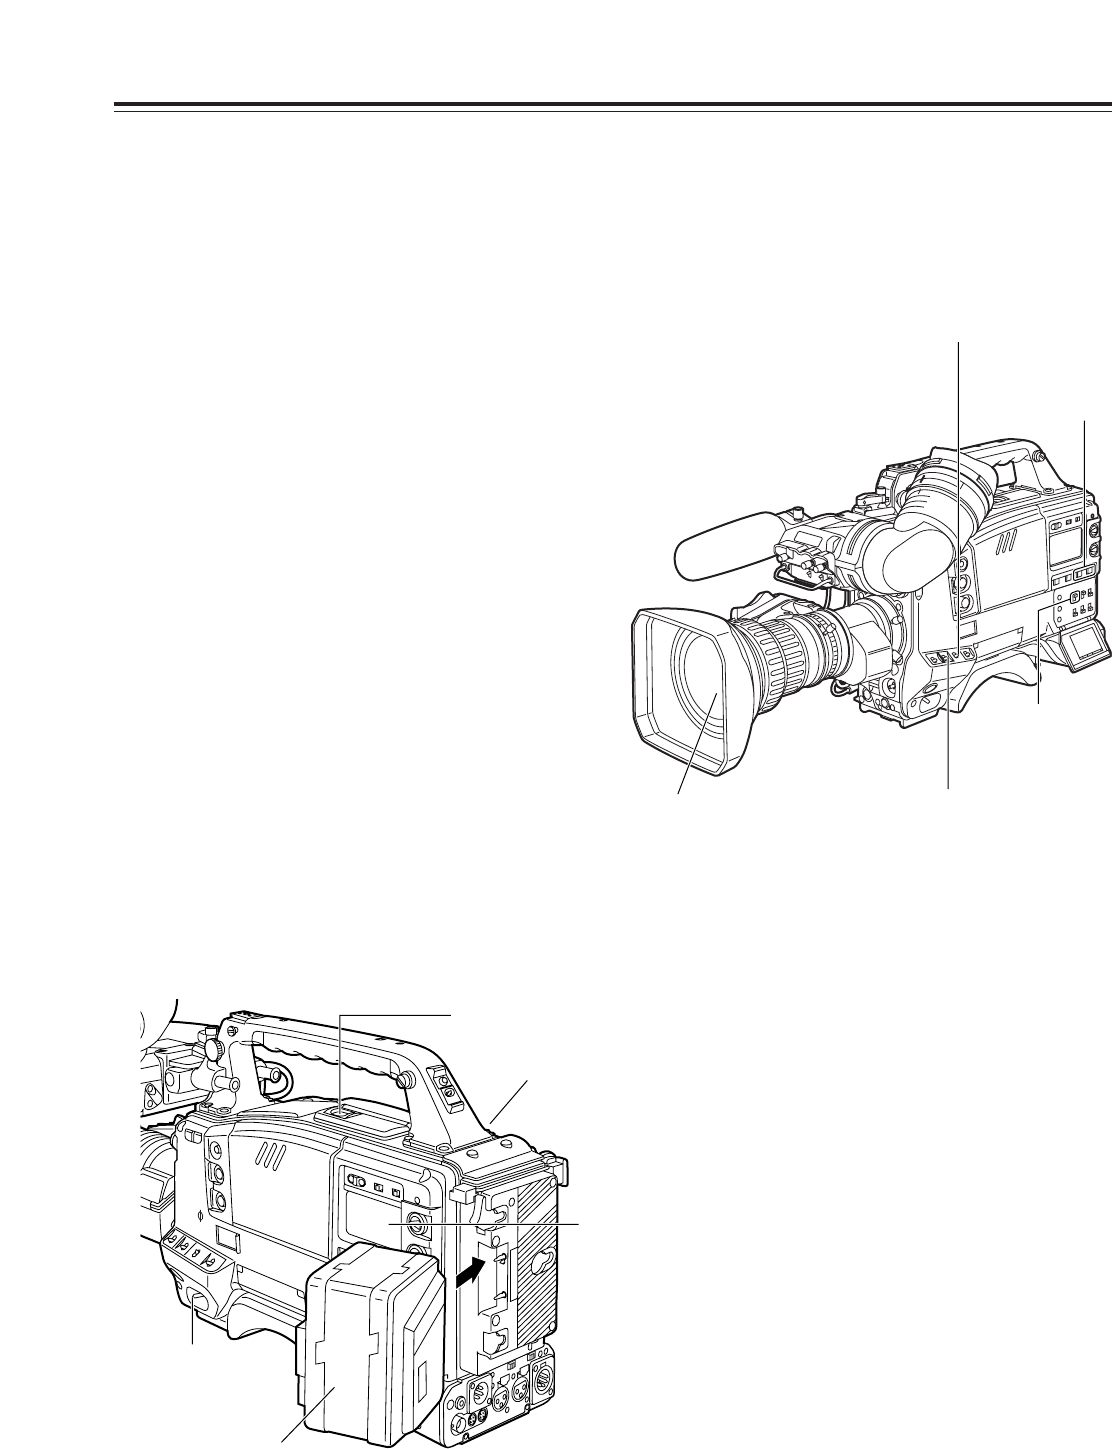
Install a fully charged battery pack.
From adjusting the white balance and
black balance to stopping the recording
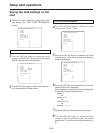
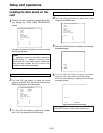
Turn on the power, and after inserting the cassette,
set the switches as shown in the figure below.
AUDIO SELECT
CH 1/CH 2:
AUTO
TCG:
F-RUN or
R-RUN
OUTPUT:
CAM/AUTO KNEE ON
GAIN:
Normally set to 0 dB; change
to a more suitable value if the
picture is too dark.
Aperture: Automatic
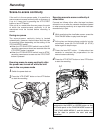
2
Set the POWER switch to ON. Now check that the
HUMID display is not showing and that at least 5
segments of the remaining battery charge display
are lit.
OIf the HUMID display is showing, wait until it
goes off.
OIf at least 5 segments of the remaining battery
charge display are not lit, replace the battery
with a fully charged one.
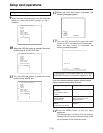
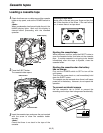
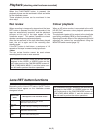
3
Check that there are no cables around the cassette
holder or top panel, and then press the EJECT
button to open the cassette holder.
4
After checking the following, insert the cassette
tape, and close the cassette holder.
OPosition of the accidental erasure prevent tab
OTape slack
1
2
4
2
3