


80
Chapter 6 Manuipulating Clips with Thumbnails (continued)
6-5
Switching the Thumbnail Display
The display can be switched so that only those clips
matching the specified conditions are displayed in the
thumbnail screen.
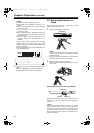
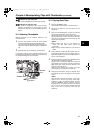
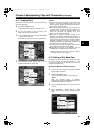
1 Press the THUMBNAIL button.
The thumbnail screen appears on the LCD monitor.
2 Press the MENU BAR button. The pointer moves to the
menu bar.
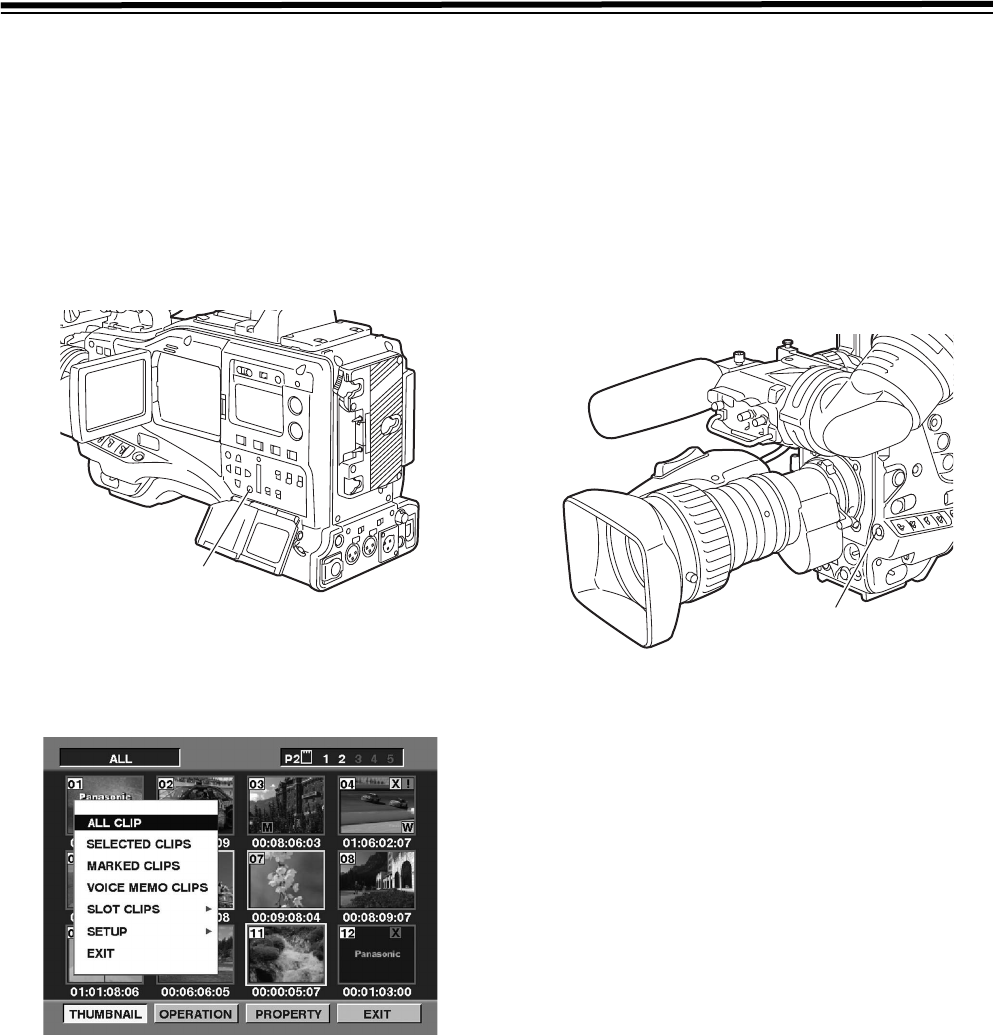
3 Move the pointer over THUMBNAIL and press the SET
button to select it. A sub-menu appears. Switch the
thumbnail display by selecting one of the following
items:
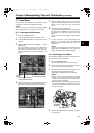
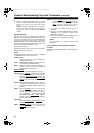
ALL CLIP:
Display all clips.
SELECTED CLIPS:
Display randomly selected clips.
MARKED CLIPS:
Display clips with shot marks attached.
VOICE MEMO CLIPS:
Display clips with voice memo data attached.
SLOT CLIPS:
Display clips recorded in the P2 card inserted in the
specified slot.
When this item is selected, SLOT1 to SLOT5 are
displayed as a sub-menu. Select the desired slot to
display the clips.
SETUP:
Please refer to [6-16 Setting the Thumbnail Display
Mode] for information about this item.
EXIT:
Close the sub-menu.
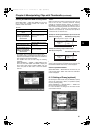
6-6 Shot Mark
A shot mark can be added to a clip thumbnail to distinguish
this clip from the others.
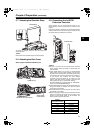
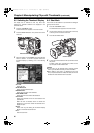
1 Press the THUMBNAIL button.
The thumbnail screen appears on the LCD monitor.
2 Use the cursor buttons to move the pointer over the clip
to which you want to attach a shot mark.
3 Press the Shot Mark button.
4 A shot mark will be attached to the clip thumbnail under
the pointer.
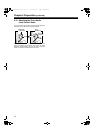
To delete a shot mark, reposition the pointer over the
clip and press the Shot Mark button.
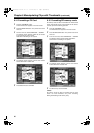
<Notes>
z A shot mark can be attached during recording. Please
refer to [3-9 Shot Mark Function] for more information.
z When adding a shot mark to (or deleting the shot mark
from) a clip recorded across multiple P2 cards, do this with
all these P2 cards inserted into P2 card slots.
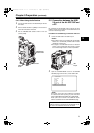
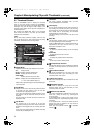
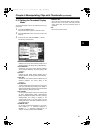
MENU BAR Button
Shot Mark Button
#,52%2'PINKUJDQQMࡍࠫ㧞㧜㧜㧢ᐕ㧡㧝㧝ᣣޓᧁᦐᣣޓඦ೨㧥ᤨ㧠㧡ಽ