


Recording Mode
29
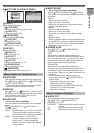
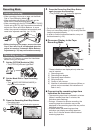
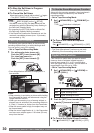
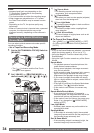
3 Open the LCD Monitor or the Viewfi nder.
• The Red Lamp lights up and the camera will be
put into recording pause approx. 1.7 seconds
after it is turned on.
To Cancel the Quick Start
Set [ SETUP] >> [ QUICK START] >> [OFF].
• If the standby continues for approx. 30 minutes,
then the Lamp (Green) will go off and the
Camcorder will be completely turned off.
Quick Start
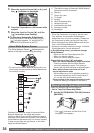
2 While the [OFF/ON] Switch is still set
to [ON], close the LCD Monitor and the
retract Viewfi nder.
• The Green Lamp
1
lights up and the unit goes
into Quick Start Standby mode.
• Please note in Quick Start Mode approximately
half the pause recording power is being consumed.
Using Quick Start Mode will reduce the battery
recording/playback time.
• This function is only activated in the following
cases:
- A tape or a card is inserted while the Tape
Recording Mode is set.
- A card is inserted while the Card Recording Mode
is set.
• Set to Tape/Card Recording Mode.
1 Set [ SETUP] >> [ QUICK START] >>
[ON].
Notes:
• When you set [ POWER SAVE] to [5 MINUTES]
and the Camcorder is left in the Recording Pause
Mode for 5 minutes,the unit will turn off. (Green
LED will lit up.) Close the LCD Monitor and retract
the Viewfinder. To turn the Camcorder on open the
LCD Monitor and/or the Viewfinder.
• If the Mode Dial is moved or the battery is removed
in Quick Start standby mode, Quick Start is
canceled and the power turns off even if the [OFF/
ON] Switch is set to [OFF]. (However, changing the
mode between Tape Recording Mode and Card
Recording Mode will not cancel Quick Start.)
• When the Camcorder is Quick-Started with the
White Balance on automatic, it may take some time
until the White Balance is adjusted if the scene
being recorded has a light source different from the
scene last recorded. (When the MagicPix Function
is used, however, the White Balance of the scene
last recorded is retained.)
• If the power is turned on in Quick Start standby, the
zoom magnification becomes 5× and the picture
size may differ from what it was before Quick Start
standby.
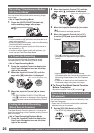
• When using the AC Adaptor, Quick Start can be
used even if a tape is not inserted.
When Quick Start is ON the battery power is still
being consumed, even when the LCD Monitor and
the Viewfinder are closed.
The Camcorder will resume recording/pause mode
about 1.7 seconds after the LCD Monitor and the
Viewfinder are reopened.
Notes:
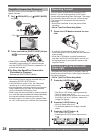
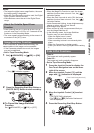
• The subject should be within 4.9 feet (1.5 meters)
of the Camcorder.
• Using the LED Video Light reduces battery time.
• Set the LED Video Light to off when not in use.
• Do not look directly into the light.
• If the LED Video light is used with a Conversion
lens attached, a slight vignetting (darkening around
edges) effect occurs on the screen.
• Using the MagicPix Function at the same time will
make conditions even brighter.
• The LED video light enables simply lightening
the images taken in a dimly-lit place. We also
recommend using it in a bright place to obtain high
quality images.
1
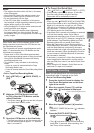
Self-timer Recording
When you set the self-timer, the recording starts
automatically after 10 seconds on the Card.
• Set to Card Recording Mode.
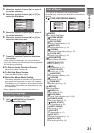
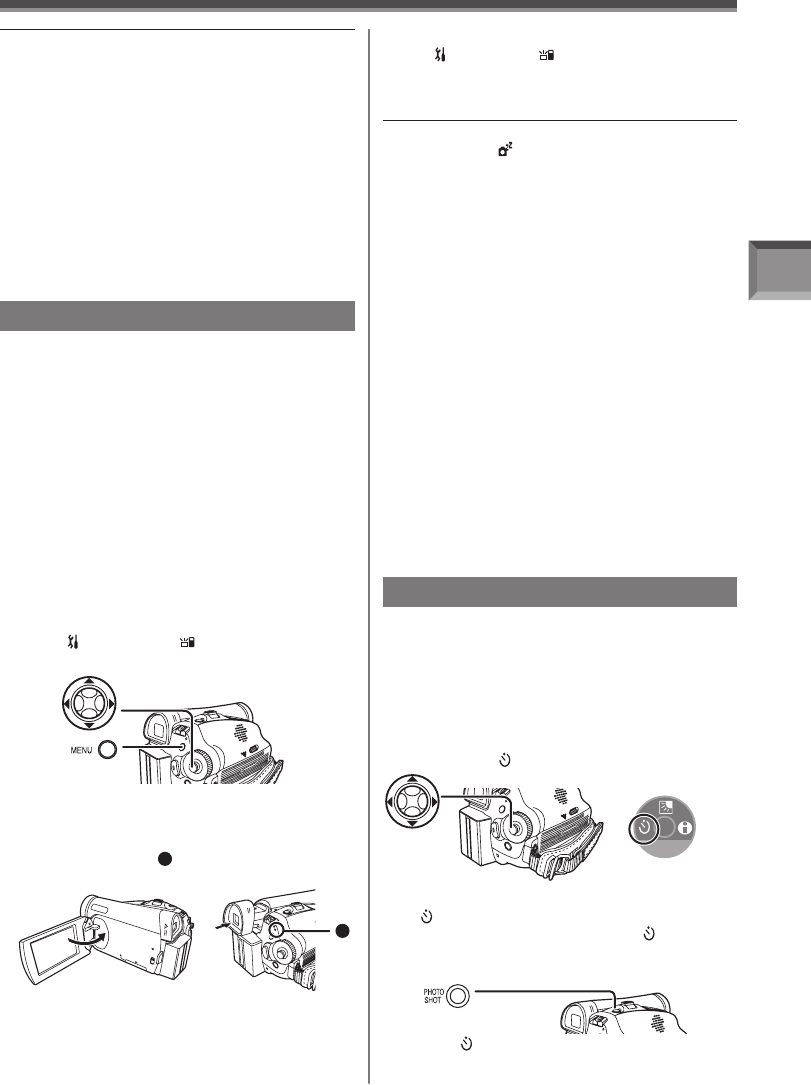
1 Press the Joystick Control to display the
One-Touch Navigation icon on the lower
right of the screen.
2 Move the Joystick Control [▼] until the
page with [ ] indication is displayed.
1/2 NEXT
[One-Touch Navigation icon]
3 Move the Joystick Control [◄] to select
[ ].
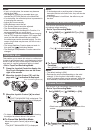
• The [SELF-TIMER ON] and the [ ] Indication
appears.
4 Press the [PHOTO SHOT] Button.
• The [ ] Indication flashes and the recording
starts after 10 seconds. After recording, the
Self-Timer will be canceled.