With a PC
51
When you use the Camcorder as a Web
camera
When you use the Camcorder as a Web camera
in the Tape Playback Mode, the indication of the
One-Touch Navigation icon is different from the
one in usual operation.
1 2
1
In usual operation
2
In the WEB CAMERA mode
(Tape Playback Mode)
• Even if you move the Joystick Control [▲▼◄►]
(
, , , ), the selected direction on the
One-Touch Navigation icon is not lit in yellow.
• The One-Touch Navigation icon blinks on instead
of appearing from the side of the screen when you
press the center of the Joystick Control.
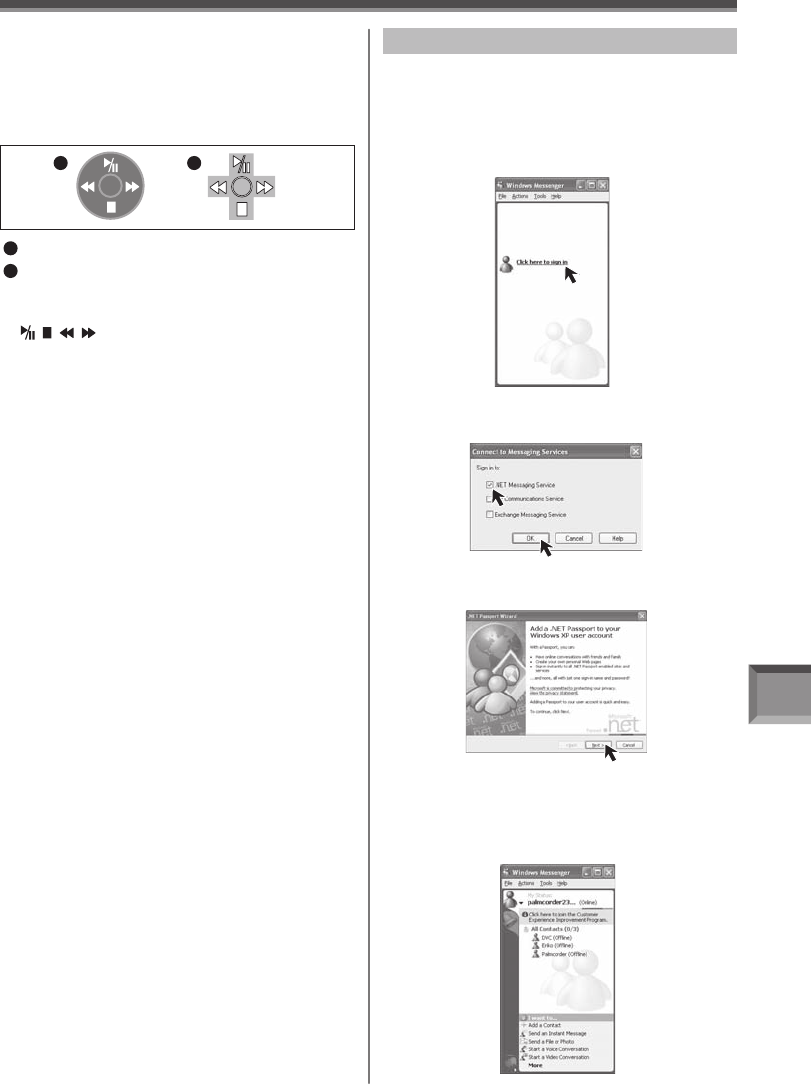
4 Start the Windows Messenger (For
Windows XP users) or MSN Messenger
(For Windows 2000 users).
• Click [Start] >> [All Programs (Program)] >>
[Windows Messenger] or [MSN Messenger].
• When you use Windows XP, the other parties via
the network have to use the Windows Messenger
on Windows XP. When you use other than
Windows XP, the other parties via the network
have to use MSN Messenger on an OS other than
Windows XP.
• If the Camcorder is used as a Web Camera, the
quality of the video to be exchanged will depend on
the Internet connection status.
• If the USB Cable is disconnected from the personal
computer, the Web Camera mode is canceled.
• If the Camcorder is used as a Web Camera, video
cannot be recorded onto a tape or a card.
• You cannot output the video input from the DV
terminal to the display of the PC.
• In the Web Camera mode, the audio may be
interrupted in the middle of communication
depending on the communication environment or
the performance of the personal computer.
• For Windows XP SP2 users, if the [Windows
Security Alert] screen is displayed, click [Unblock]
and proceed.
2 Select [.NET Messaging Service] and click
[OK].
When starting the Windows Messenger for the first
time, its setup screen is displayed. (However, the
screen is not displayed if the Windows Messenger
setup has already been done.) For more details,
please read the corresponding Help file.
1 Click [Click here to sign in].
Setting up the Windows Messenger
3 Click [Next] when the [.NET Passport
Wizard] dialog appears.
4 Please carefully read the displayed
contents and then proceed.
5 After the setup is completed, sign in and
start the Windows Messenger.
