28
Recording Mode
For assistance, please call : 1-800-211-PANA(7262) or, contact us via the web at: http://www.panasonic.com/contactinfo
2 Push the [W/T] Lever
26
towards [W] or
towards [T] to zoom in or out.
To Cancel the Digital Zoom Function
Set [TAPE RECORDING MENU] >> [CAMERA] >>
[D.ZOOM] >> [OFF].
• For other notes concerning this item, see page 62.
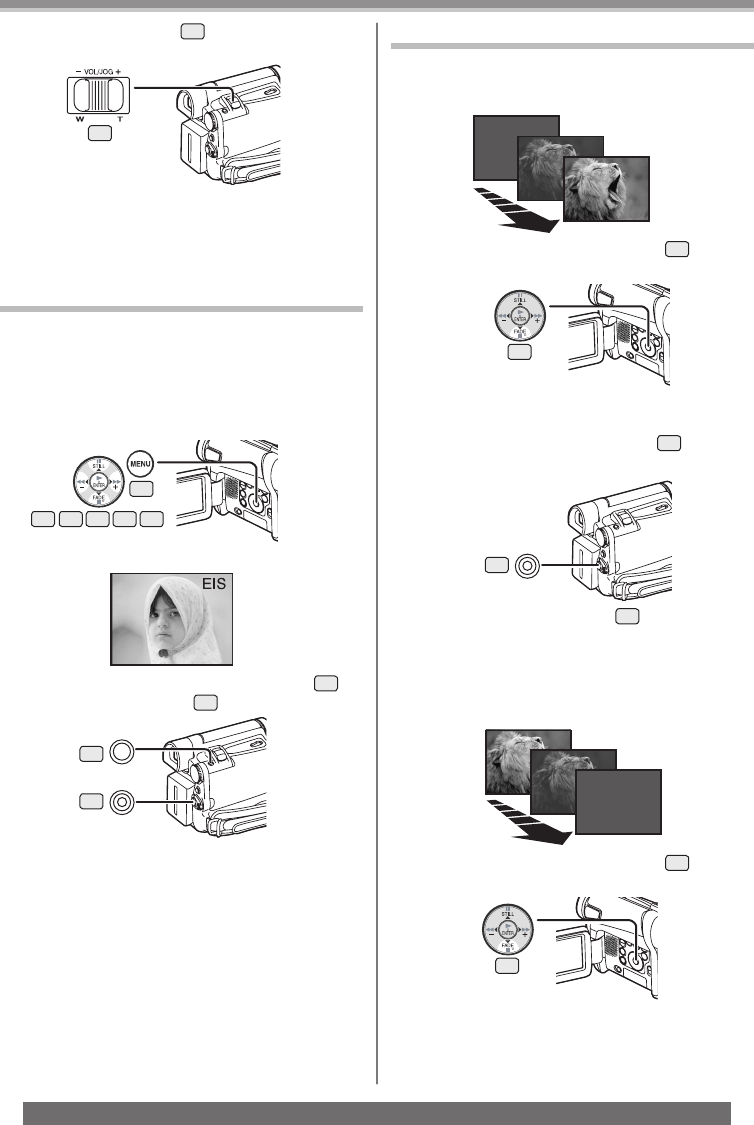
Image Stabilizer Function
If the Camcorder is shaken while recording, the
camera shake in the image can be corrected.
• If the Camcorder shakes too much, the images may
not be stabilized.
1 Set [TAPE RECORDING MENU] >> [CAMERA]
>> [EIS] >> [ON].
• The [EIS] Indication appears.
2 Press the Recording Start/Stop Button
43
or
[PHOTO SHOT] Button
36
to start recording.
To Cancel Image Stabilizer Function
Set [TAPE RECORDING MENU] >> [CAMERA] >>
[EIS] >> [OFF].
• For other notes concerning this item, see page 62.
Fade In/Out Functions
Fade In
Fade In brings out images and sounds gradually from
a black screen at the beginning of a scene.
1 Keep pressing the [FADE] Button
16
during
the Recording Pause Mode.
• The image fades out gradually.
2 When the image is completely gone, press
the Recording Start/Stop Button
43
to start
recording.
3 Release the [FADE] Button
16
about 3
seconds after recording starts.
• The image reappears gradually.
26
19
14 1513 16 17
36
43
16
43
Fade Out
Fade Out causes images and sounds to disappear
gradually, leaving a black screen at the end of a scene.
1 Keep pressing the [FADE] Button
16
while
recording.
• The image fades out gradually.
16
