32 C1696M-A (7/08)
6. Select a camera or cameras from the Cameras list (“All Cameras,” “Multiple cameras,” or individual cameras). If you select
“Multiple cameras,” press Enter [or Enter/Shift ], or select the button next to the Cameras box. The Select Cameras dialog box
opens (refer to Figure 28).
NOTE: By default, all cameras are selected. You must clear the selection for cameras that you do not want to search.
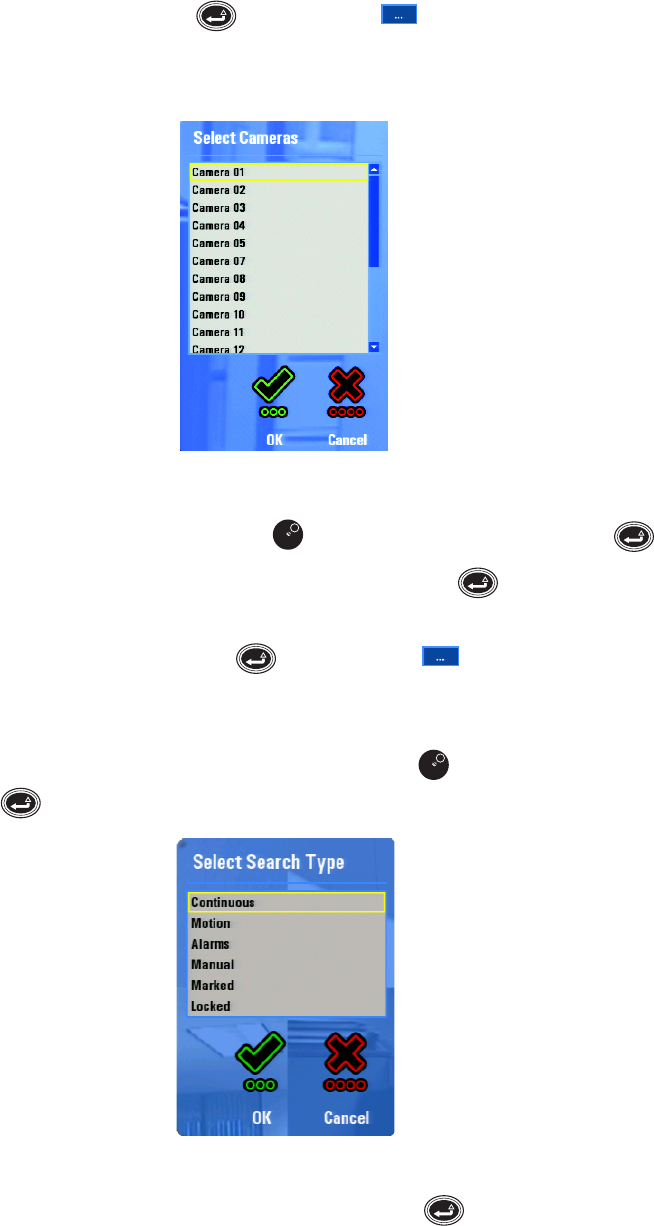
Figure 28. Select Cameras Dialog Box
a. Click the desired cameras [or turn the Jog (inner dial)
to select a camera, and then press Enter/Shift ].
b. Click OK when your list is complete [or navigate to OK, and then press Enter/Shift ].
7. Select a video type or types from the Types field (All Types, Multiple Types, Continuous, Motion, Alarms, Manual, Marked, and Locked). If
you select Multiple Types, press Enter [or Enter/Shift ], or select the button next to the Types box. The Select Search Type
dialog box appears (refer to Figure 29).
NOTE: By default, all types are selected, as indicated by the gray area of the dialog box.
a. Click the desired recording types for your search [or turn the Jog (inner dial)
to select the recording types, and then press
Enter/Shift ].
Figure 29. Search Dialog Box
b. Click OK when your list is complete [or select OK, and then press Enter/Shift ].
8. Click Search [or press Menu] to start the search. The Enhanced Search dialog box displays a list of results along with details about each
recording (camera name, start and end times, and recording type).


