38 C1696M-A (7/08)
6. To select the video time frame to be exported, do one of the following:
• Click and drag the gray bar in the time line [or turn the Jog (inner dial) ] to adjust the end time. The vertical blue bar represents
the start time and is fixed. If you drag the gray bar to the left of the blue bar, the gray bar becomes your start time indicator, and the
blue bar indicates the end time.
• Type [or select] the desired start times, end times, and dates in the Start and End time and date fields.
NOTE: Clicking in the time line and selecting Set Time resets the time line cursor (start and end time markers) to the selected point. You
can then click another point in the time line to set the end time, indicated by the gray vertical bar. This allows you to reset the desired video
time frame for export. Click the time line, and then drag to the left or right to select the video clip. [You can also select Set Time by pressing
the yellow function button .]
7. Select Begin Export. The video export begins if a USB storage device is present.
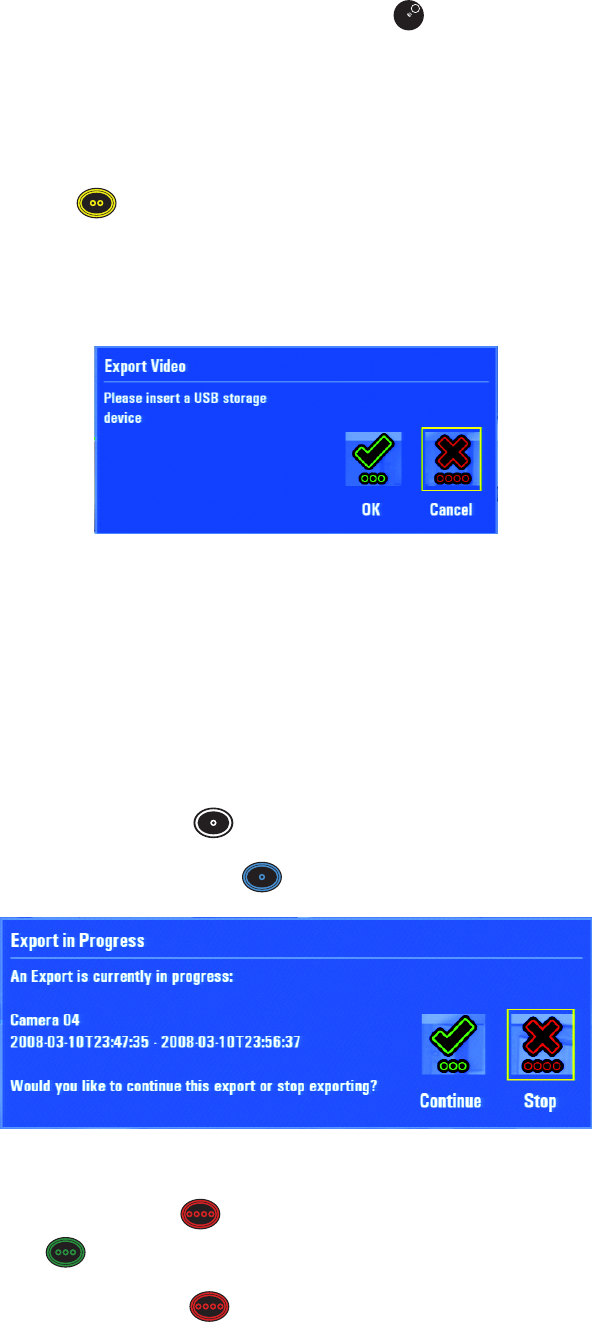
NOTE: If a USB storage device is not present, the following dialog box appears (refer to Figure 37). Insert the storage device, and then
select OK. The Export Clip dialog box appears. Select Begin Export again.
Figure 37. Request for Storage Device
8. The information bar displays “Starting Export,” and then displays a progress bar indicating the status of the export. An information bar will
display Export Complete once the video clip is exported to the USB device.
CANCELING AN EXPORT IN PROGRESS
An export in progress can be canceled only by clicking Export again, either from the Quick Export menu (accessed from the front panel), the Quick
Search dialog box, or the Enhanced Search dialog box.
To cancel an export:
1. Press F1 [or the Quick Export function button ]. The Quick Export dialog box appears.
2. Click Export Video [or press the blue function button ]. The “Export in Progress” dialog box appears (refer to Figure 38).
Figure 38. Stop Export Dialog Box
3. Click Stop [or press the red function button ] to stop the export. If you do not want to continue the export, Click Continue [or press the
green function button ]. You will be returned to the Export Clip dialog box.
4. Click Close [or press the red function button ]. You will be returned to the dialog box where you started (Quick Export, Quick Search,
or Enhanced Search).


