


36 C2910M-A (4/05)
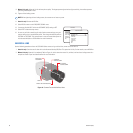
9. Manual iris only: Adjust the iris for the best picture quality. The largest aperture gives the best light sensitivity; the smallest aperture
gives the greatest depth of field.
10. Tighten all lens locking screws.
11. Auto iris only: Remove the ND filter.
12. Select BACK to return to the LENS/VIDEO SIGNAL menu.
13. If necessary, disable AGC. Switch the AUTOMATIC (AGC) setting to OFF.
14. Select EXIT to close the setup menus.
15. As soon as you finish customizing this and all other camera settings, save your
custom settings into a user-definable profile. Then change the default profile to
CUSTOM1 or CUSTOM2. This protects them in case the camera loses power or
must be restarted (refer to Profiles Menu for more information).
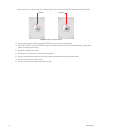
VARIFOCAL LENS
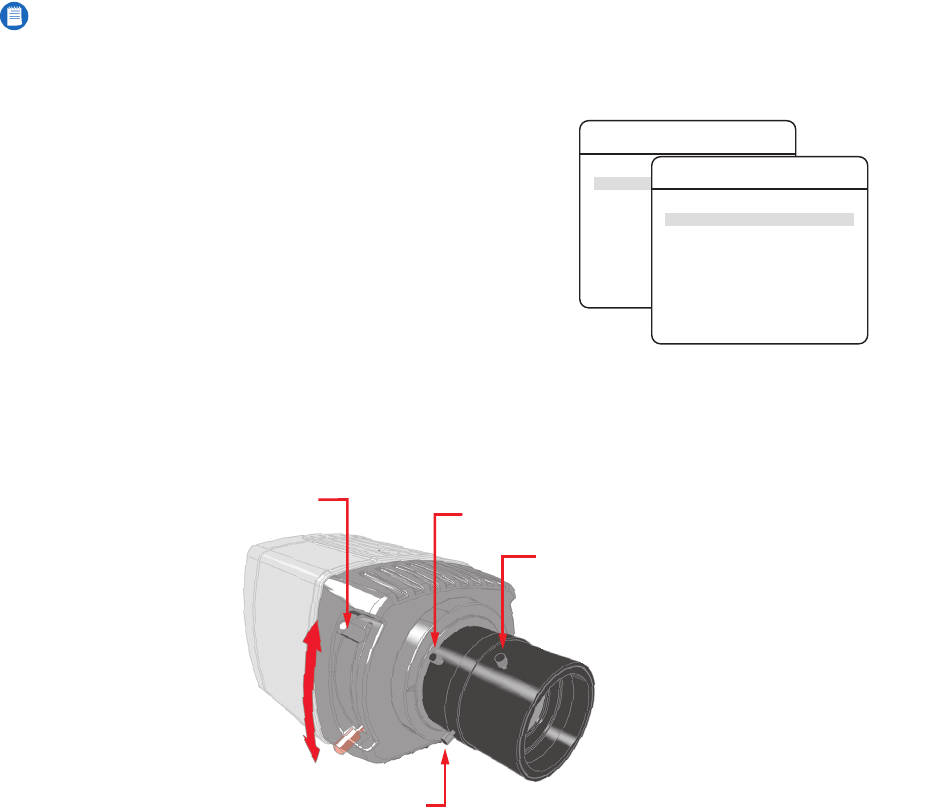
Use the following procedure to focus the CCC5100H Series camera using a varifocal lens, either manual or auto iris.
1. Auto iris only: Cover the auto iris lens with a suitable neutral density (ND) filter. This opens the iris fully. For best results, use an ND3 filter.
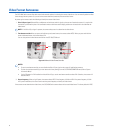
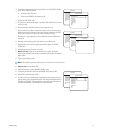
2. Manual iris only: Open the iris completely. Refer to Figure 14, which shows the manual iris, varifocal, and lens focus locking screws for a
sample lens. Refer to your lens documentation for more information.
Figure 14. Camera Focus with Varifocal Lens
NOTE: When tightening the lens locking screws, do not over-turn or force any screw.
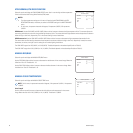
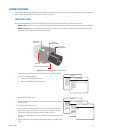
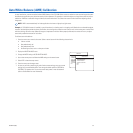
<LANGUAGE>
<LENS/VIDEO SIGNAL>
<CAMERA DISPLAY>
<LIGHT METER>
<WHITE BALANCE>
<PROFILES>
<SYSTEM INFORMATION>
EXIT
MAIN MENU
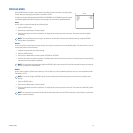
VIDEO STANDARD AUTO
AUTOMATIC (AGC) OFF
LENS TYPE DC
<LINE SYNC>
<VIDEO LEVEL>
<AUTO IRIS>
<FINE FOCUS>
BACK
EXIT
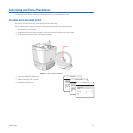
LENS/VIDEO SIGNAL
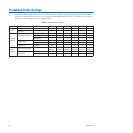
BACK FOCUS
ADJUSTMENT
LENS FOCUS
LOCKING SCREW
VARIFOCAL
LOCKING SCREW
MANUAL IRIS LOCKING SCREW
UP
DOWN