C2950M-E (8/10) 35
Window Blanking Settings
Window blanking is used to conceal user-defined privacy areas. A blanked area appears on the screen as a solid gray window. The camera can
handle up to four blanked windows as long as the total blanked area does not exceed 50 percent of the field of view.
Refer to the following sections for more information:
• Configuring the Orientation of the Scene on page 35
• Changing the Digital Processing Settings on page 36
• Selecting Auto Exposure Settings on page 37
• Selecting Manual Exposure Settings on page 39
• Day Night Settings on page 40
• Configuring Auto Focus Settings on page 41
• Configuring Manual Focus Settings on page 42
• Setting Tone Map Options on page 43
• Selecting Auto White Balance Settings on page 44
• Selecting Manual White Balance Settings on page 45
• Turning On Window Blanking on page 46
• Turning Off Window blanking on page 46
• Deleting a Window Blanking Area on page 46
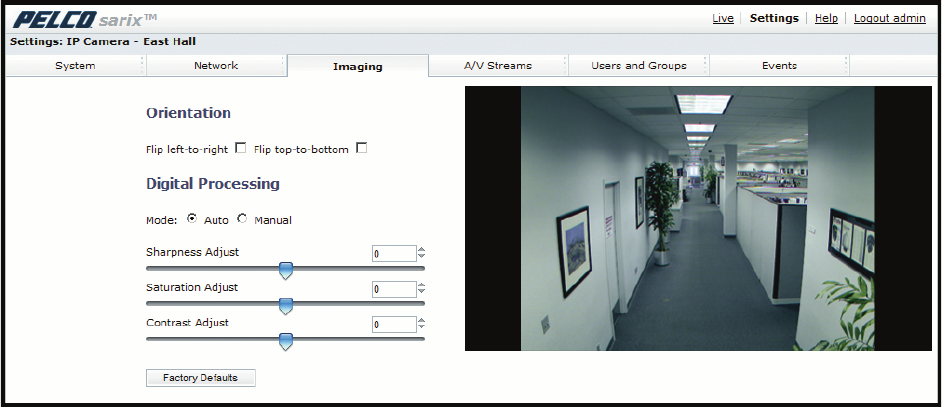
CONFIGURING THE ORIENTATION OF THE SCENE
Figure 20. Orientation Page
1. Place your mouse pointer over the Imaging tab.
2. Select General from the drop-down menu.
3. Select one of the following options:
• Click the “Flip left-to-right” box to rotate the camera image 180 degrees horizontally.
• Click the “Flip top-to-bottom” box to rotate the camera image 180 degrees vertically.
