54 C2950M-E (8/10)
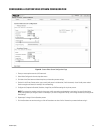
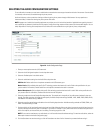
SELECTING THE USERS AND GROUPS SETTINGS
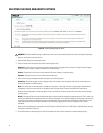
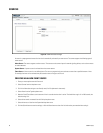
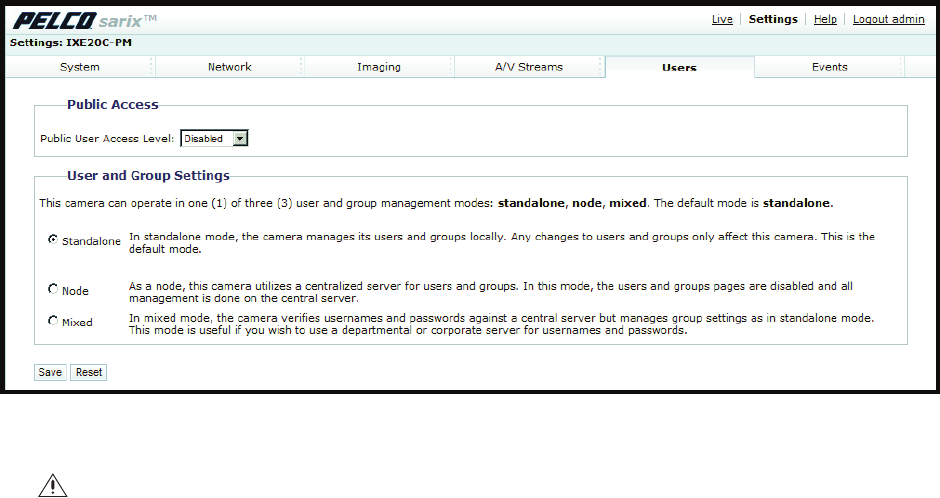
Figure 33. General Settings Page for Users
1. Place your mouse pointer over the Users tab.
2. Select General Settings from the drop-down menu.
3. Select an access level from the Public User Access Level drop-down menu.
Disabled: The public user has no permissions and cannot access the live view page without a password. The Login screen will appear
when the camera's IP address is typed in the address bar of a Web browser.
Viewers: The permissions for this user are view video and API access. Viewers is the default setting.
Operators: The permissions for this user are view video and API access.
4. Select a user and group management mode by clicking one of the following options:
Standalone: The camera manages its users and groups locally. Any changes to users and groups affect only the camera that you are
accessing. Standalone is the default setting.
Node: The camera uses a centralized server to manage users and groups. In this mode, the users and groups page is disabled and all
management is done on the central server. Any changes to users and groups affect all cameras connected to the central server.
When you click the Node option, a Server box appears. Click in the Server box, and then type the name of the central server to manage
users and groups.
Mixed: The camera verifies user names and passwords against a central server but manages the group settings locally. This is useful if you
want to use a departmental or corporate server for user names and passwords. In this mode, the settings on the users page are limited, and
any changes to user names and passwords are done on the Lightweight Directory Access Protocol (LDAP) server. While changes to user
names and passwords affect all cameras connected to the LDAP server, group permissions must be managed from each camera
individually.
When you click the Mixed option, boxes appear for the LDAP Server and Base DN. Click in the LDAP Server and Base DN boxes, and type
the necessary information in each box.
5. Click the Save button to save the settings, or click the Reset button to clear all of the information you entered without saving it.
WARNING: The Node and Mixed settings are advanced controls. Consult your network administrator to obtain the required information.


