43
1
Getting Started
8
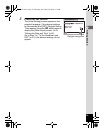
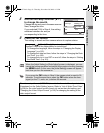
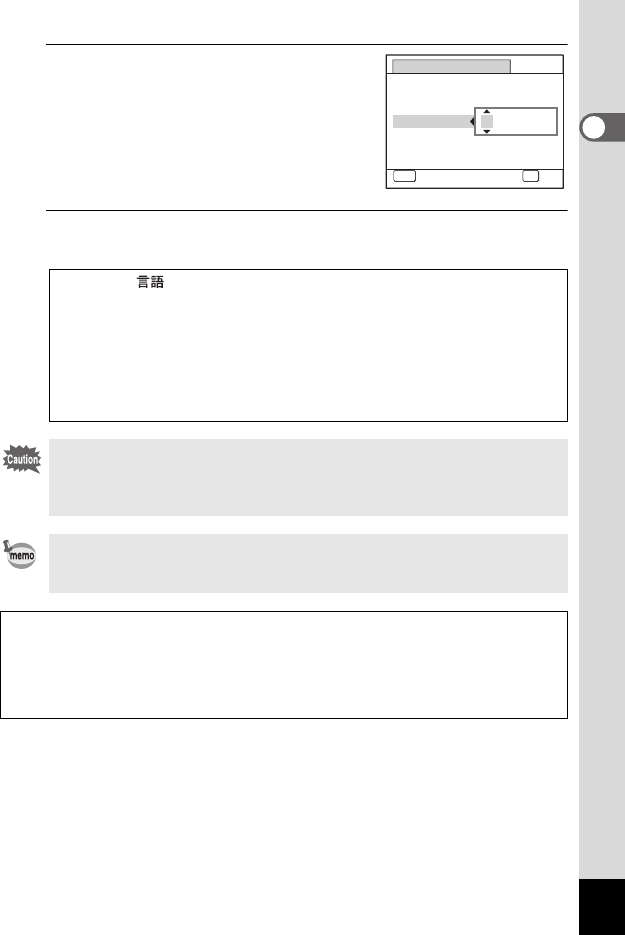
Use the four-way controller (23)
to change the month.
Change the day and year in the same manner.
Next, change the time.
If you selected [12h] in Step 4, the setting
switches between am and pm
corresponding to the time.
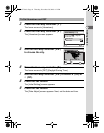
9
Press the 4 button.
The setting is saved and the camera returns to capture status.
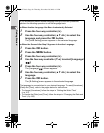
[Language/ ], [Date], [Time], [Hometown], and [DST] can be
changed. Refer to the pages below for instructions.
• To change the language, follow the steps in “Changing the Display
Language” (1p.163).
• To change the date and time, follow the steps in “Changing the Date
and Time” (1p.158).
• To change the city or turn DST on and off, follow the steps in “Setting
the World Time” (1p.161).
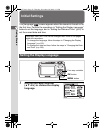
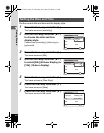
When the [Initial Setting] or [Date Adjust] screen is displayed, you can
cancel the setting operation and switch to the capture mode by pressing
the 3 button. In this case, the [Initial Setting] screen will appear
next time you turn the camera on.
If you press the 4 button in Step 9, the camera clock is reset to 00
seconds. To set the exact time, press the 4 button when the time
signal (on the TV, radio, etc.) reaches 00 seconds.
The video output format (NTSC/PAL) is set to the format of the city selected in
[Hometown] on the [Initial Setting] screen. Refer to “List of World Time Cities”
(p.208) for the video output format of each city set as the initial setting, and
“Changing the Video Output Format” (p.166) for changing the setting of the
video output format.
Date Adjust
MENU
Cancel
Date Style
mm
dd
yy
Date
Time
0:00
OK
OK
/
/
24h
01/01/2009
e_kb477.book Page 43 Thursday, November 20, 2008 4:21 PM


