32
+/- button
A negative exposure compensation value reduces the exposure. Note that a positive
exposure compensation value increases the exposure and the LCD monitor will appear
white or you may not get good pictures.
INFORMATION
2. Use the LEFT and RIGHT buttons to set the desired
exposure compensation factor ( Ev).
3. Press the +/- button again. The value you set will be
saved and the Exposure Compensation setup mode will
close. If you change the exposure value, the exposure
indicator ( ) will be displayed on the bottom of the LCD
monitor.
White balance
: The white balance control allows you to adjust the colours
to appear more natural looking. The White Balance is
available in Auto Shooting mode ( ), Manual mode,
and Movie Clip mode.
Selecting a White Balance
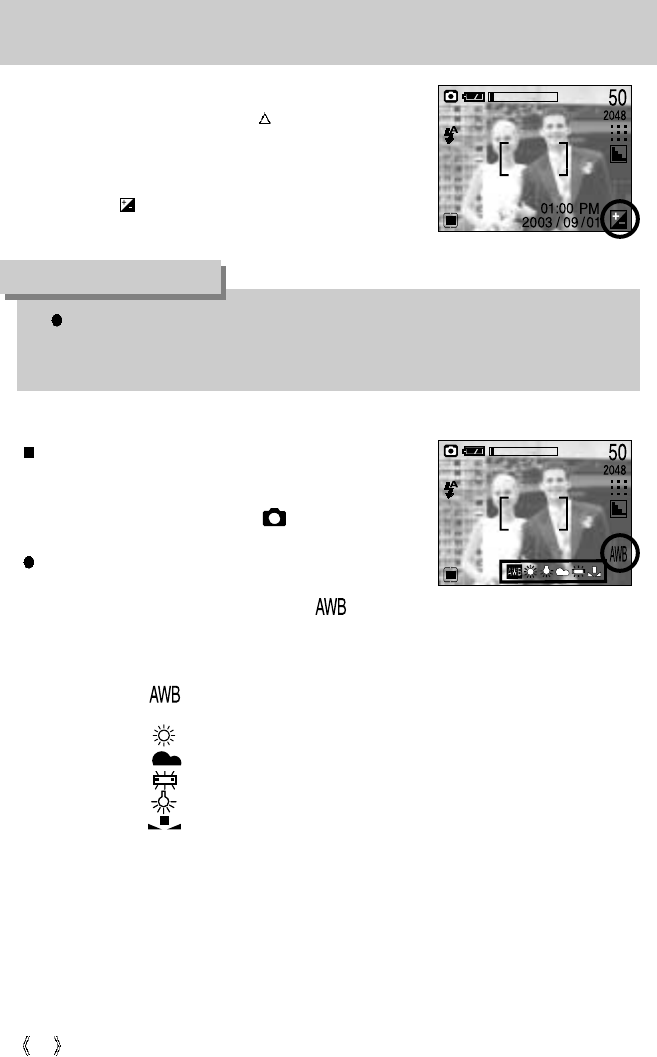
1. Press the +/- button, and then use the UP and DOWN
buttons to select the white balance icon ( ). The white balance menu bar will appear as
shown.
2. Use the LEFT and RIGHT buttons to set the white balance to the desired value. The value
you set will be displayed on the LCD monitor.
- AUTO : The camera automatically selects the appropriate white balance
settings, depending on the prevailing lighting conditions.
- DAYLIGHT : For taking images outside.
- CLOUDY : For taking images under a cloudy and overcast sky.
- FLUOR. : For shooting under fluorescent lighting.
- TUNGSTEN : For shooting under tungsten (standard light bulb) lighting.
- CUSTOM : Allows the user to set the white balance according to the shooting
condition.
Different lighting conditions may cause a colour cast on your images.
3. Press the +/- button again. The value you set will be saved and White Balance setup mode
will end.


