


Auto Mode Settings (AUTO MODE)
35
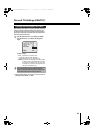
The Auto Pan mode allows you to pan between two surveillance
locations in loop. In this mode, you set a start point, an end
point, moving speed, panning direction and other options. You
can create up to four Auto Pan groups.
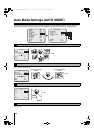
1
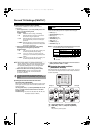
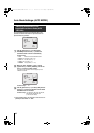
Use the joystick lever (xy) to select [AUTO PAN],
use the lever (vw) to select an Auto Pan group
number (1 - 4), and press the [ENTER] button.
The AUTO PAN screen appears.
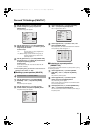
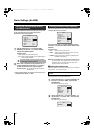
2
Use the joystick lever (xy) to select [POSITION],
use the lever (vw) to select “START y” (start point),
and press the [ENTER] button.
The START SETTING screen appears.
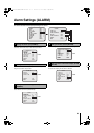
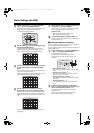
3
Use the joystick lever to determine a start point
position of the Auto Pan mode operation, and press
the [ENTER] button.
The AUTO PAN screen appears again.
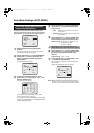
4
Use the lever (vw) to select “END y” (end point),
and press the [ENTER] button.
The END SETTING screen appears.
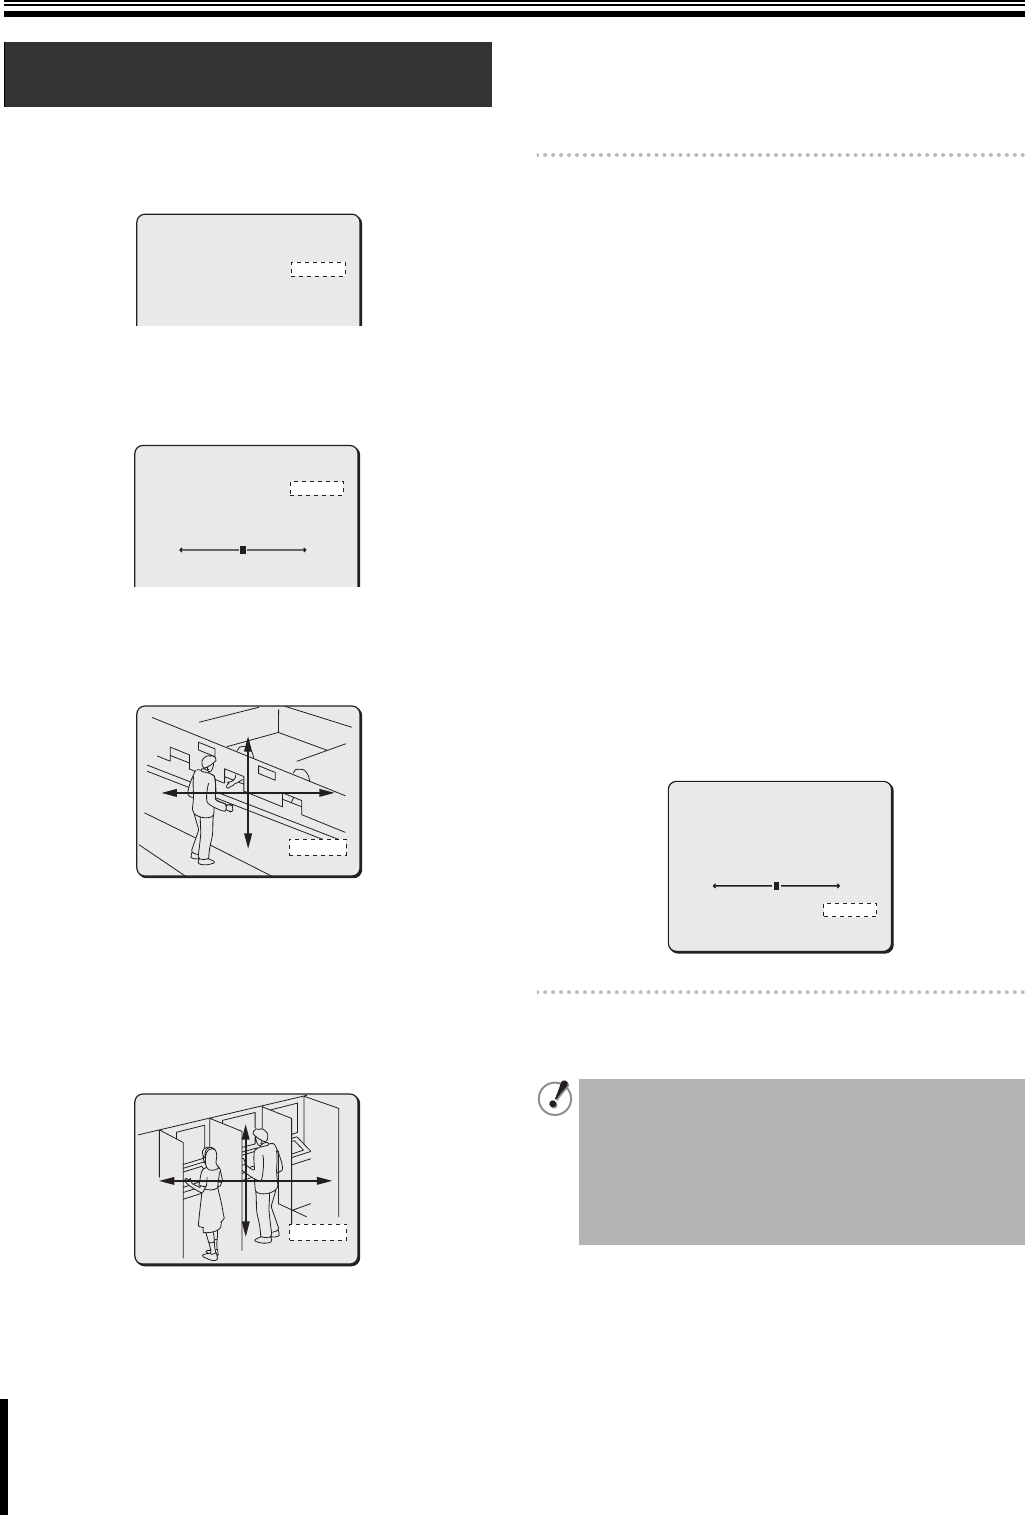
5
Use the joystick lever to determine an end point
position of the Auto Pan mode operation, and press
the [ENTER] button.
The AUTO PAN screen appears again.
Memo: When a start point and an end point are set to the same
position, the camera rotates through 360 degrees repeatedly
with the same tilting angle. The rotating direction is
determined by the [DIRECTION] setting.
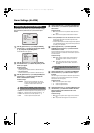
6
Use the joystick lever (xy) to select [PAUSE TIME]
and use the lever (vw) to select the duration for
which the camera pauses at the start and end
positions.
Available settings: 1S, 2S, 3S, 4S, 5S, 10S, 20S, 30S
(S: Second, M: Minute)
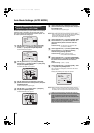
7
Use the joystick lever (xy) to select [DIRECTION]
and use the lever (vw) to select the rotating
direction during panning operation.
Available settings: RIGHT (rotates clockwise),
LEFT (rotates counterclockwise)
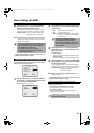
8
Use the joystick lever (xy) to select [PAN SPEED]
and use the lever (vw) to select the speed in which
the camera moves between the start and end
points.
Available settings: 1 (slow) - 15 (fast)
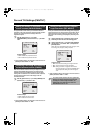
9
Use the joystick lever (xy) to select [RUN] – “SET
y”, and press the [ENTER] button.
The on-screen menu disappears, and the Auto Pan mode
operation starts.
Pressing the [ENTER] button stops the operation.
Memo: While monitoring in the normal screen, the Auto mode is
turned on or off in the main screen of the system controller.
For details, refer to the system controller instruction manual.
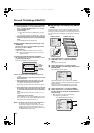
B
Panning between two surveillance
locations in loop (AUTO PAN)
AUTO MODE
SEQUENCE y
AUTO PAN y
TOUR y
AUTO RETURN
TIME
A
1
1
SEQ A
1M
AUTO PAN 1
POSITION
y
PAUSE TIME
DIRECTION
[PAN SPEED]
8
RUN
y
START
3S
LEFT
SET
START SETTING
START SETTING
START SETTING
y SET
END SETTING
END SETTING
END SETTING
y
SET
While the camera operates in the Auto Pan mode, the
auto focus function is disabled. In this case, the focusing
mode is switched to the manual focus mode and the
focus is fixed to the position set in the START SETTING
screen.
However, when the panning speed is very slow or the
camera pauses at the start/end point for five seconds or
longer, the auto focus function is activated.
y
8
y
AUTO PAN 1
POSITION
PAUSE TIME
DIRECTION
[PAN SPEED]
RUN
MENU
START
3S
LEFT
SET
BACK
BODY.fm 35 ページ 2007年1月18日 木曜日 午後8時6分